


About PHILTOP ®
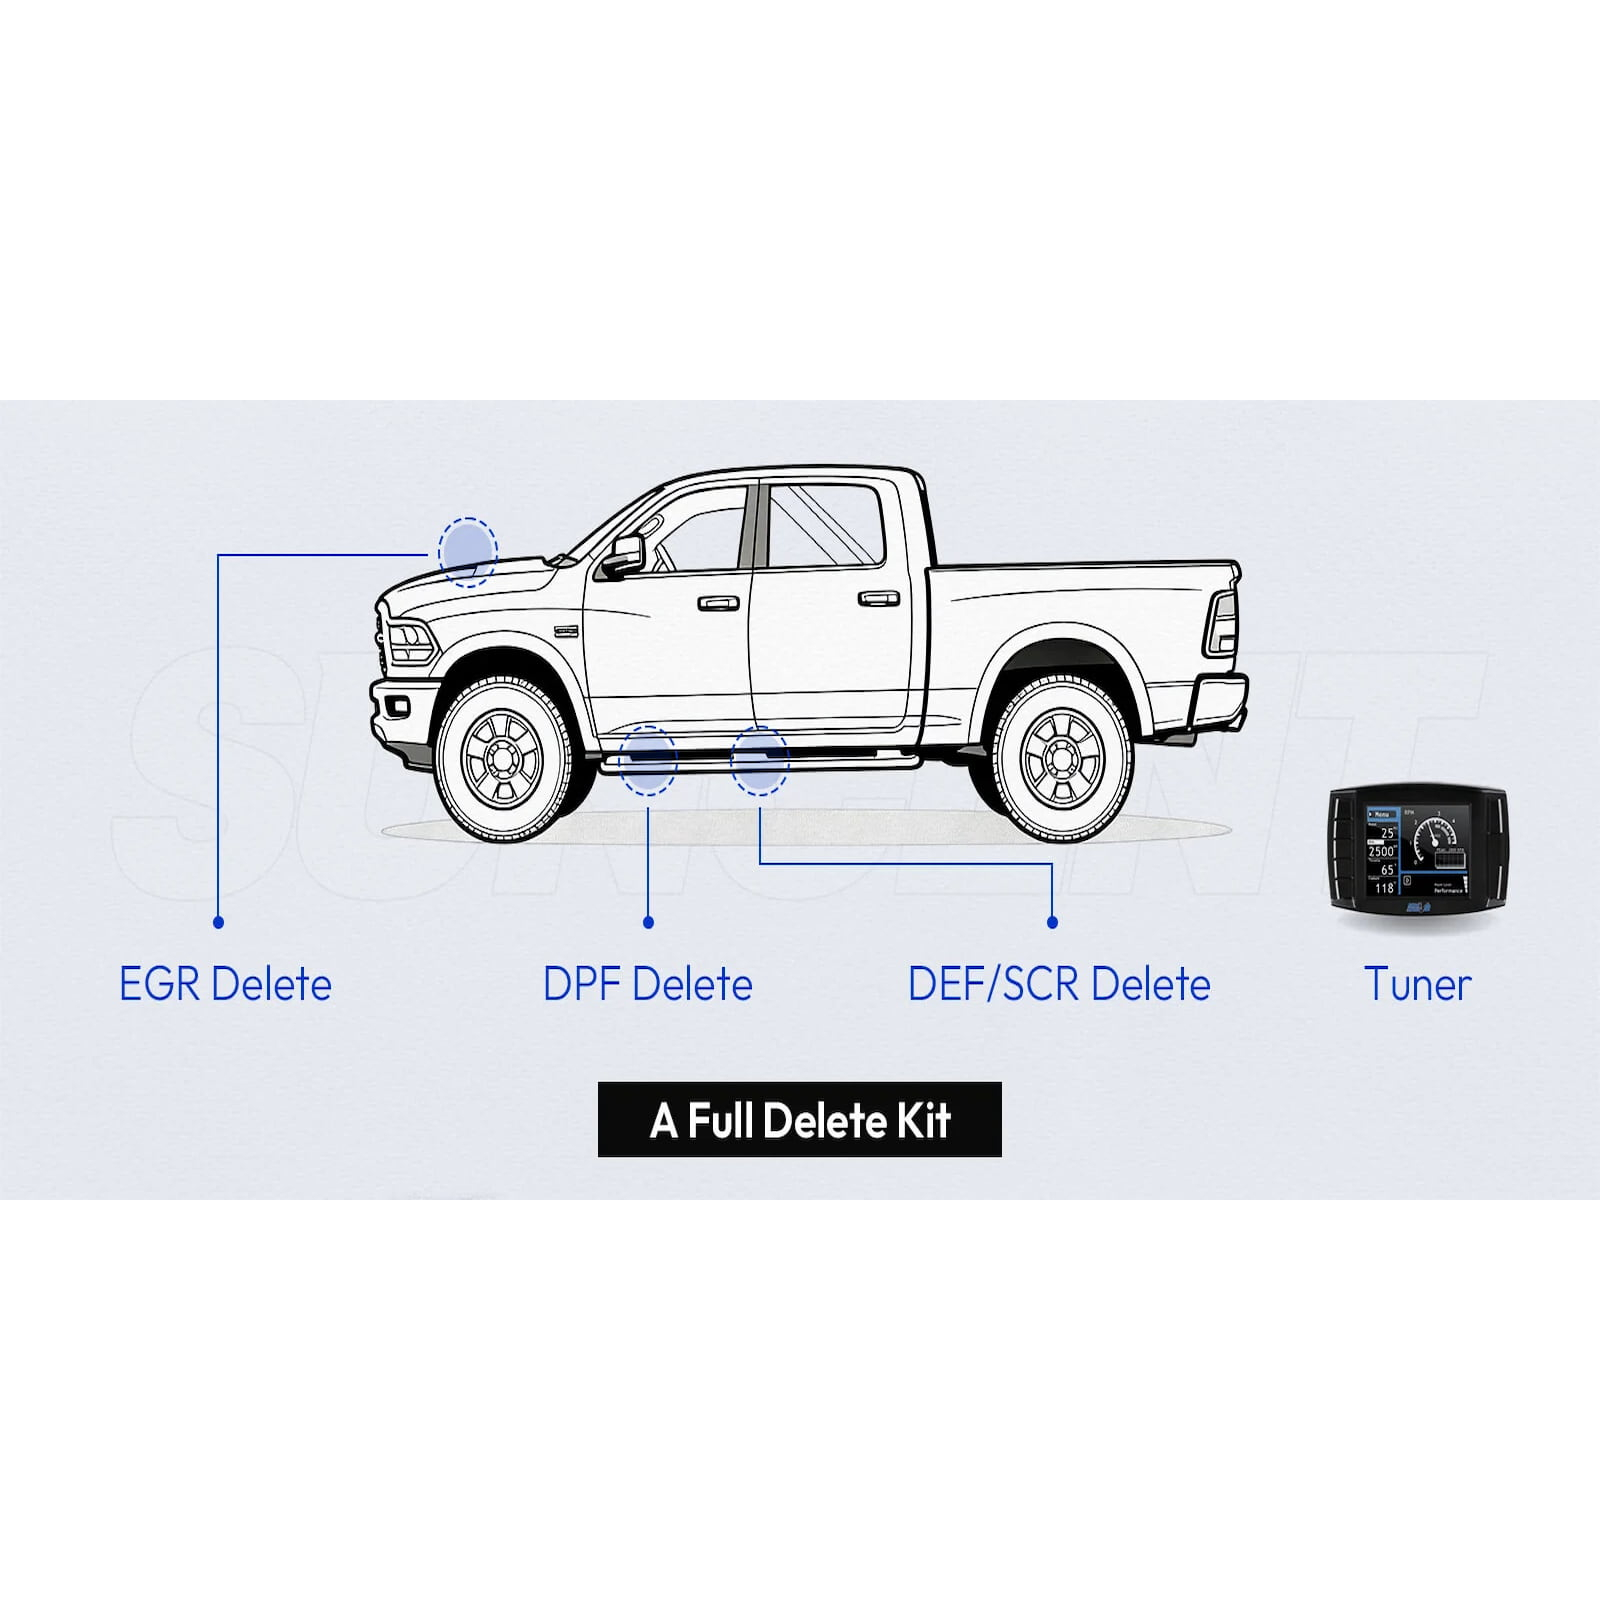
DPF Delete Pipe
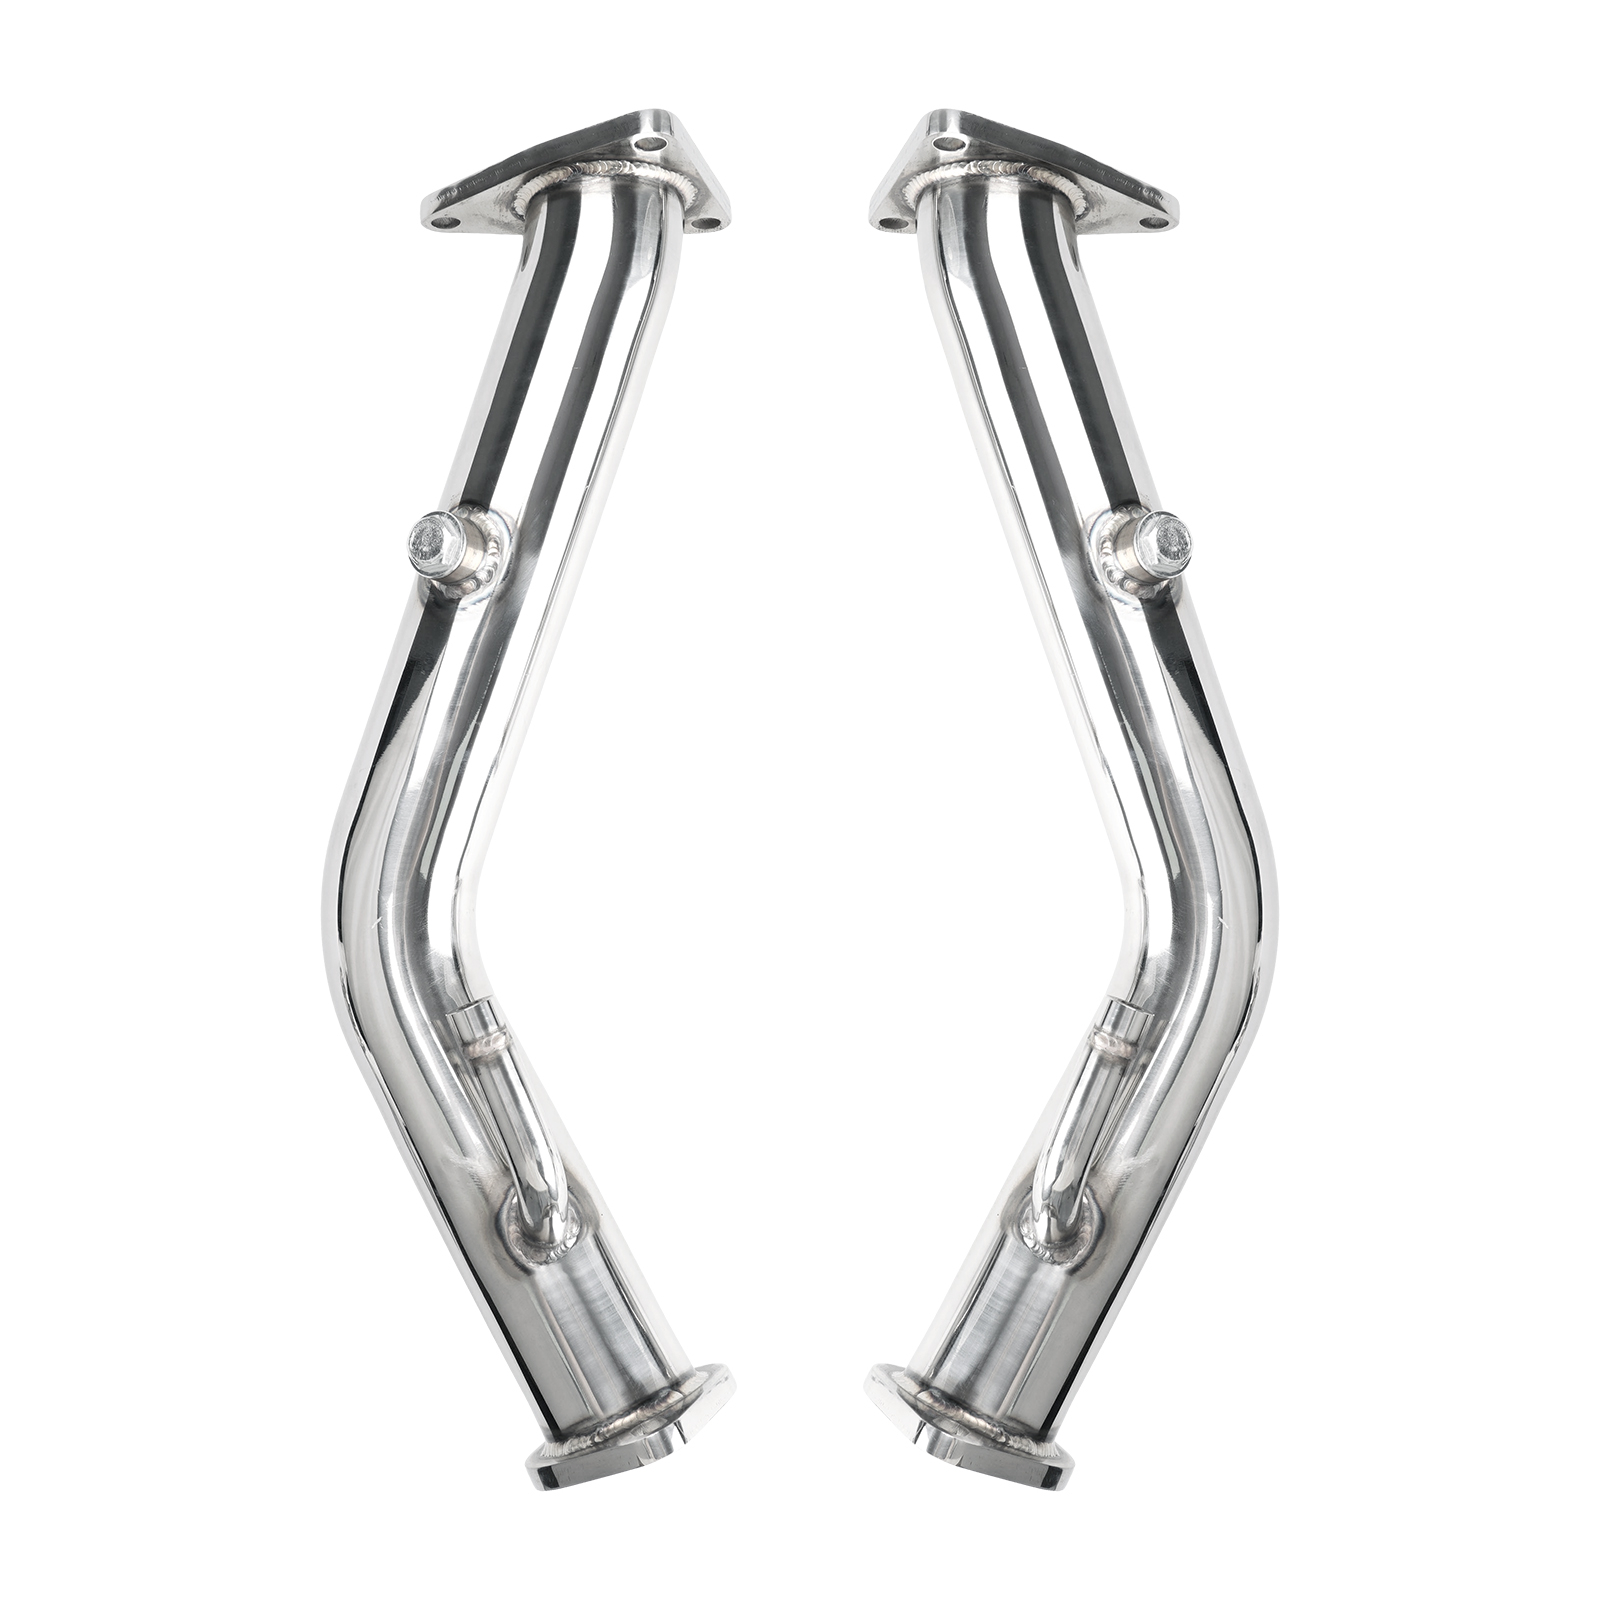
Exhaust Manifolds & Headers
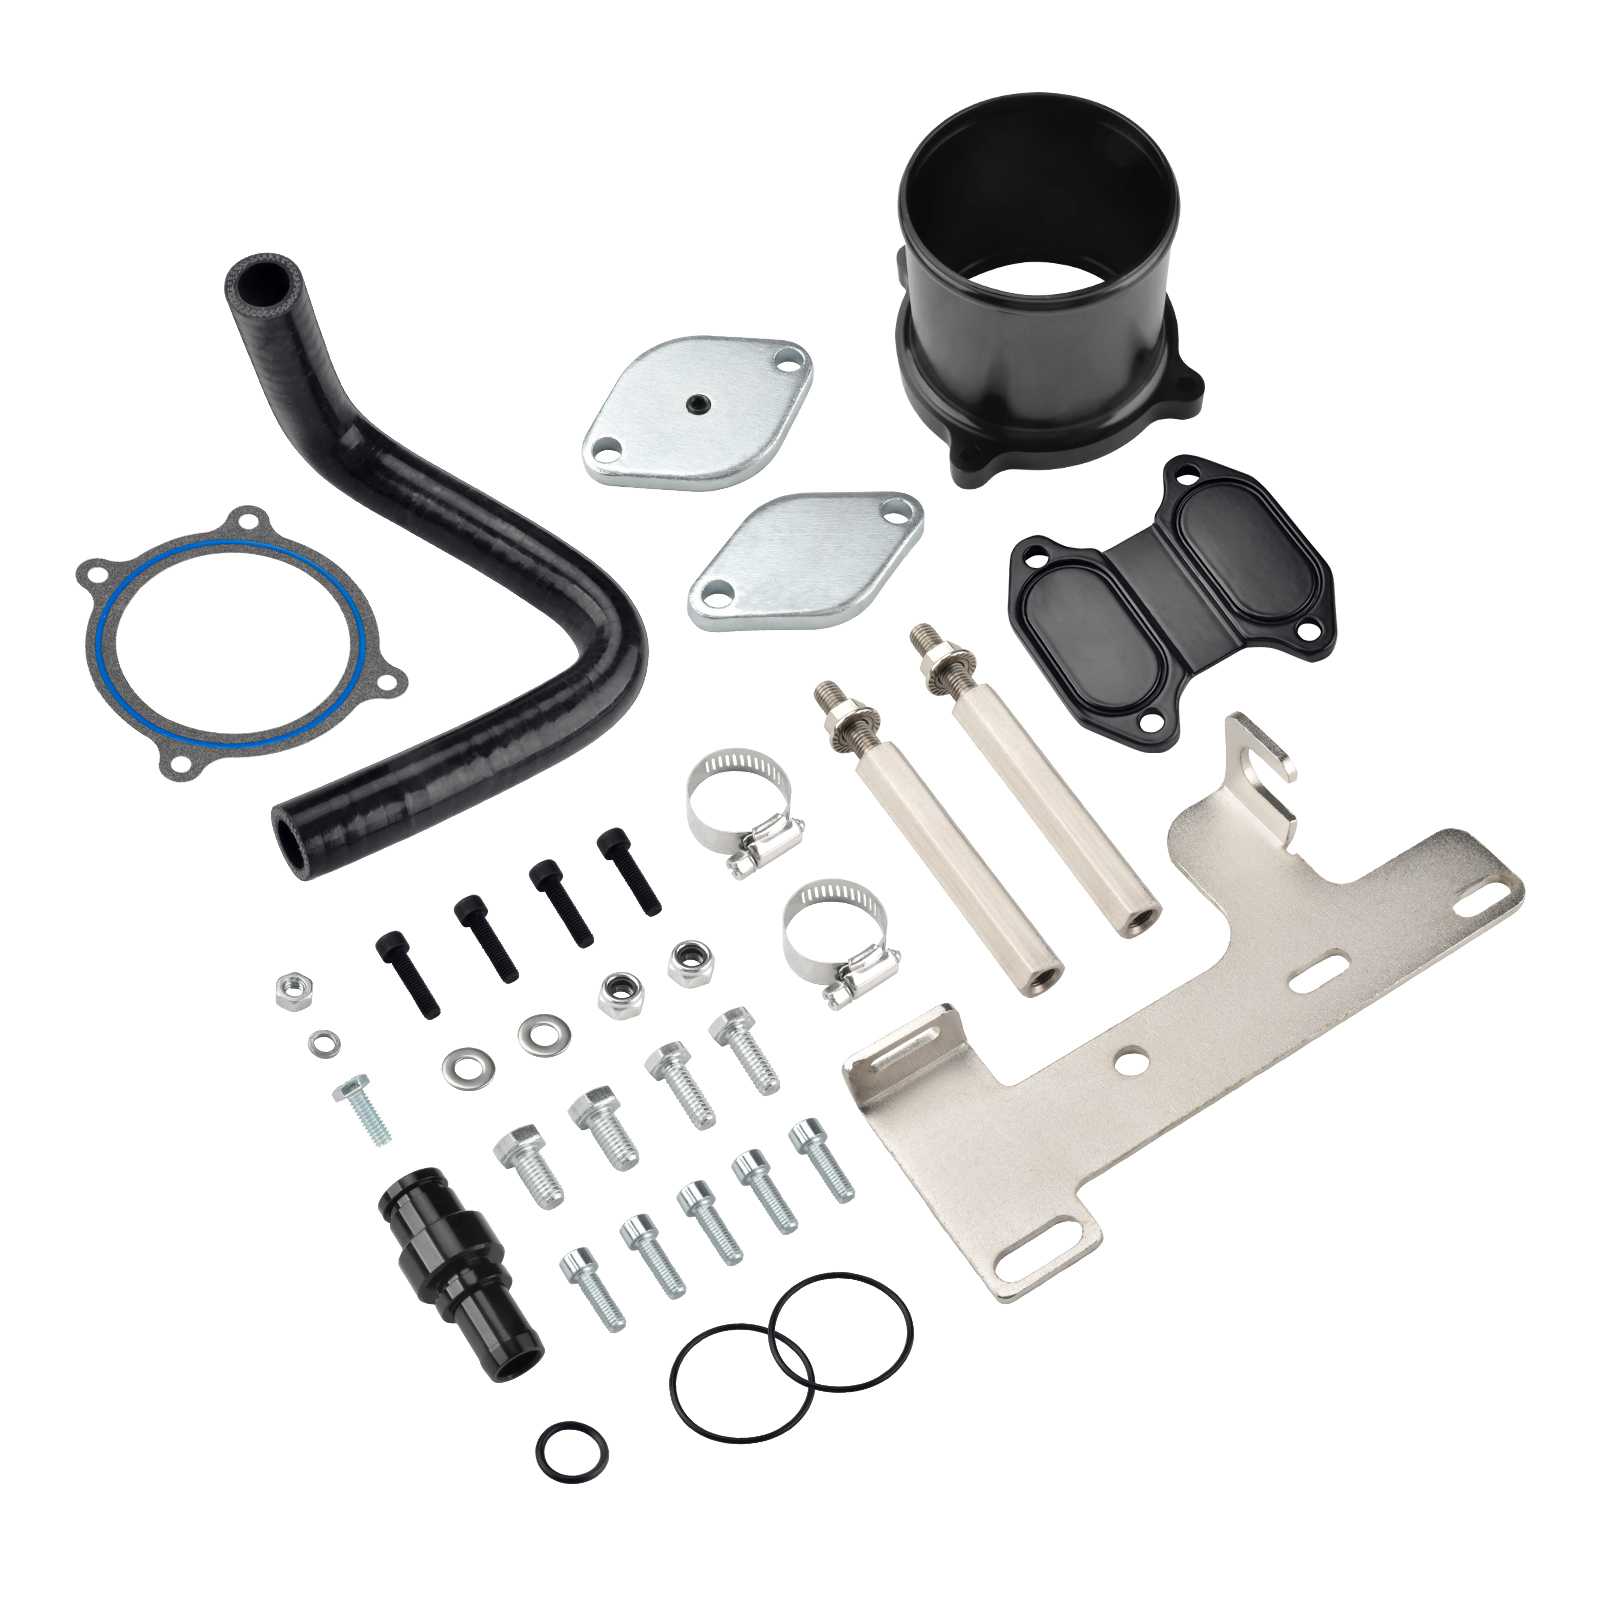
Diesel All-in-One Kits
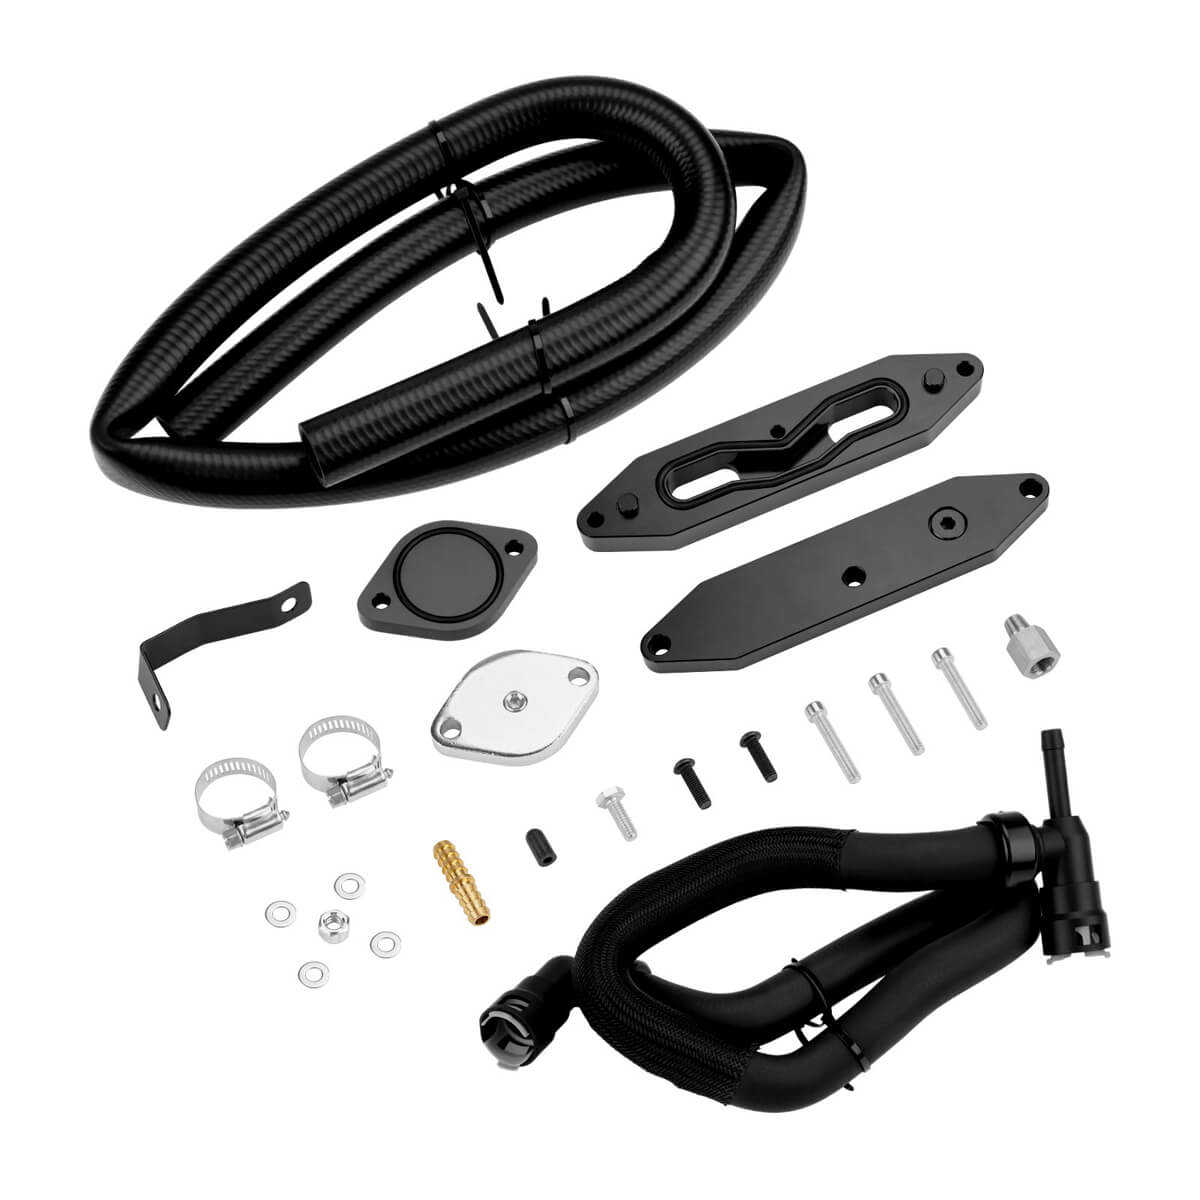
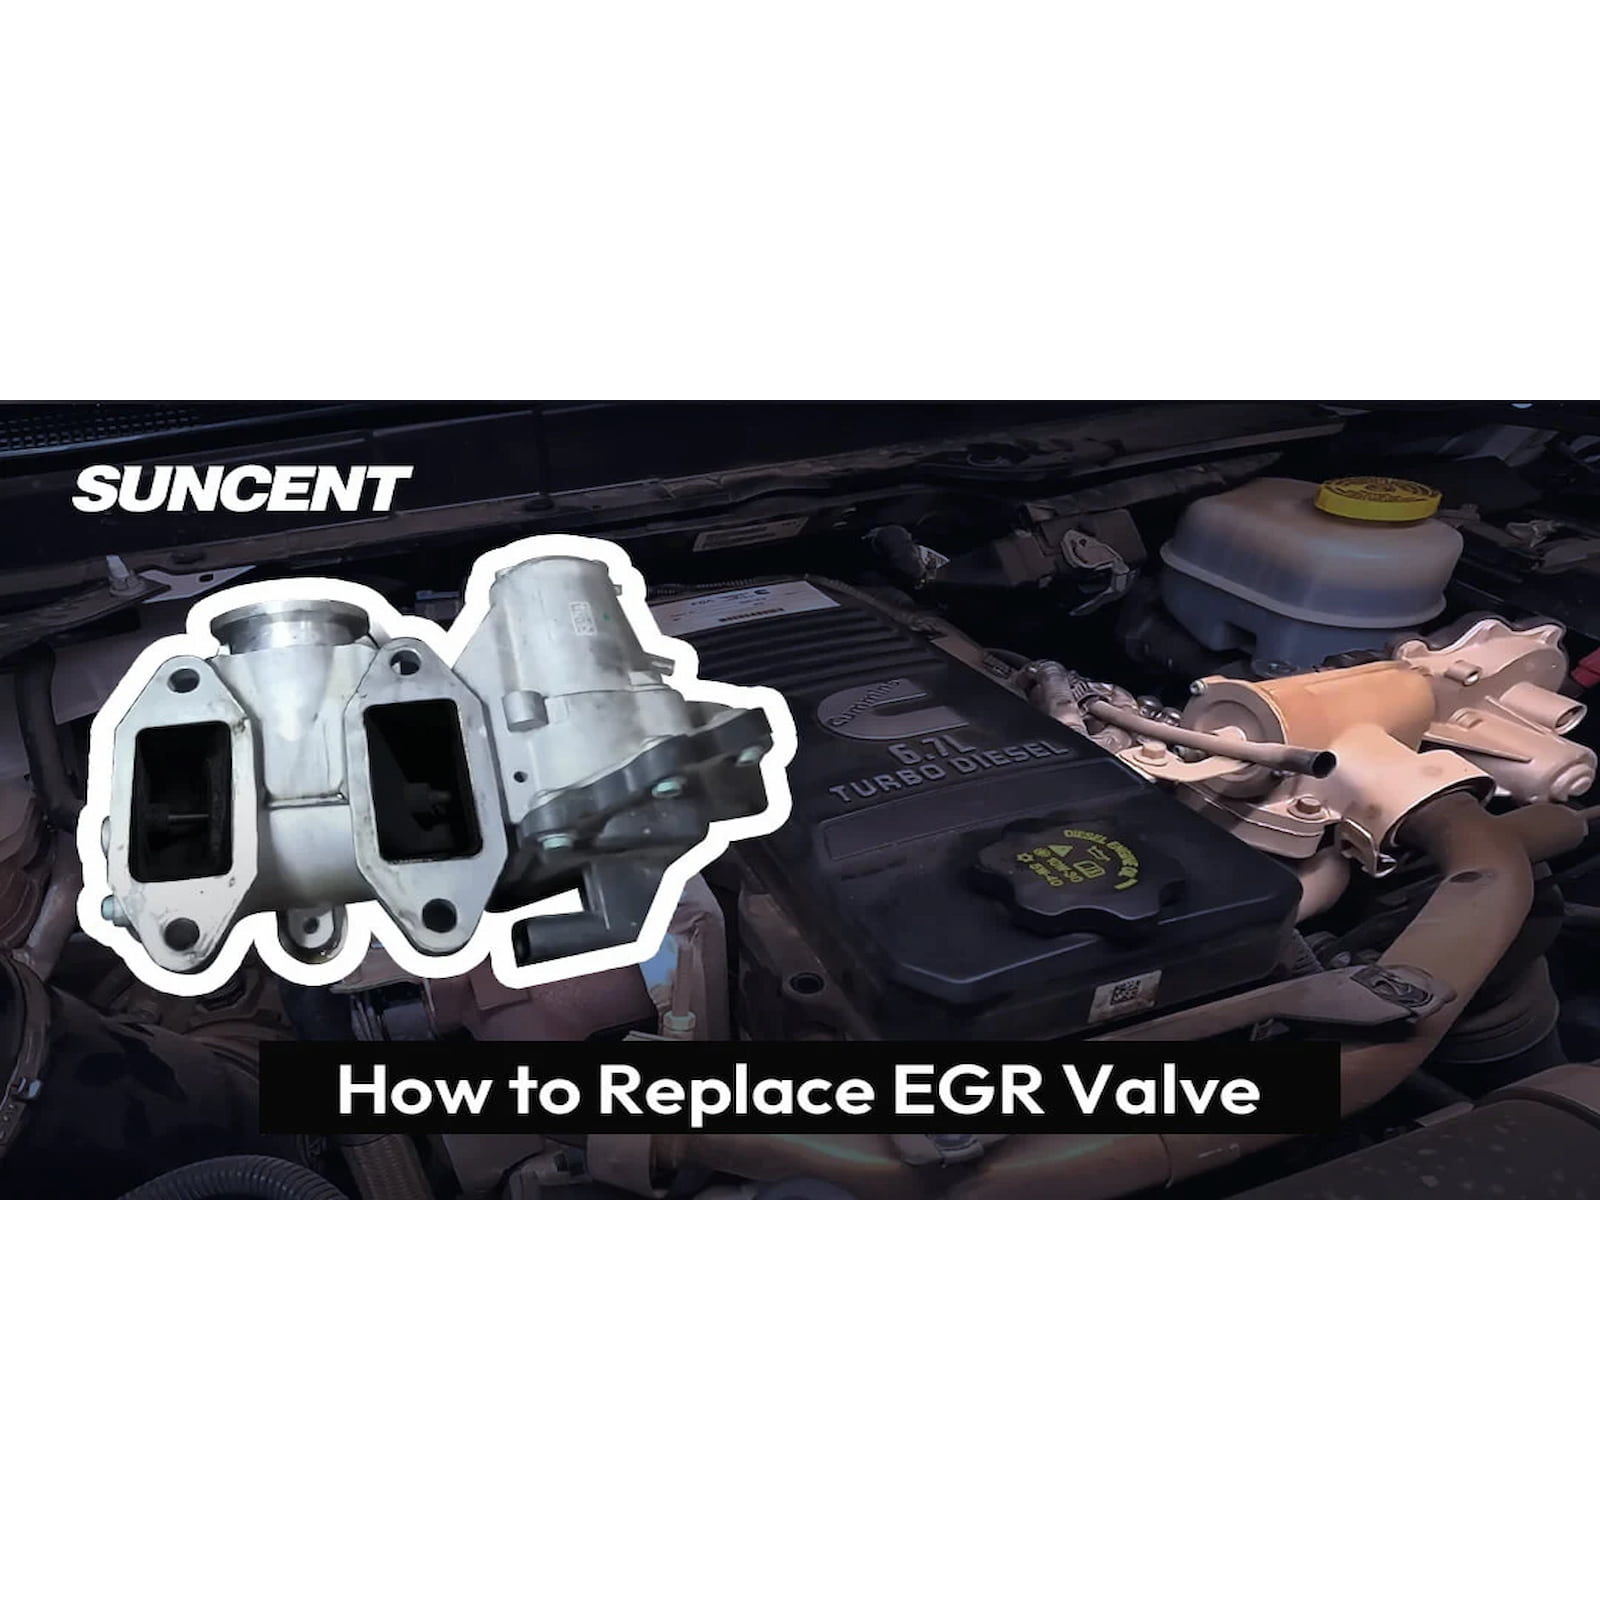
EGR Delete Kit
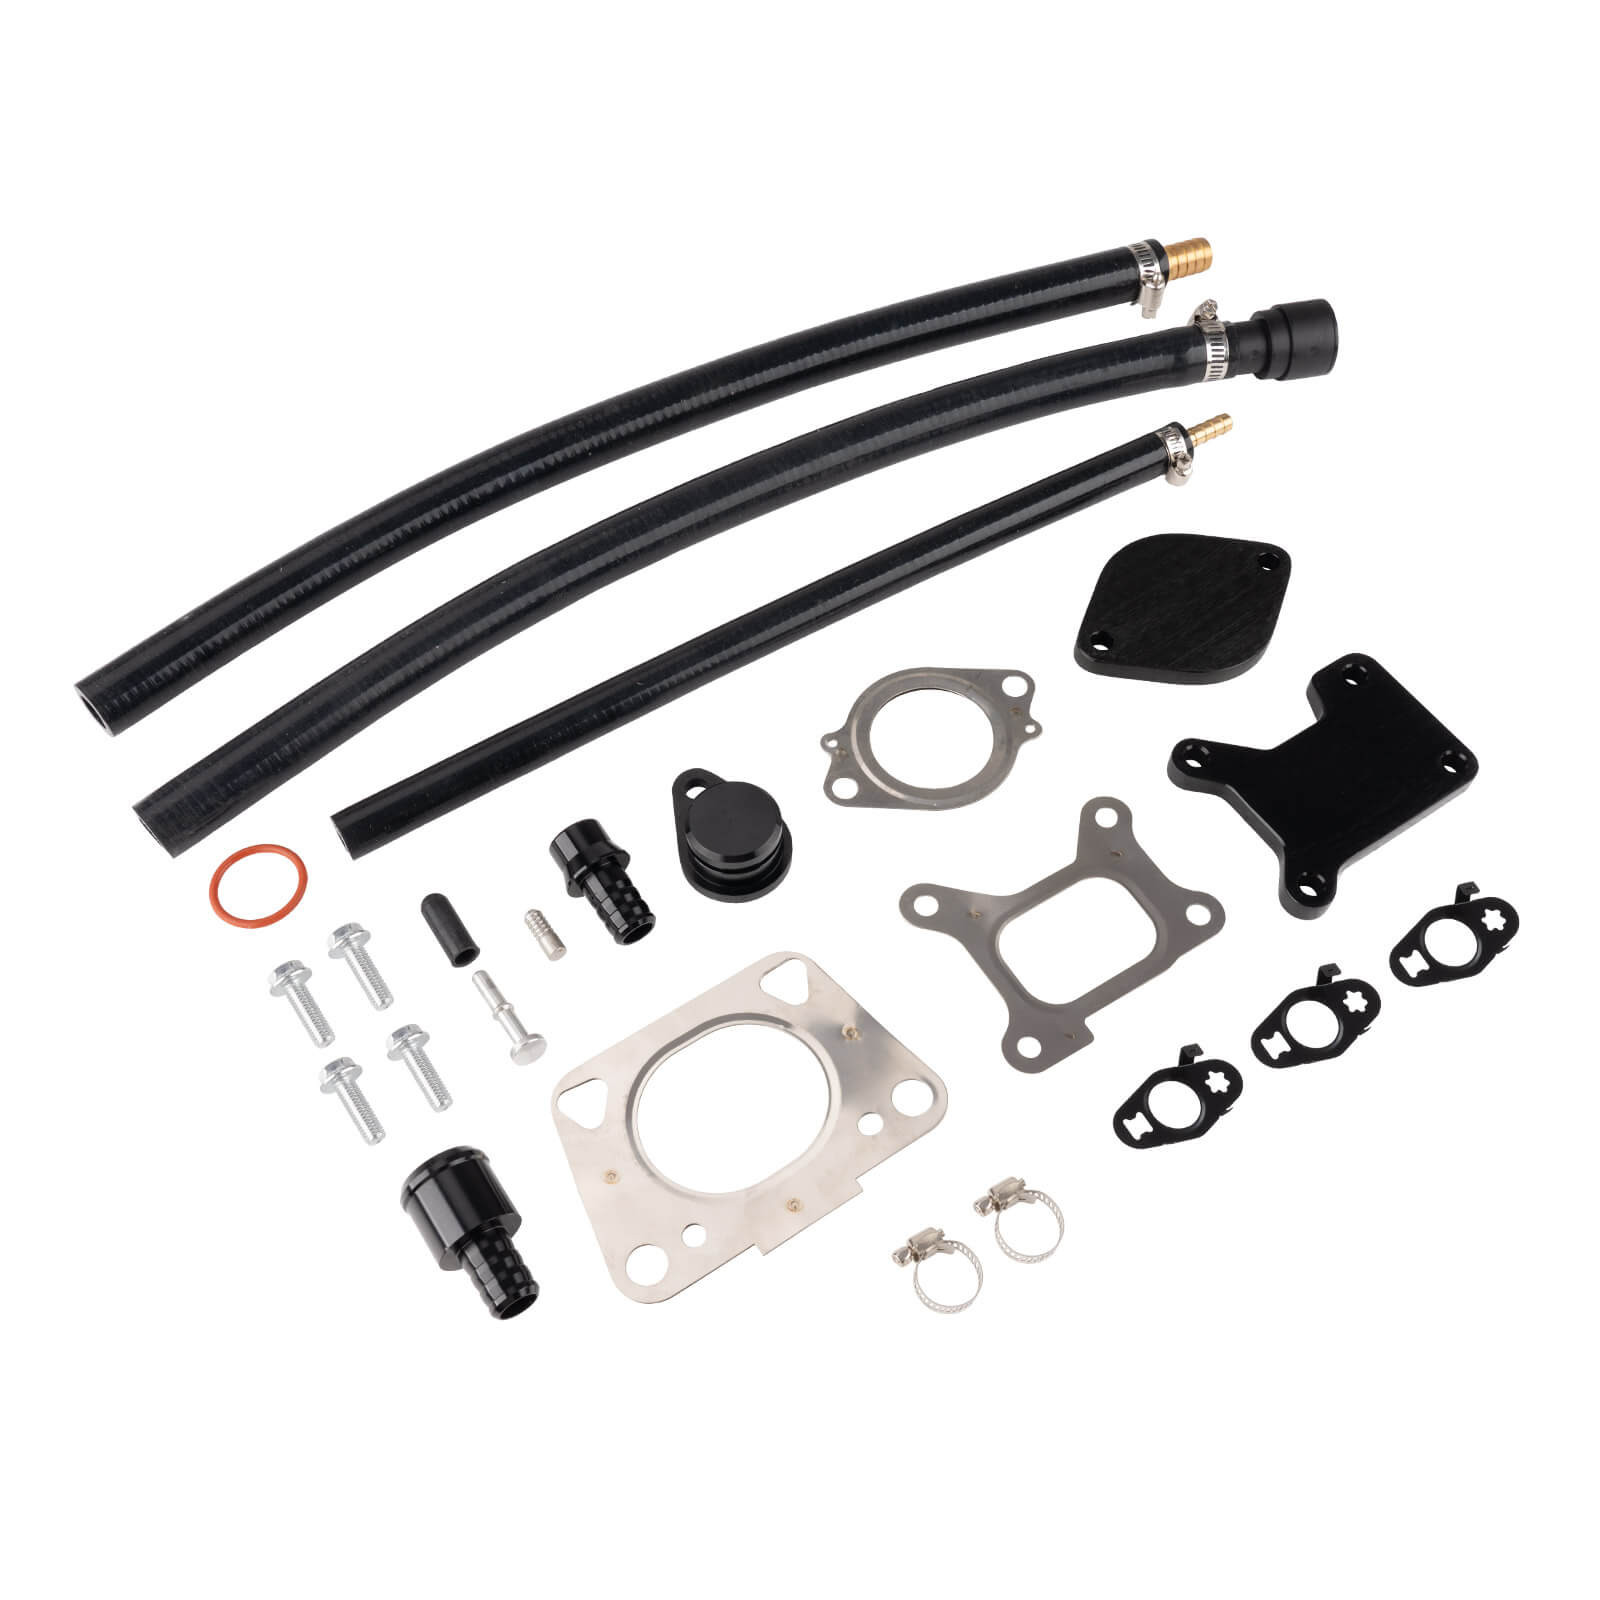
CCV PCV Reroute Kit
Exhaust Cutout Kits
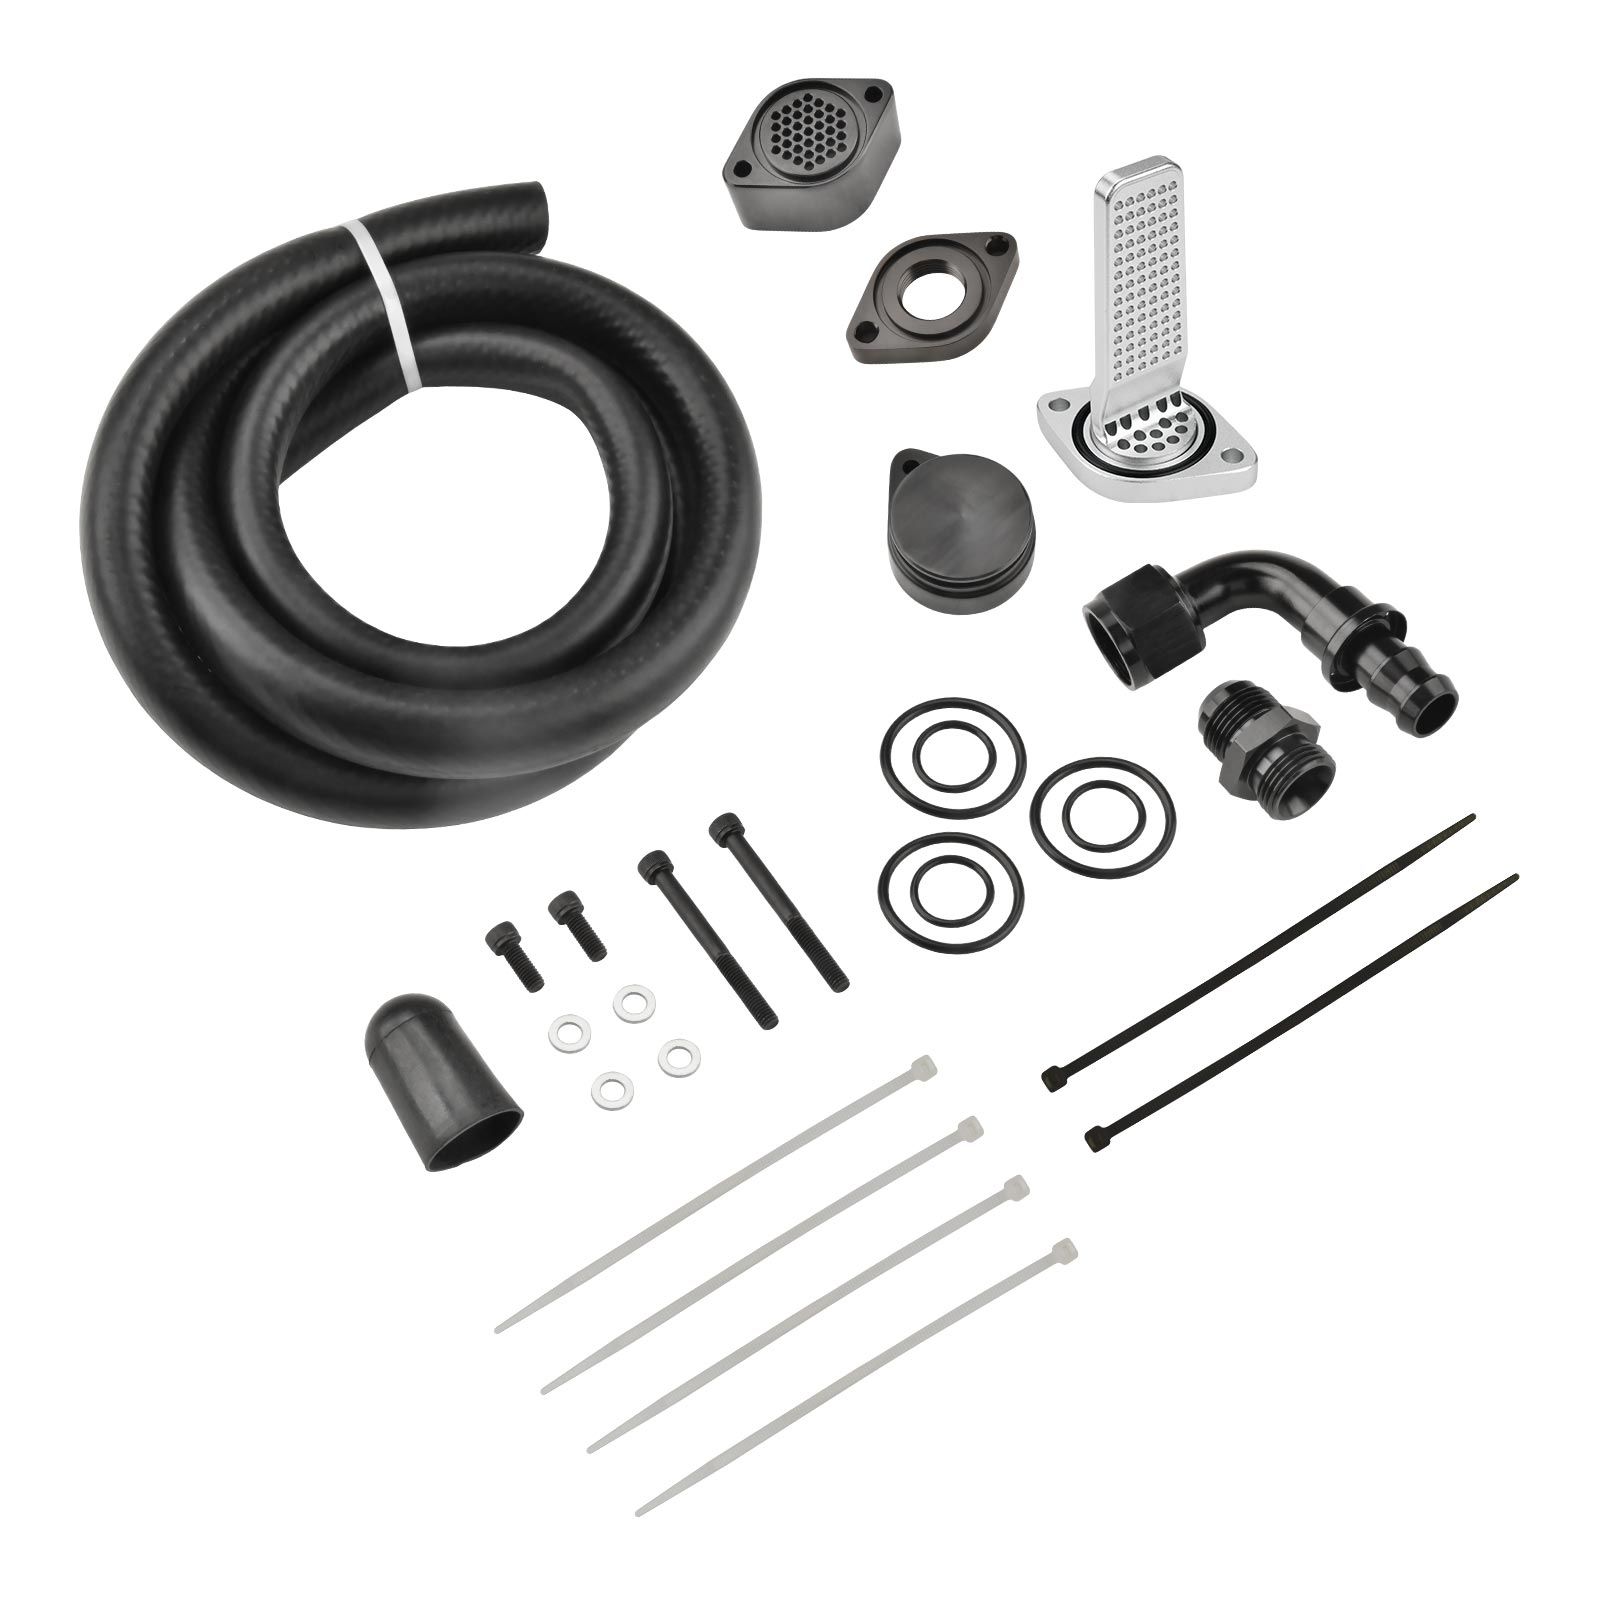
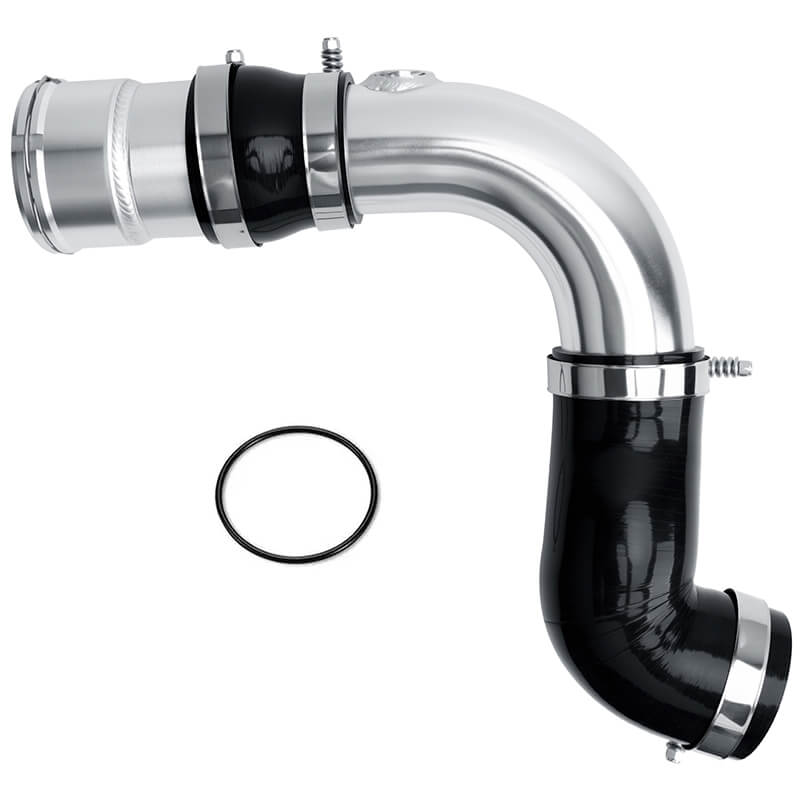
Intercooler Pipe Kit


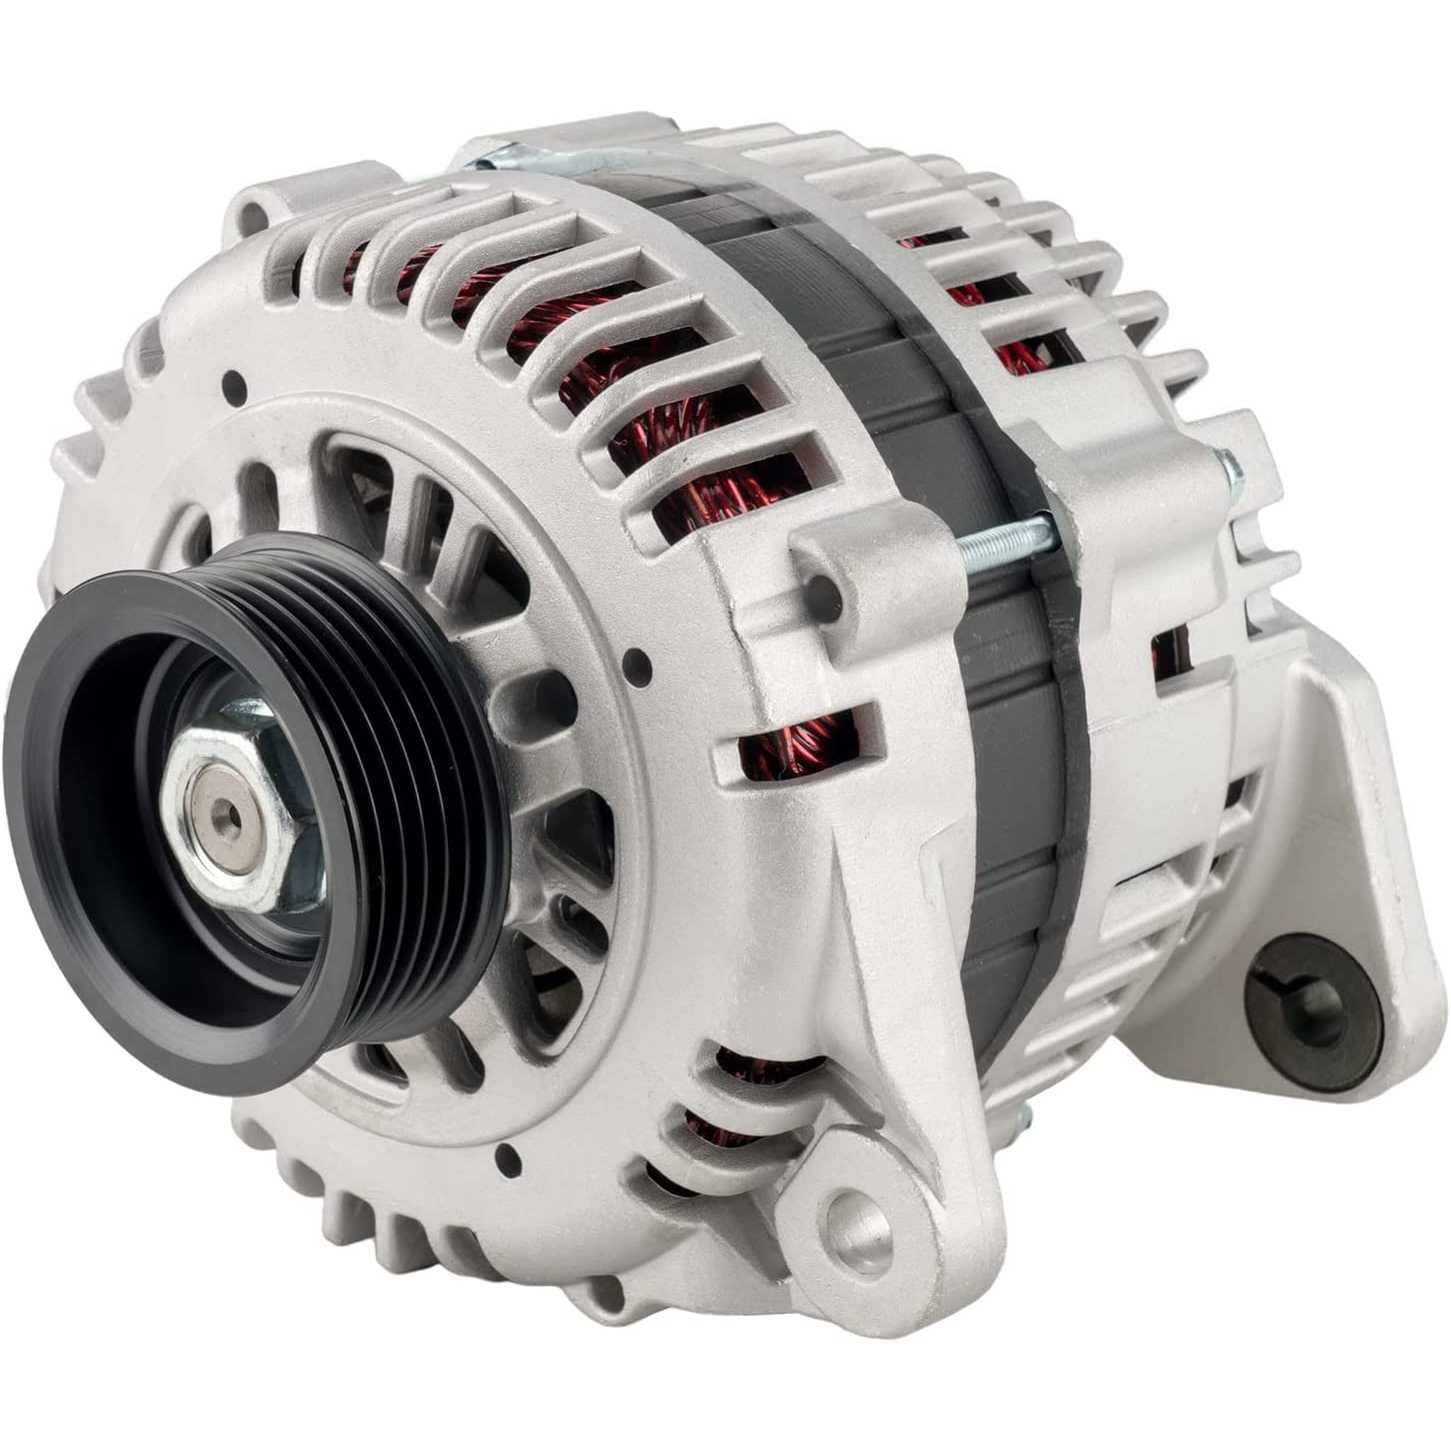
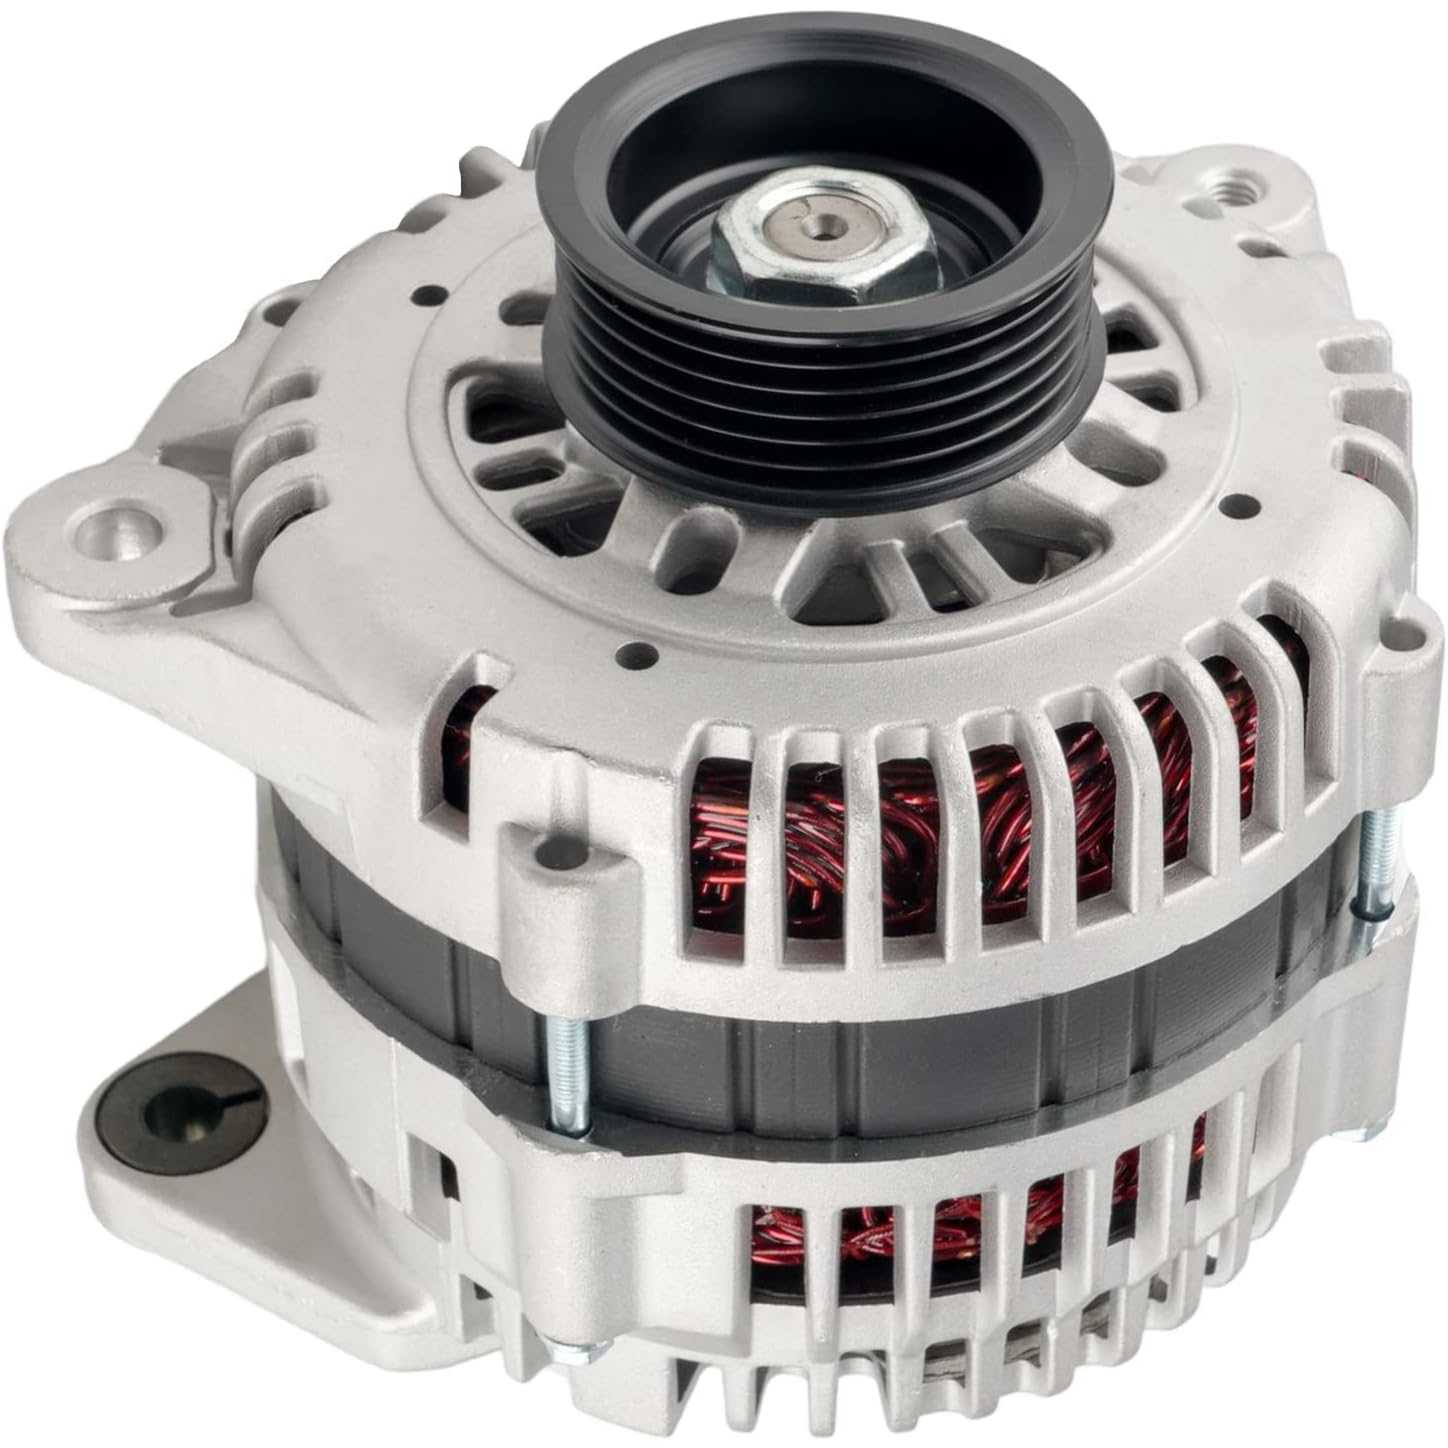
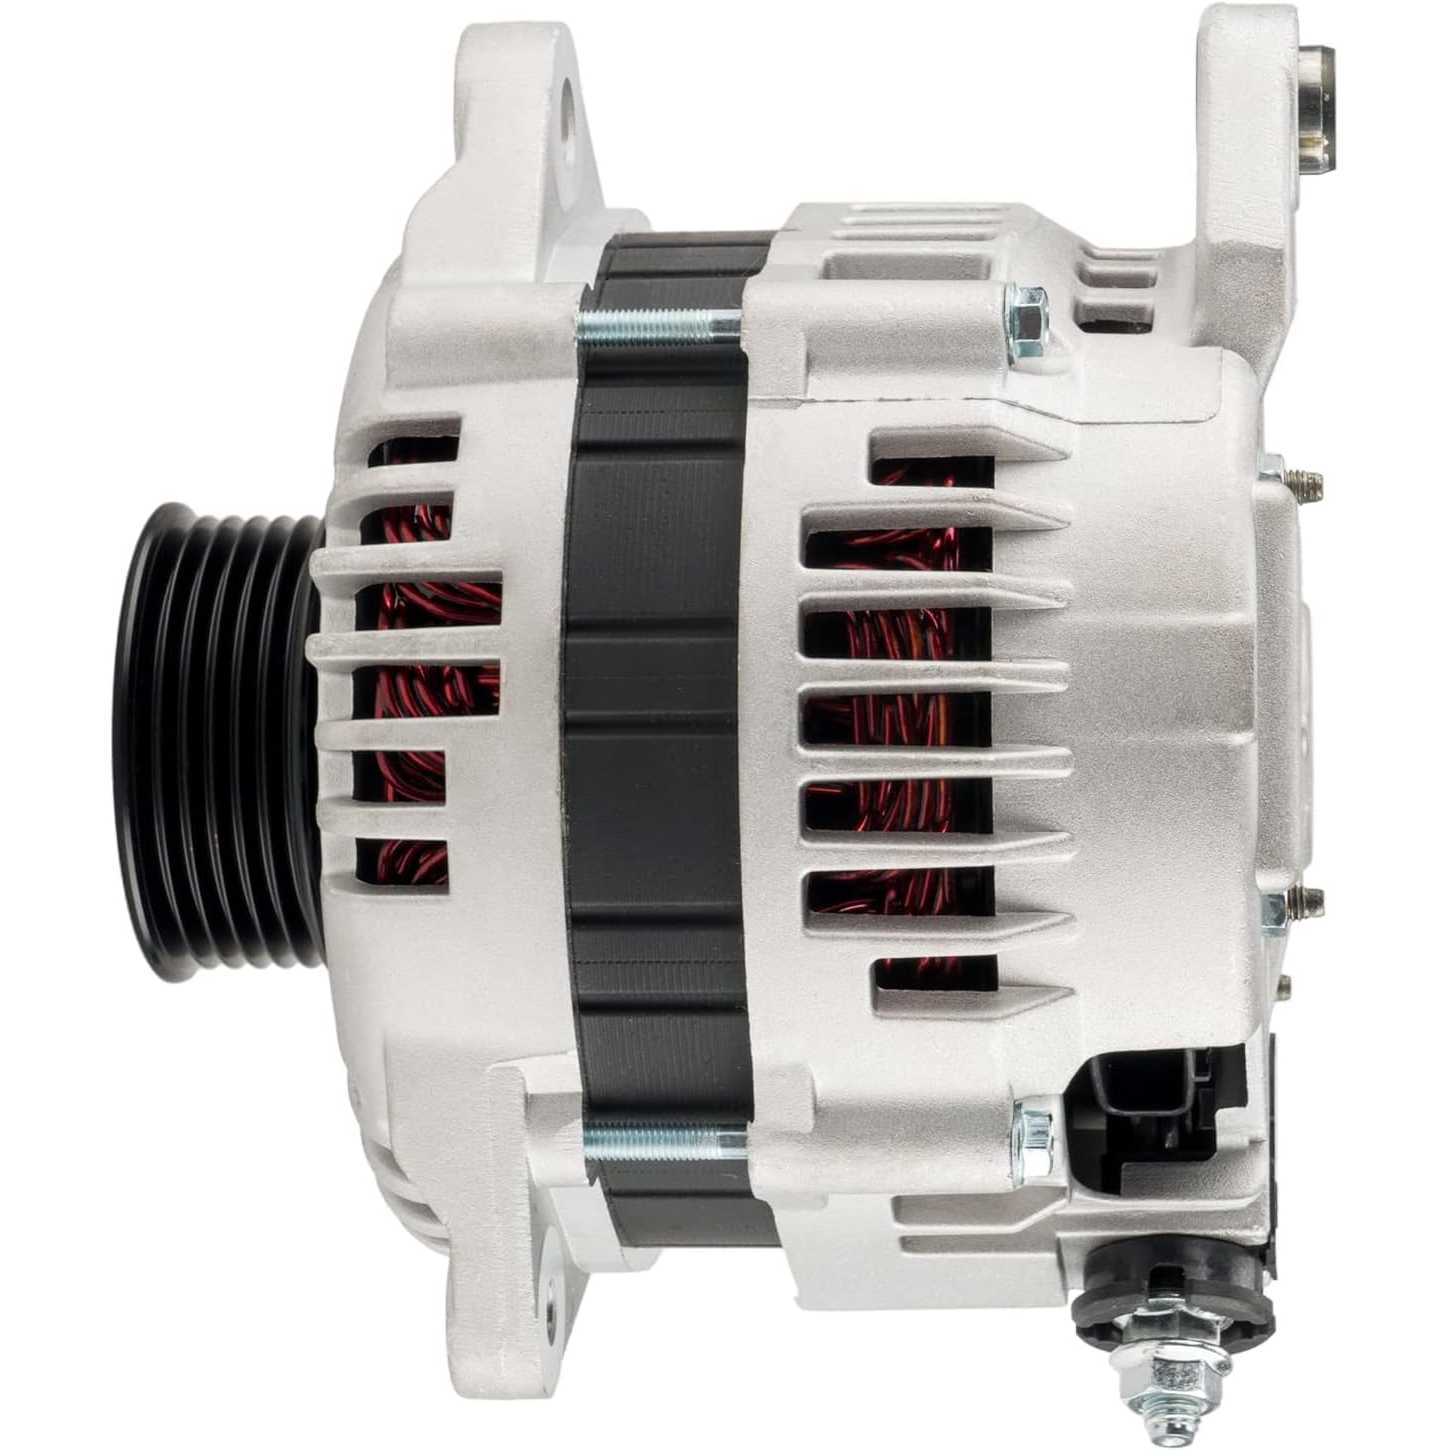
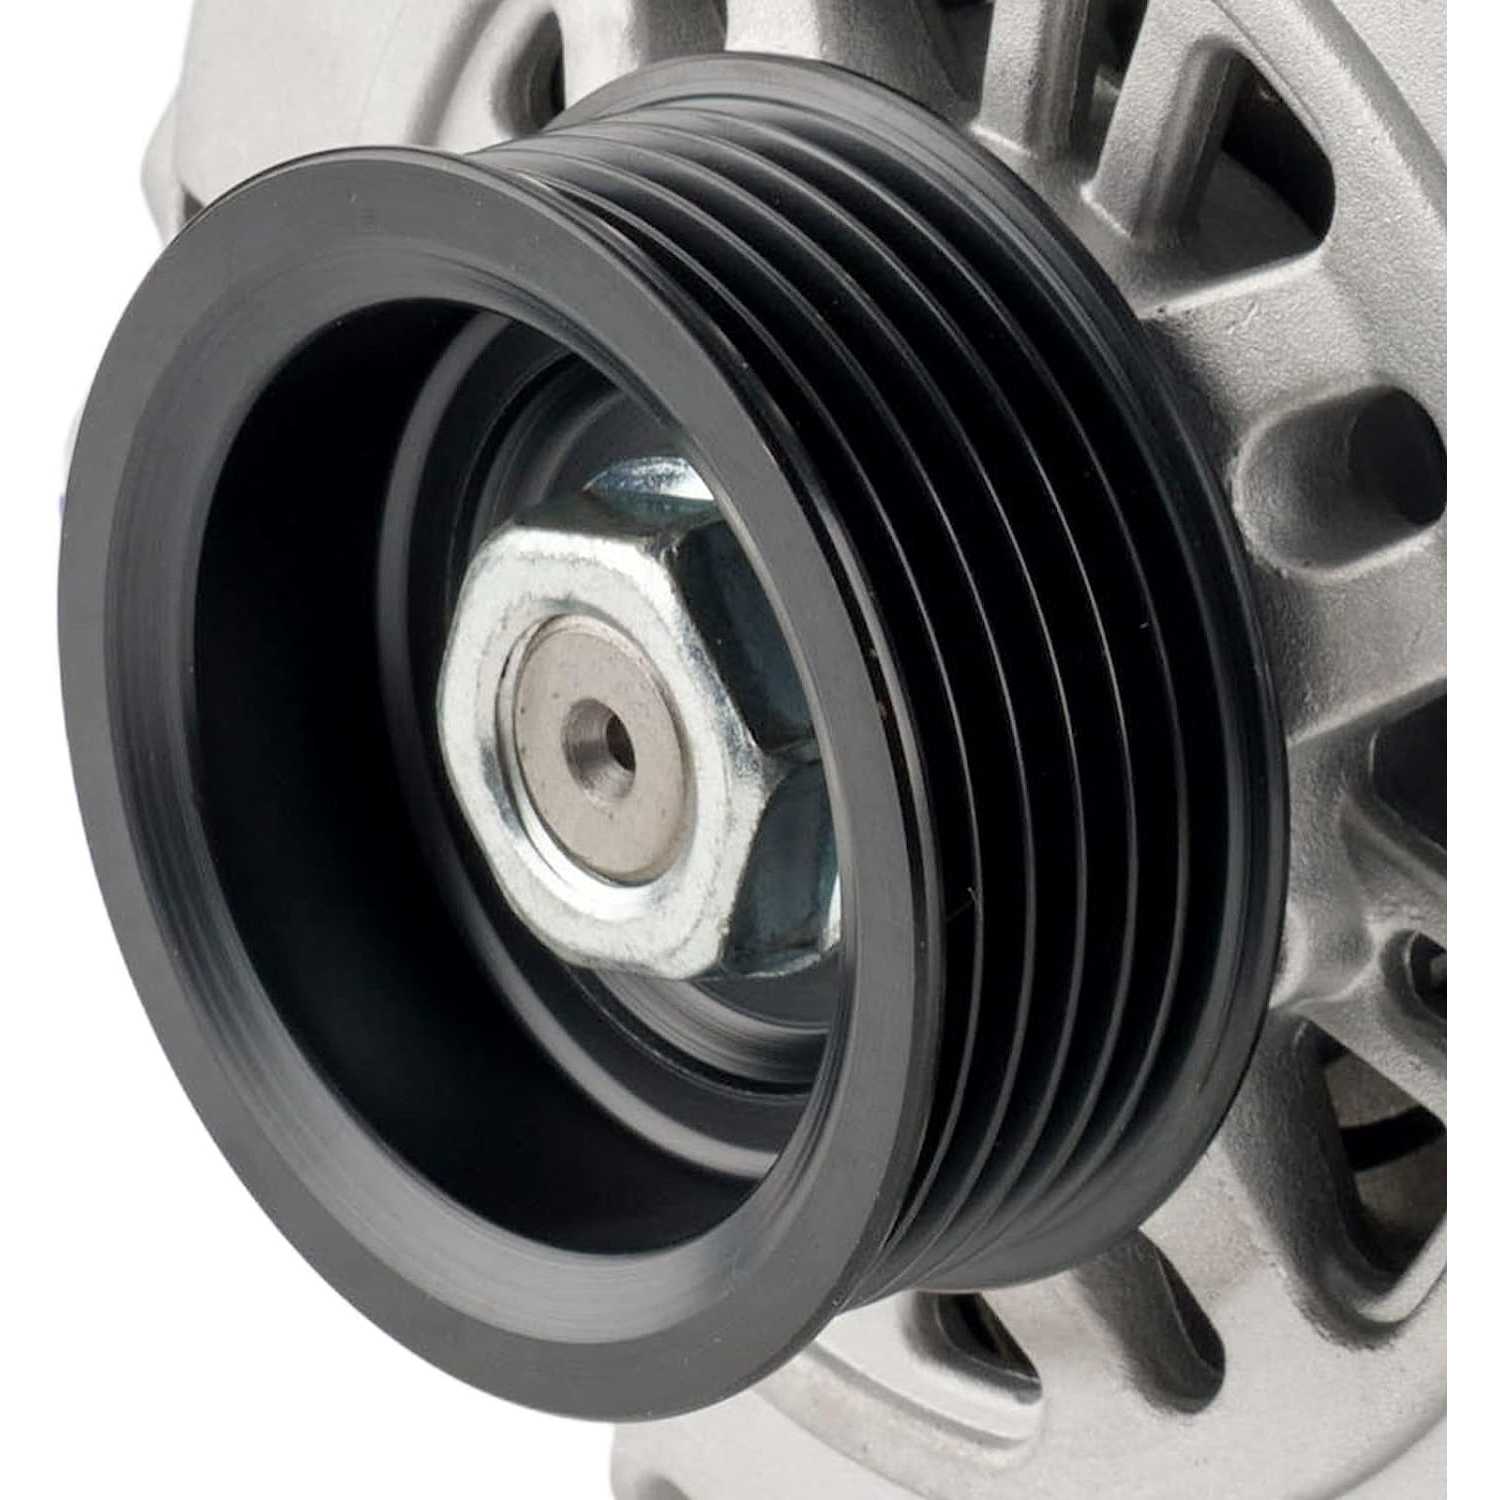
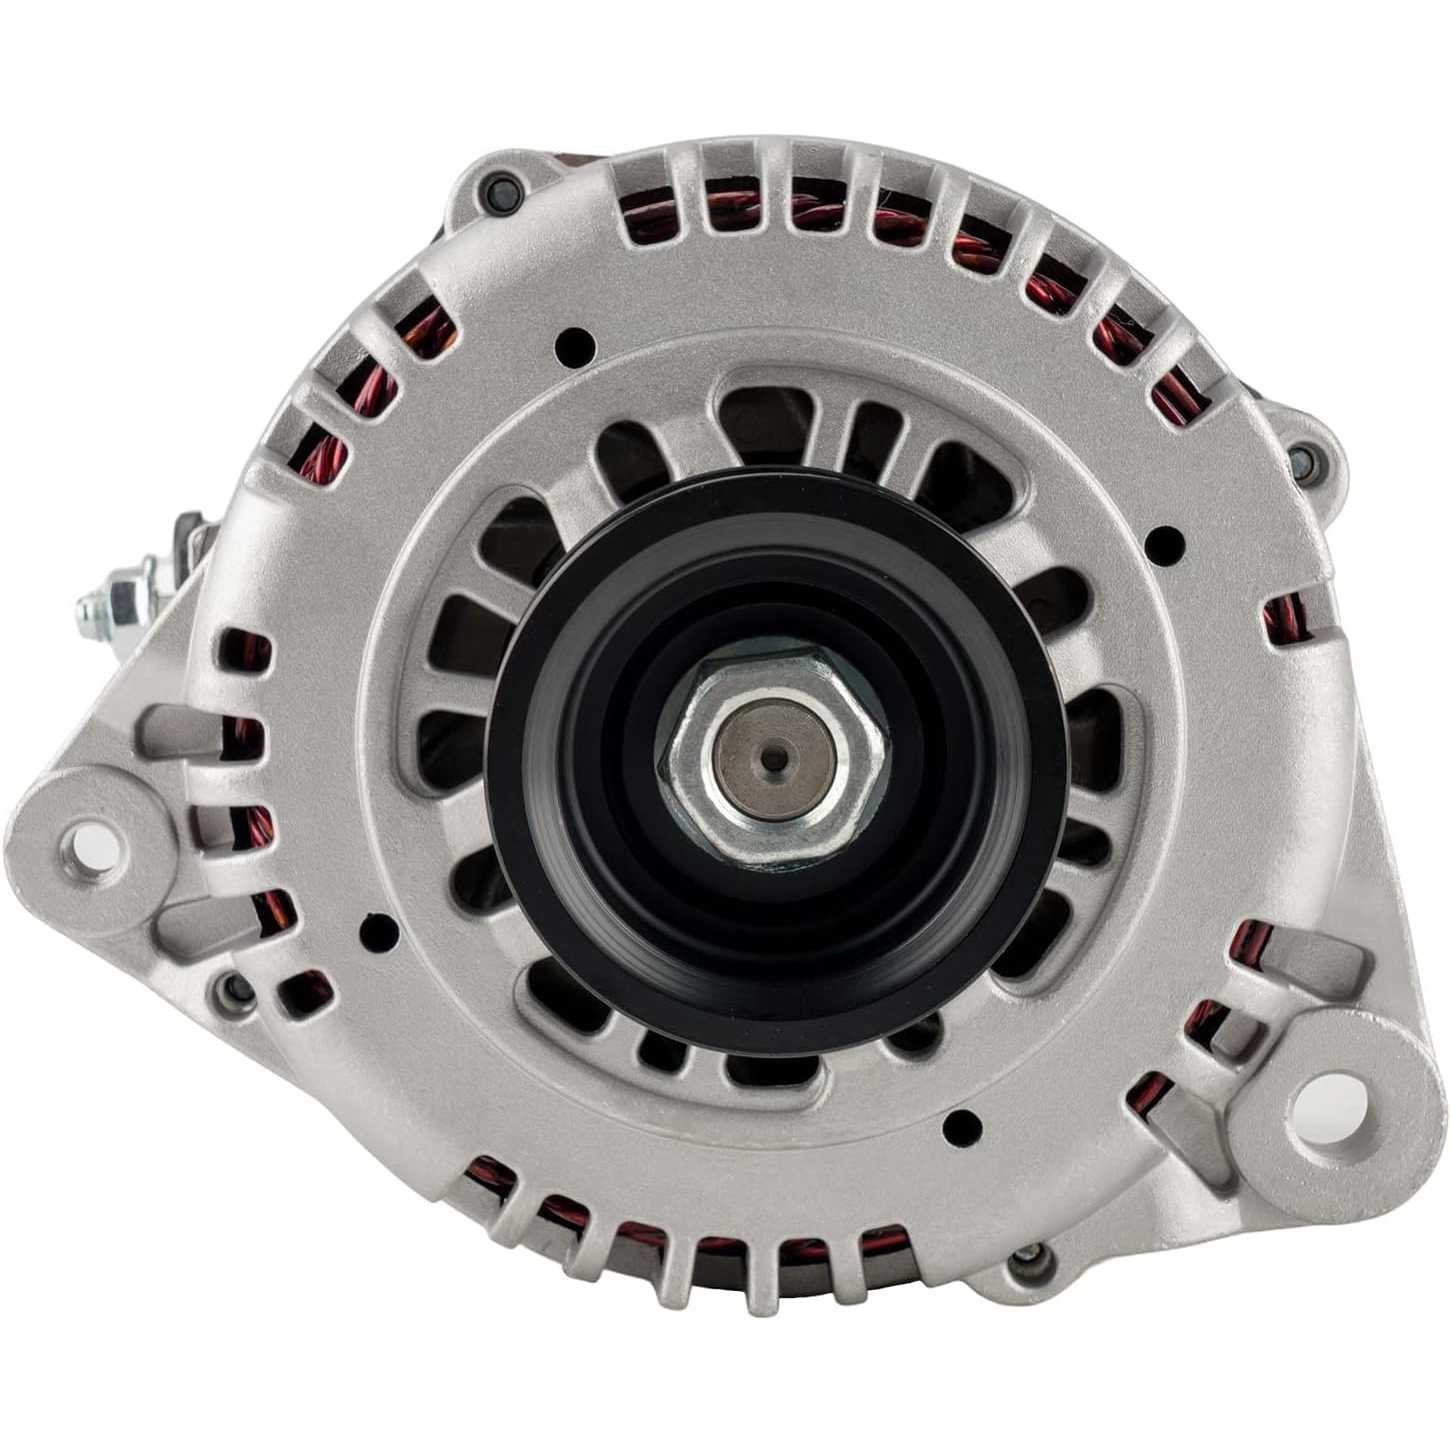
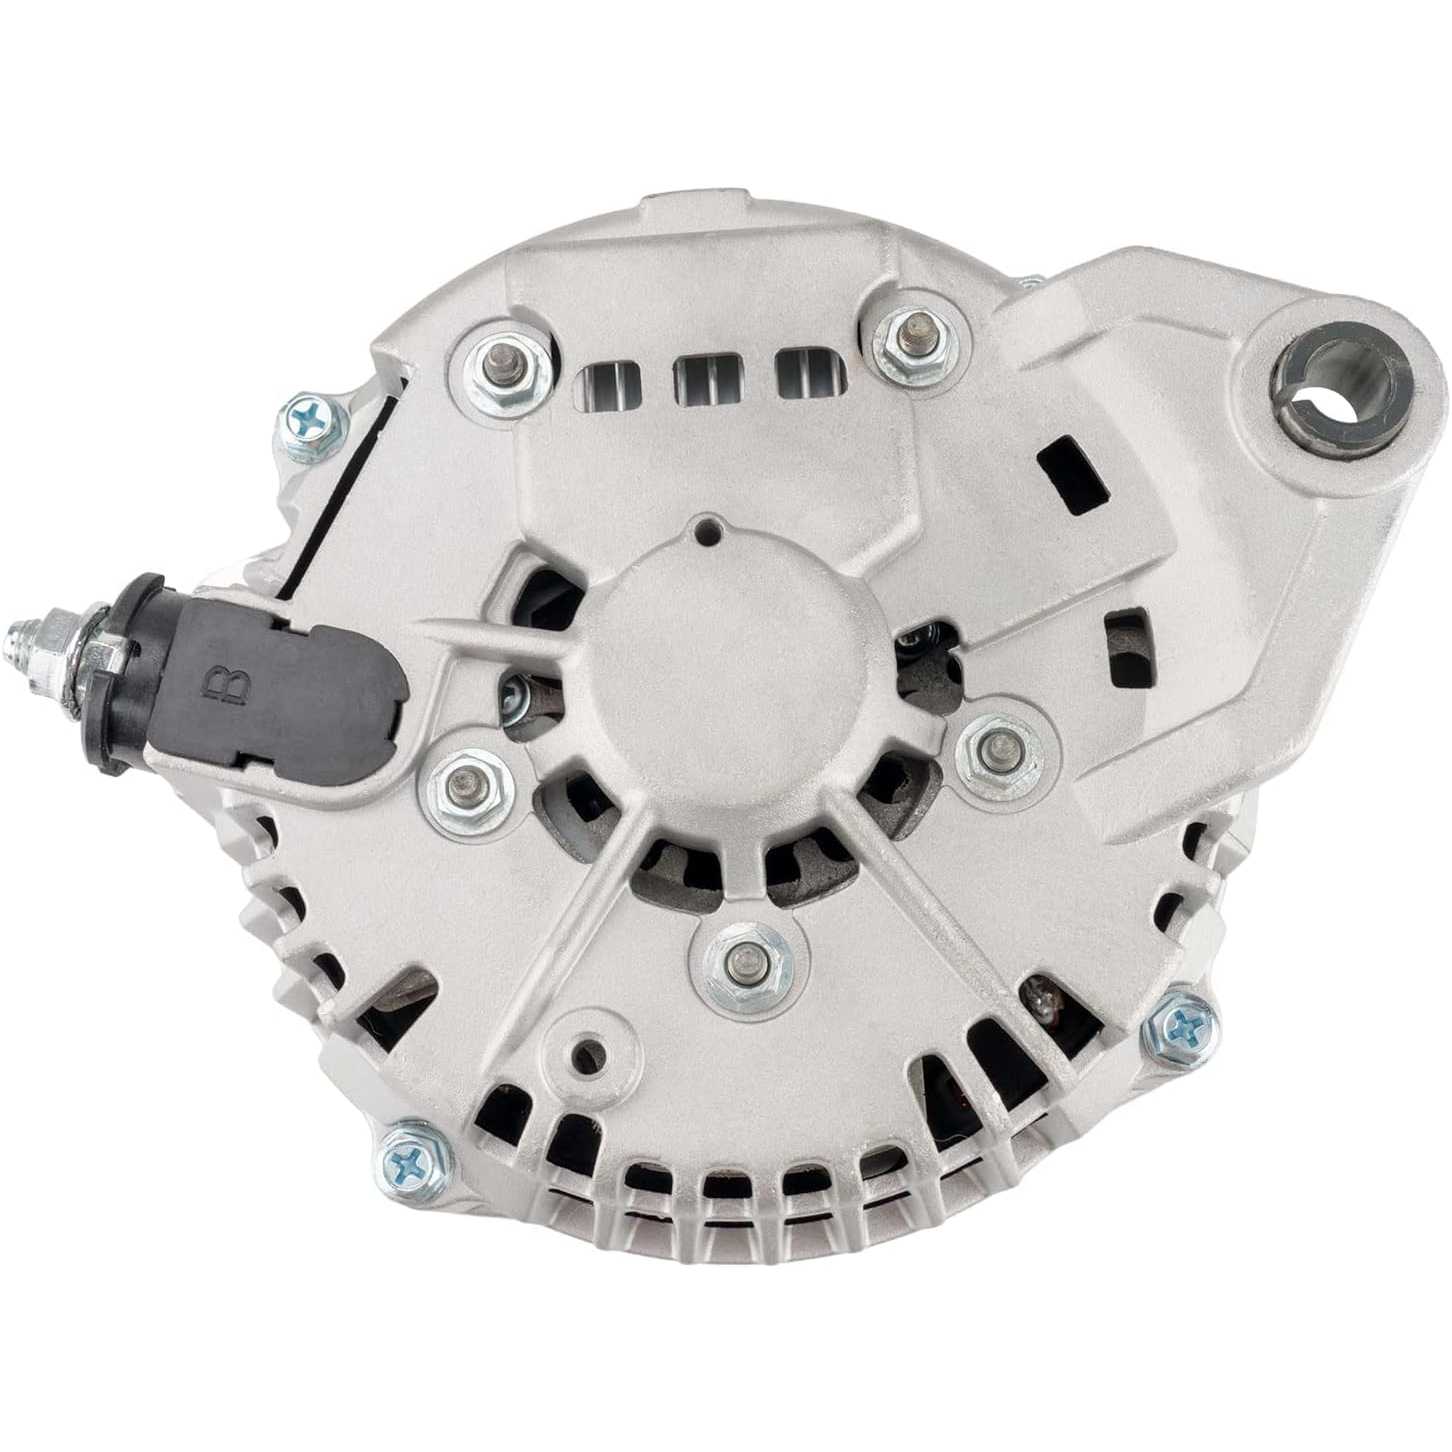


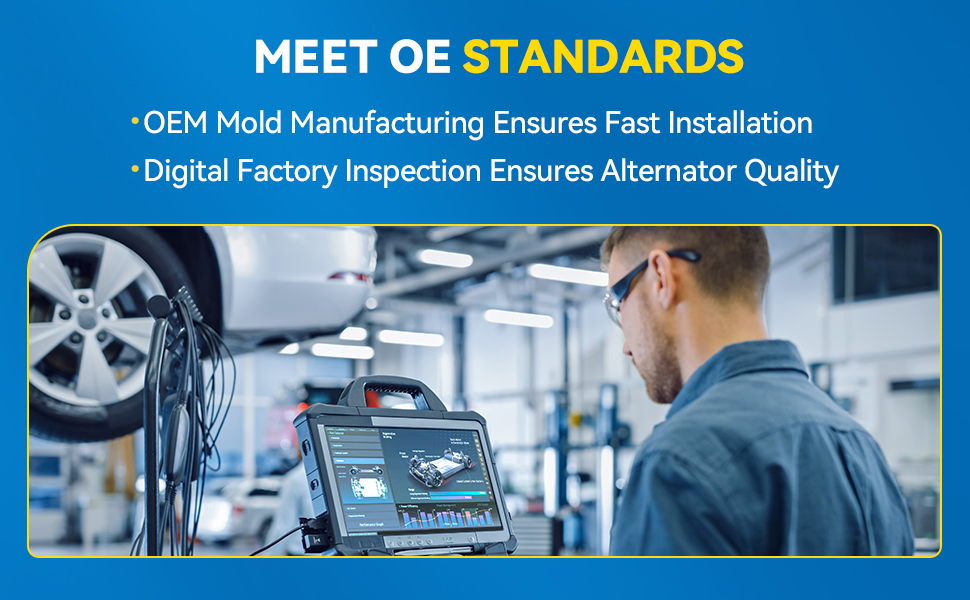
Remanufactured Excellence: These alternators exceed OEM standards, ensuring easy installation, stable current output, and long-lasting durability.
Proven Expertise: Each engineer brings decades of experience in remanufacturing alternators. Every unit undergoes a rigorous testing process with component replacements to guarantee reliability.
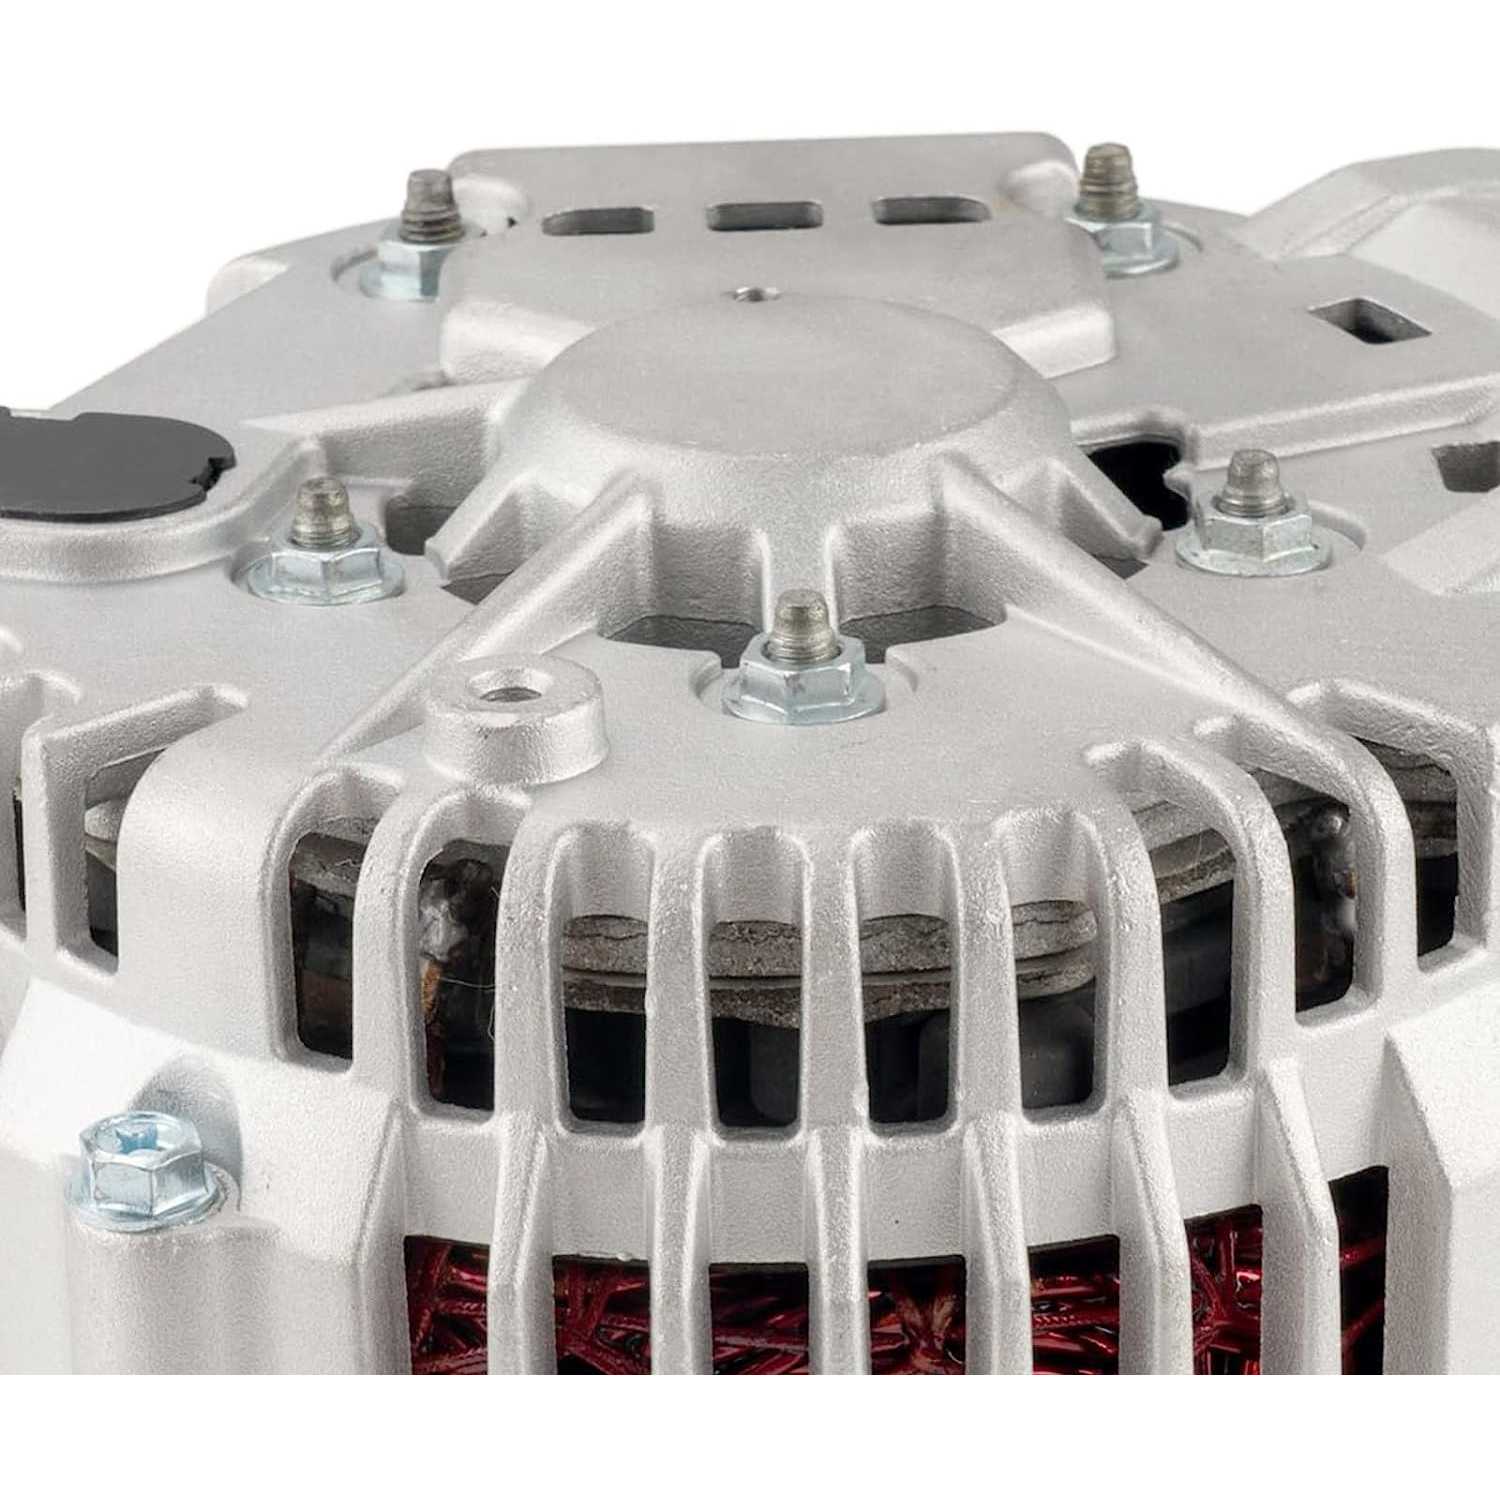
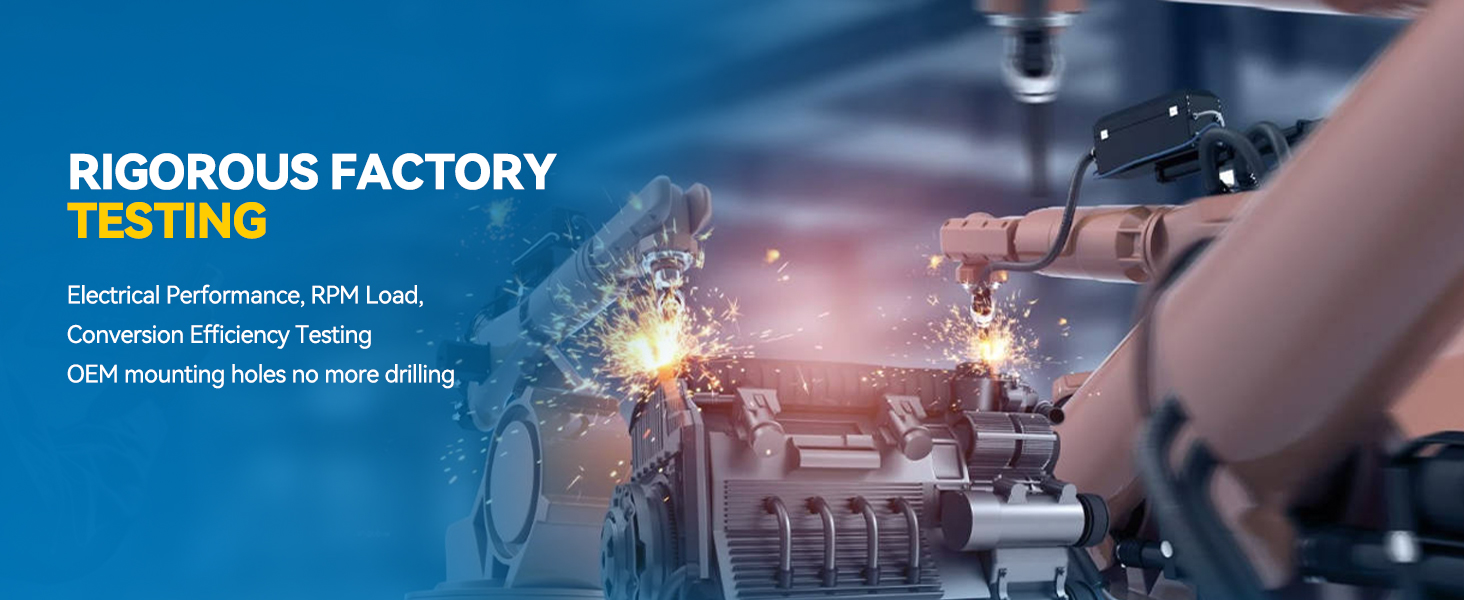
Comprehensive Testing: Rotors and stators undergo 600V insulation testing, rectifiers are subjected to 300V performance testing, Housing is re-tapped to exceed OEM specifications, voltage regulators are 100% voltage tested, and slip rings are refinished to 8-micron precision to minimize brush wear.
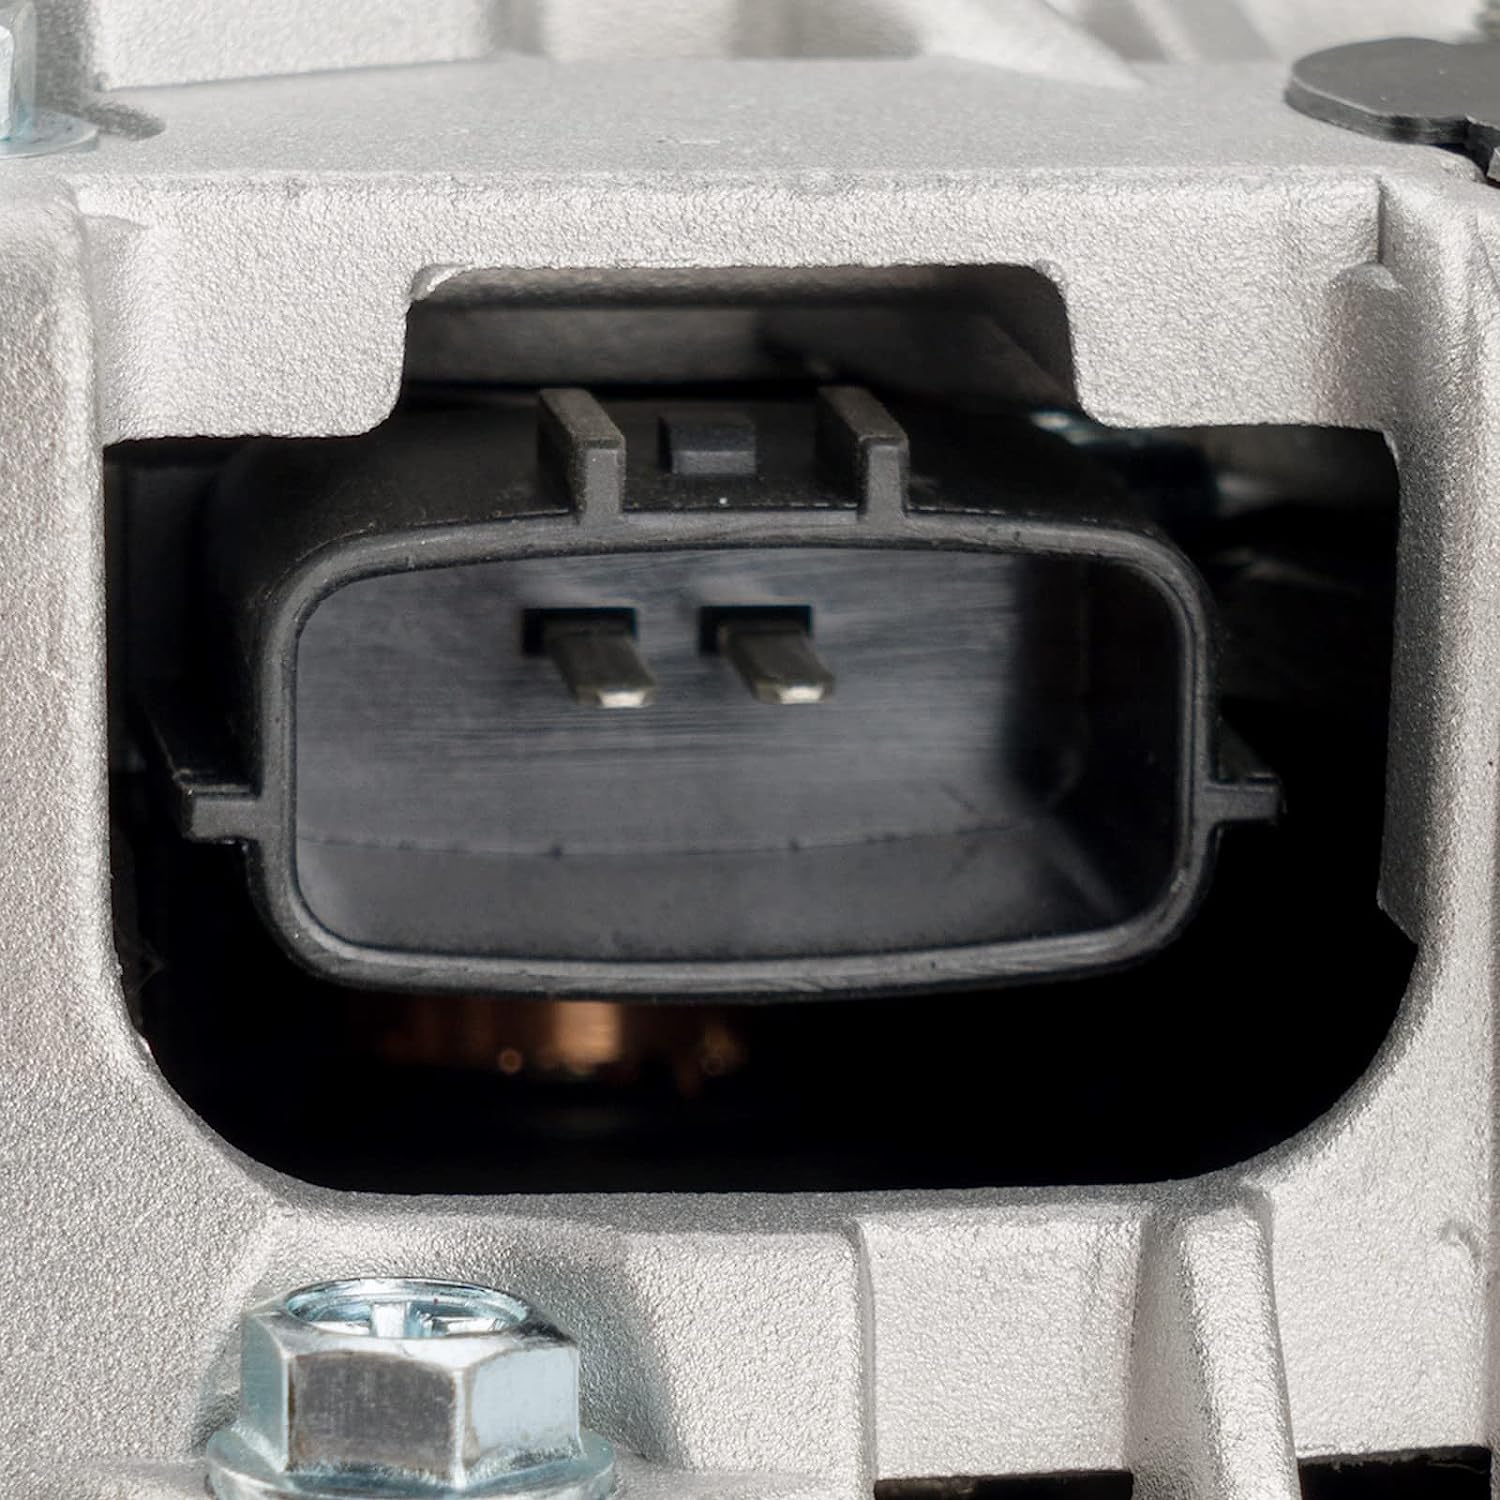
Performance Enhancement: These alternators are equipped with new bearings, rectifiers, voltage regulators, and brushes, providing reliable performance even under extreme conditions.
Exceptional Value: Remanufactured parts offer cost savings compared to new products without compromising quality, while also delivering environmental sustainability benefits.
Reliable Warranty: Backed by a 5-year warranty and a 45-day refund policy, offering comprehensive warranty support for peace of mind and satisfaction.
| Year | Make | Model | Submodel | Engine |
|---|---|---|---|---|
| - |
| Year | Make | Model | Engine |
|---|---|---|---|
| 1998-2001 | INFINITI | I30 | 3.0L V6 |
| 2002-2004 | INFINITI | I35 | 3.5L V6 |
| 1995-2000 | Nissan | Maxima | 3.0L V6 |
| 1995-2000 | Nissan | Maxima | 3.5L V6 |
| 2002-2003 | Nissan | Maxima | 3.0L V6 |
| 2002-2003 | Nissan | Maxima | 3.5L V6 |
| 2003-2007 | Nissan | Murano | 3.5L V6 |
| 2009 | Nissan | Murano | 3.5L V6 |

This product is intended for off-road, racing, or competition use only and is not legal for public road use or for vehicles subject to emissions regulations in the United States. Vehicles equipped with this product may fail emissions or state inspections.
Customers are responsible for ensuring compliance with all applicable local, state, and federal laws. Installation of aftermarket parts may also affect your vehicle warranty—please consult your manufacturer for warranty coverage.
International legality may vary; users should confirm local laws before installation.
| 5 Star |
|
|
50% |
| 4 Star |
|
|
50% |
| 3 Star |
|
|
0% |
| 2 Star |
|
|
0% |
| 1 Star |
|
|
0% |

