


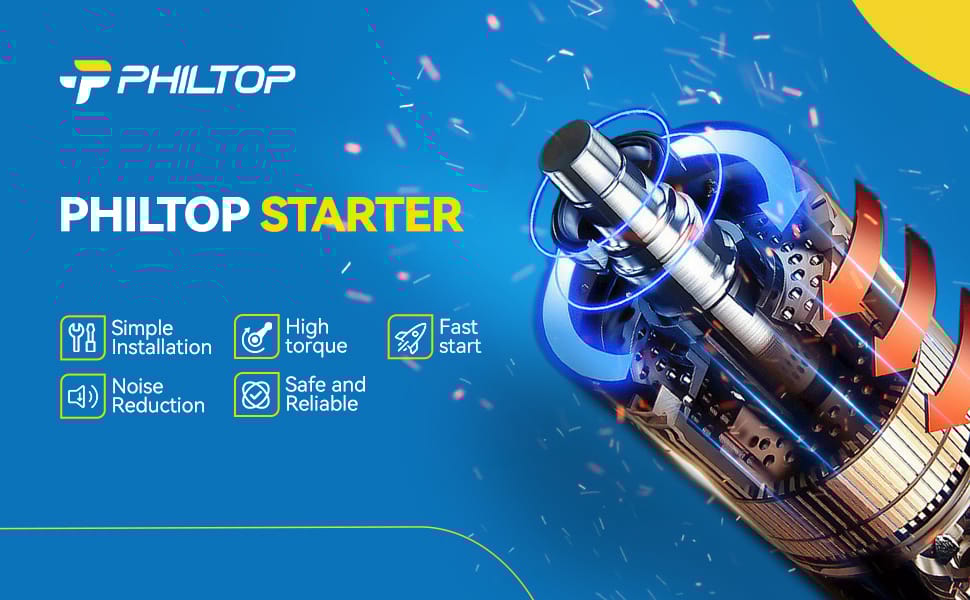
About PHILTOP ®
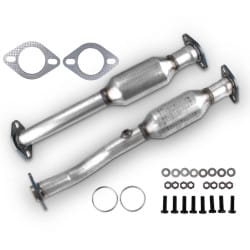
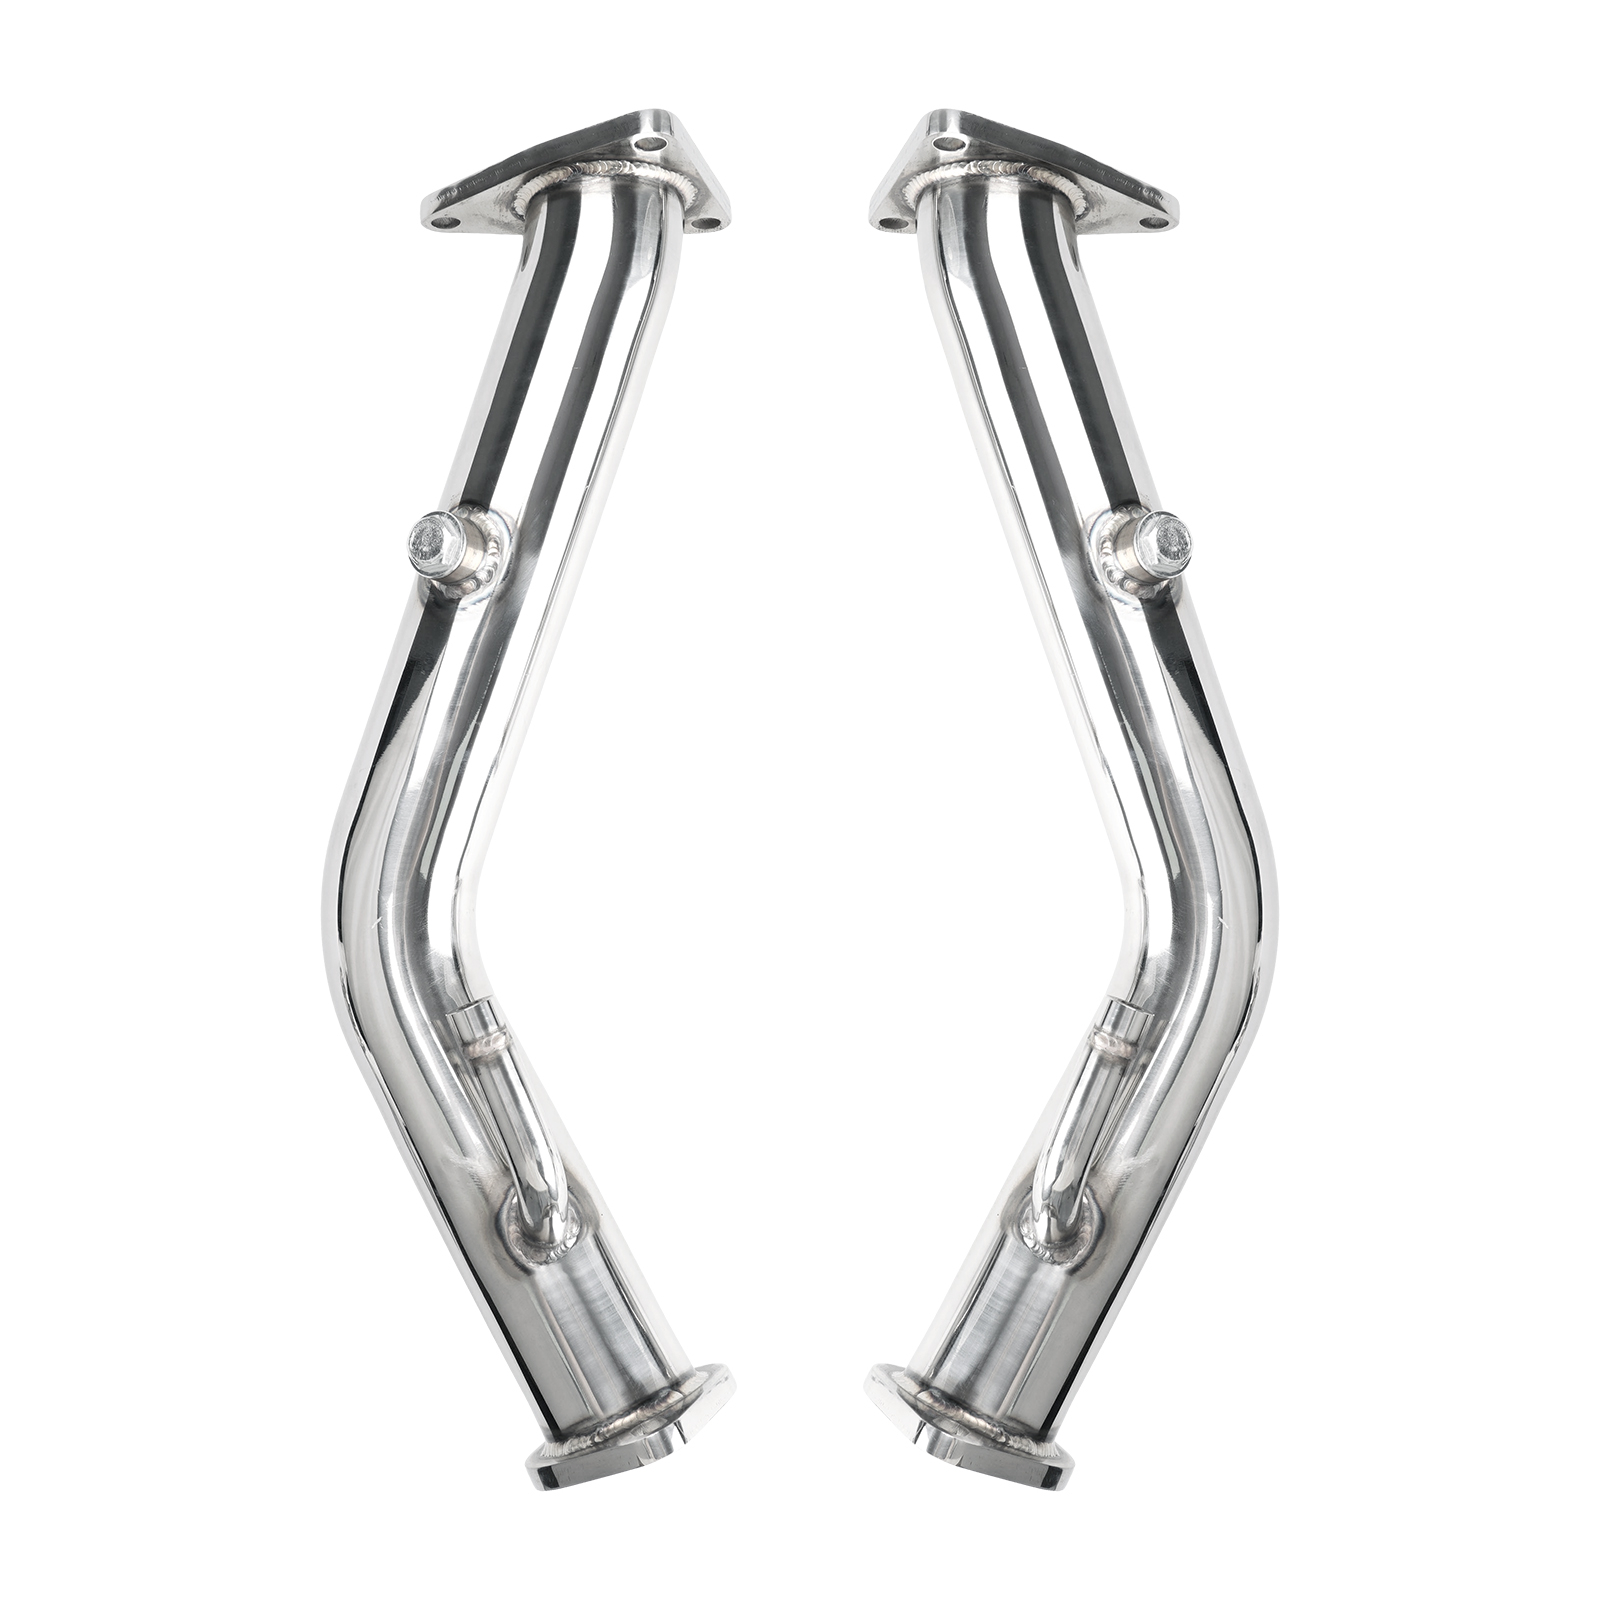
Exhaust Manifolds & Headers
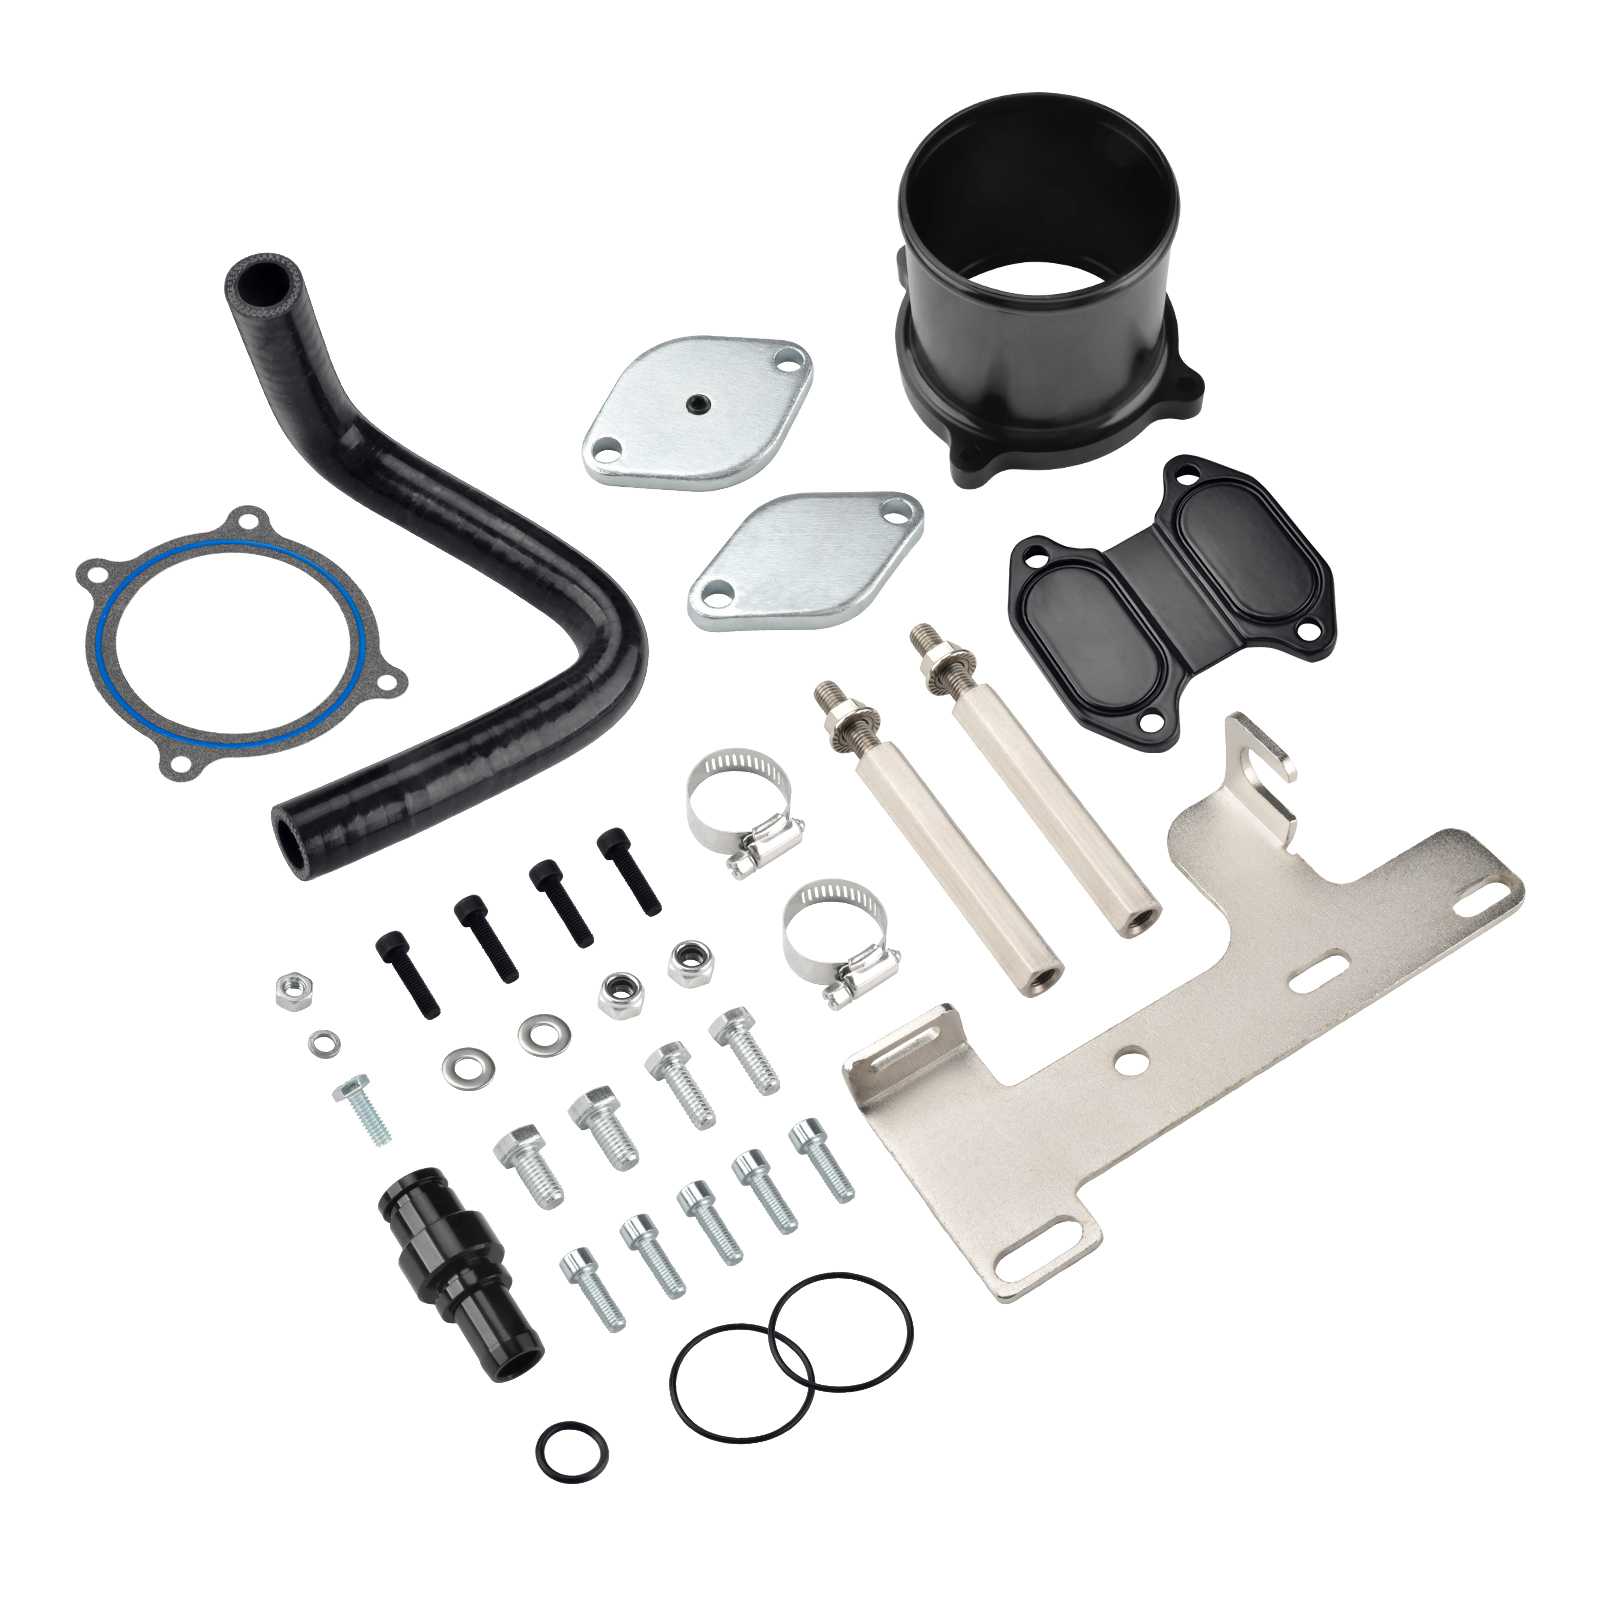
Diesel All-in-One Kits
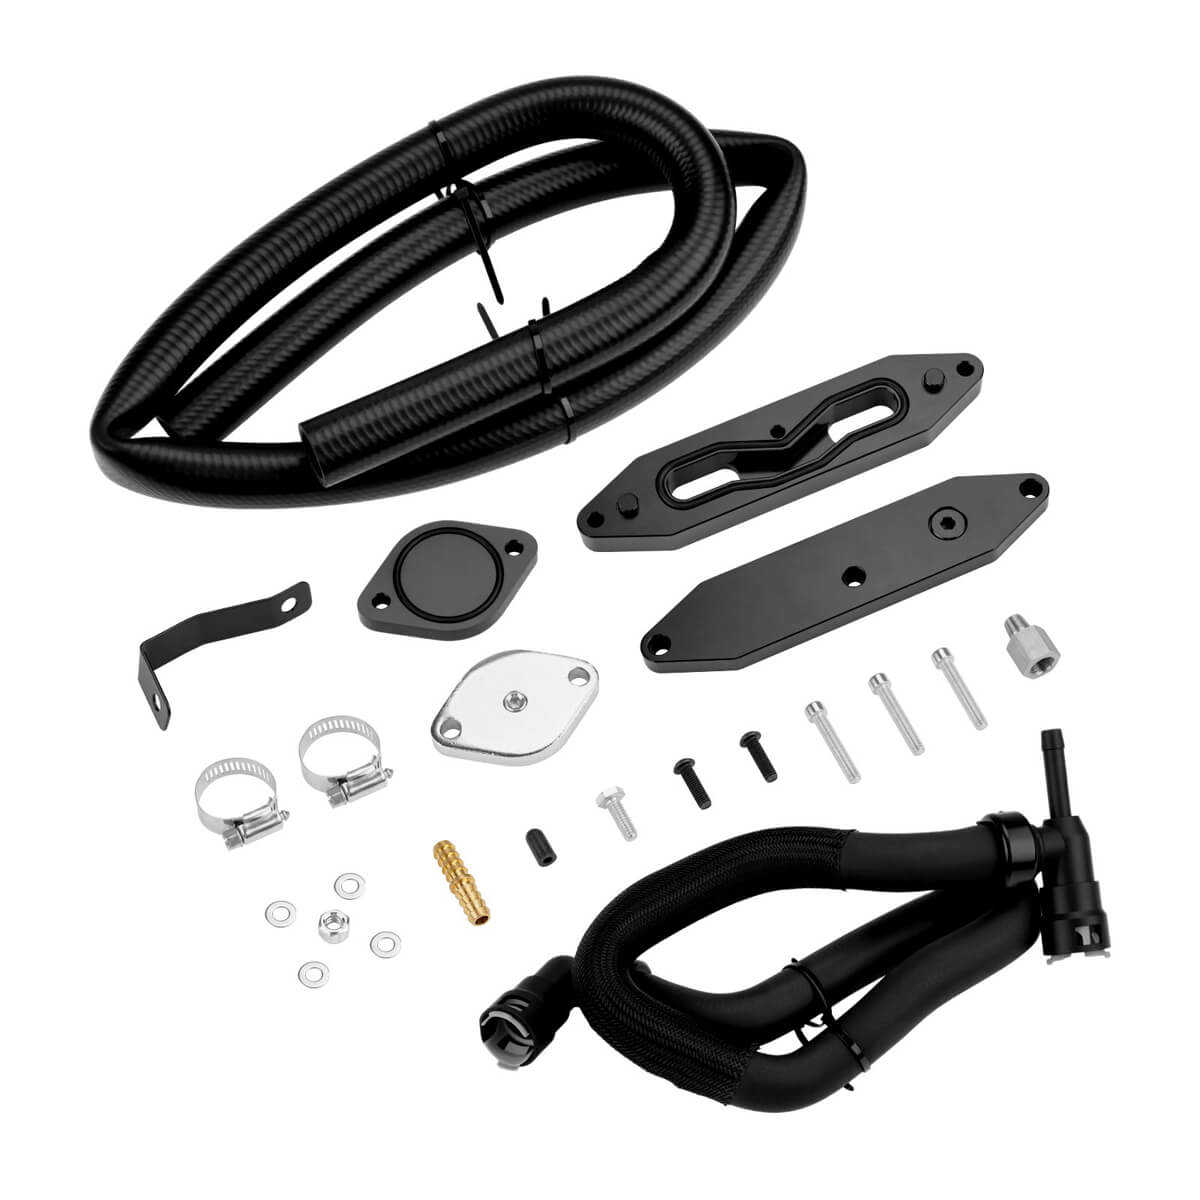
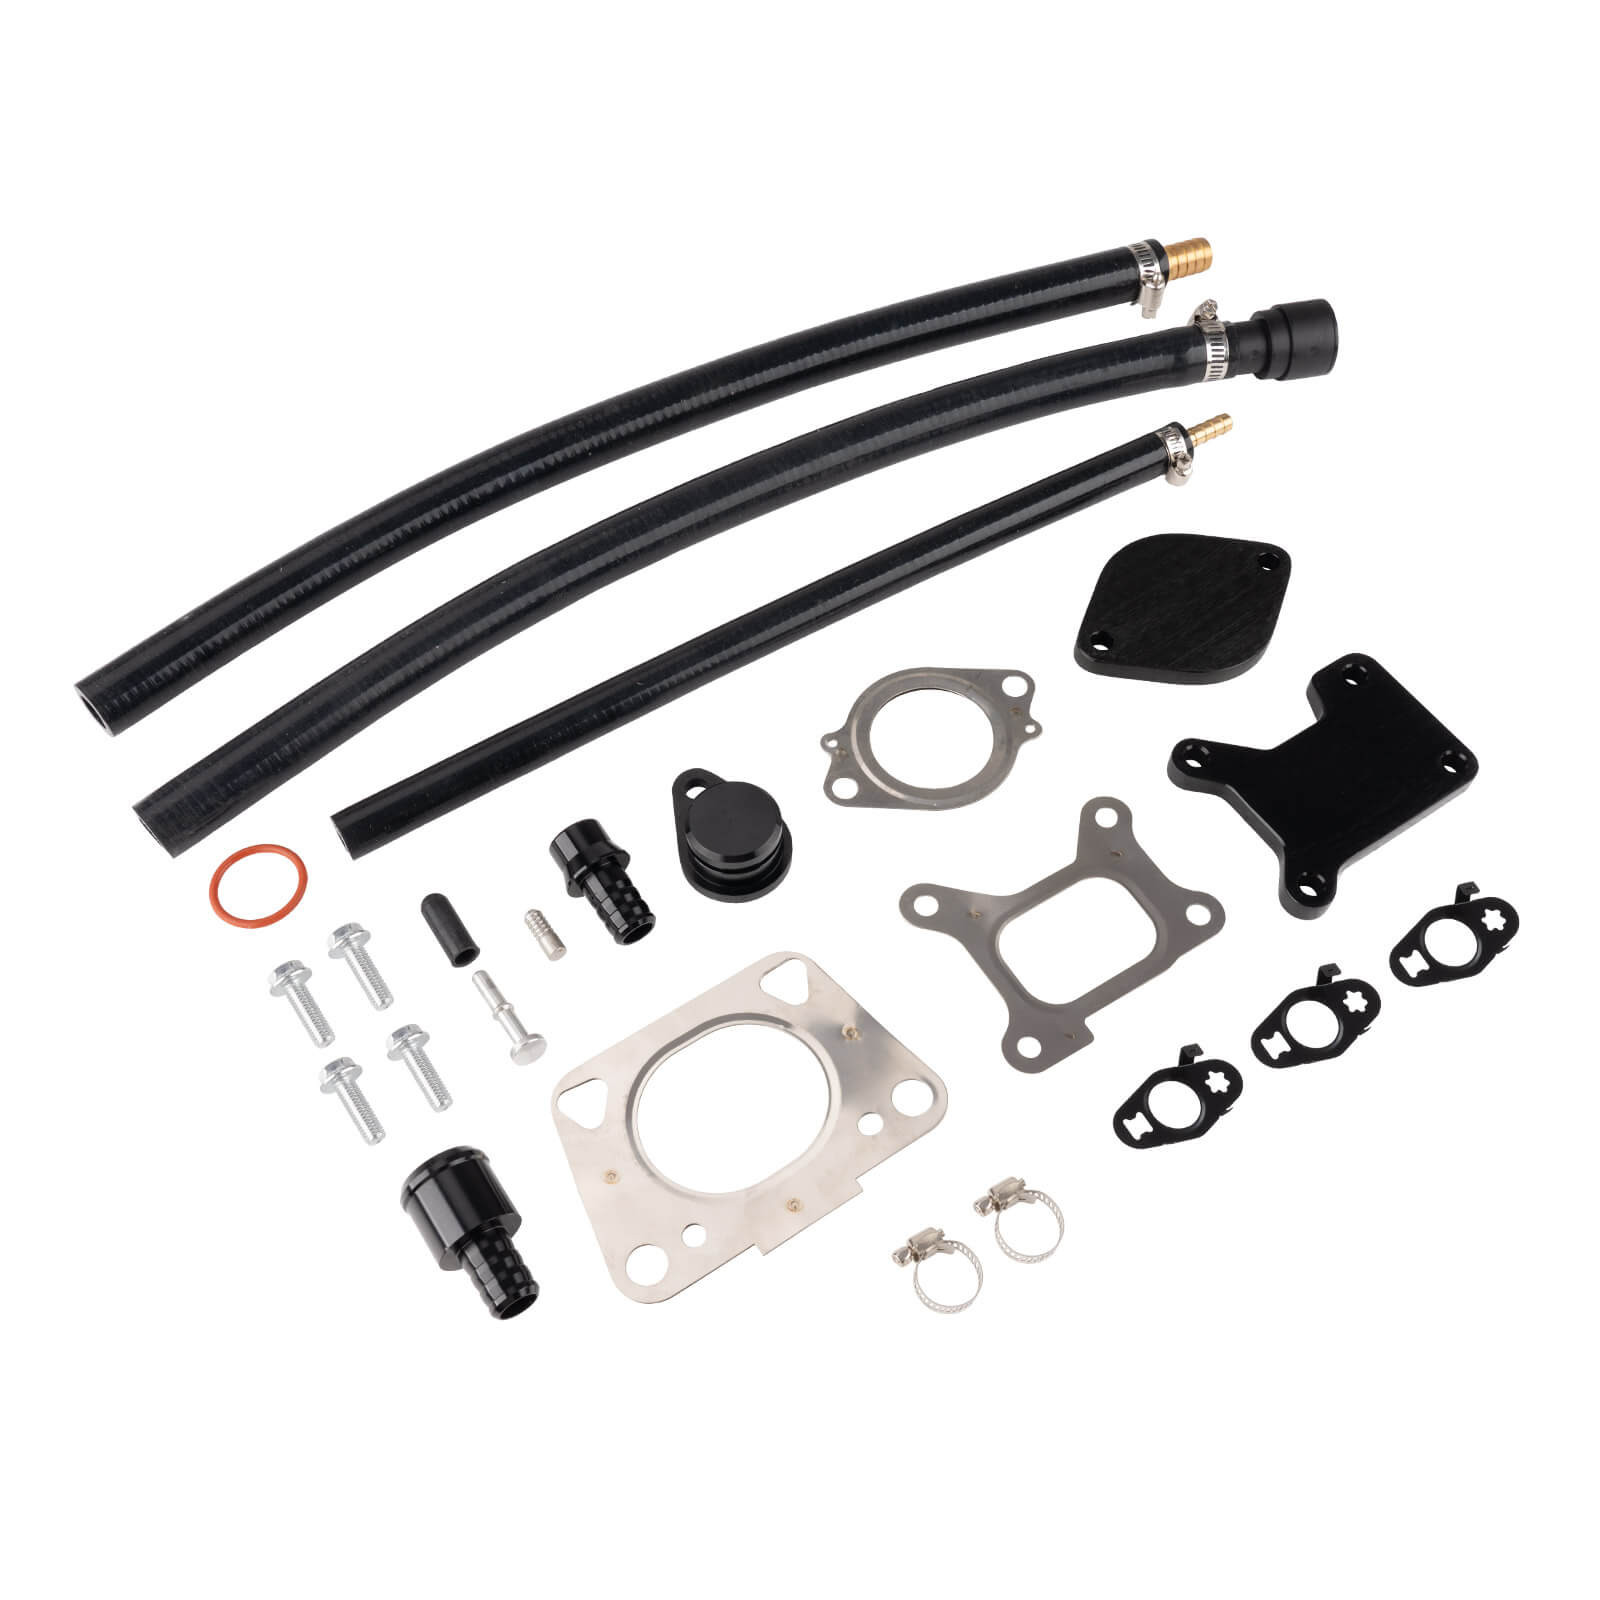
EGR Delete Kit
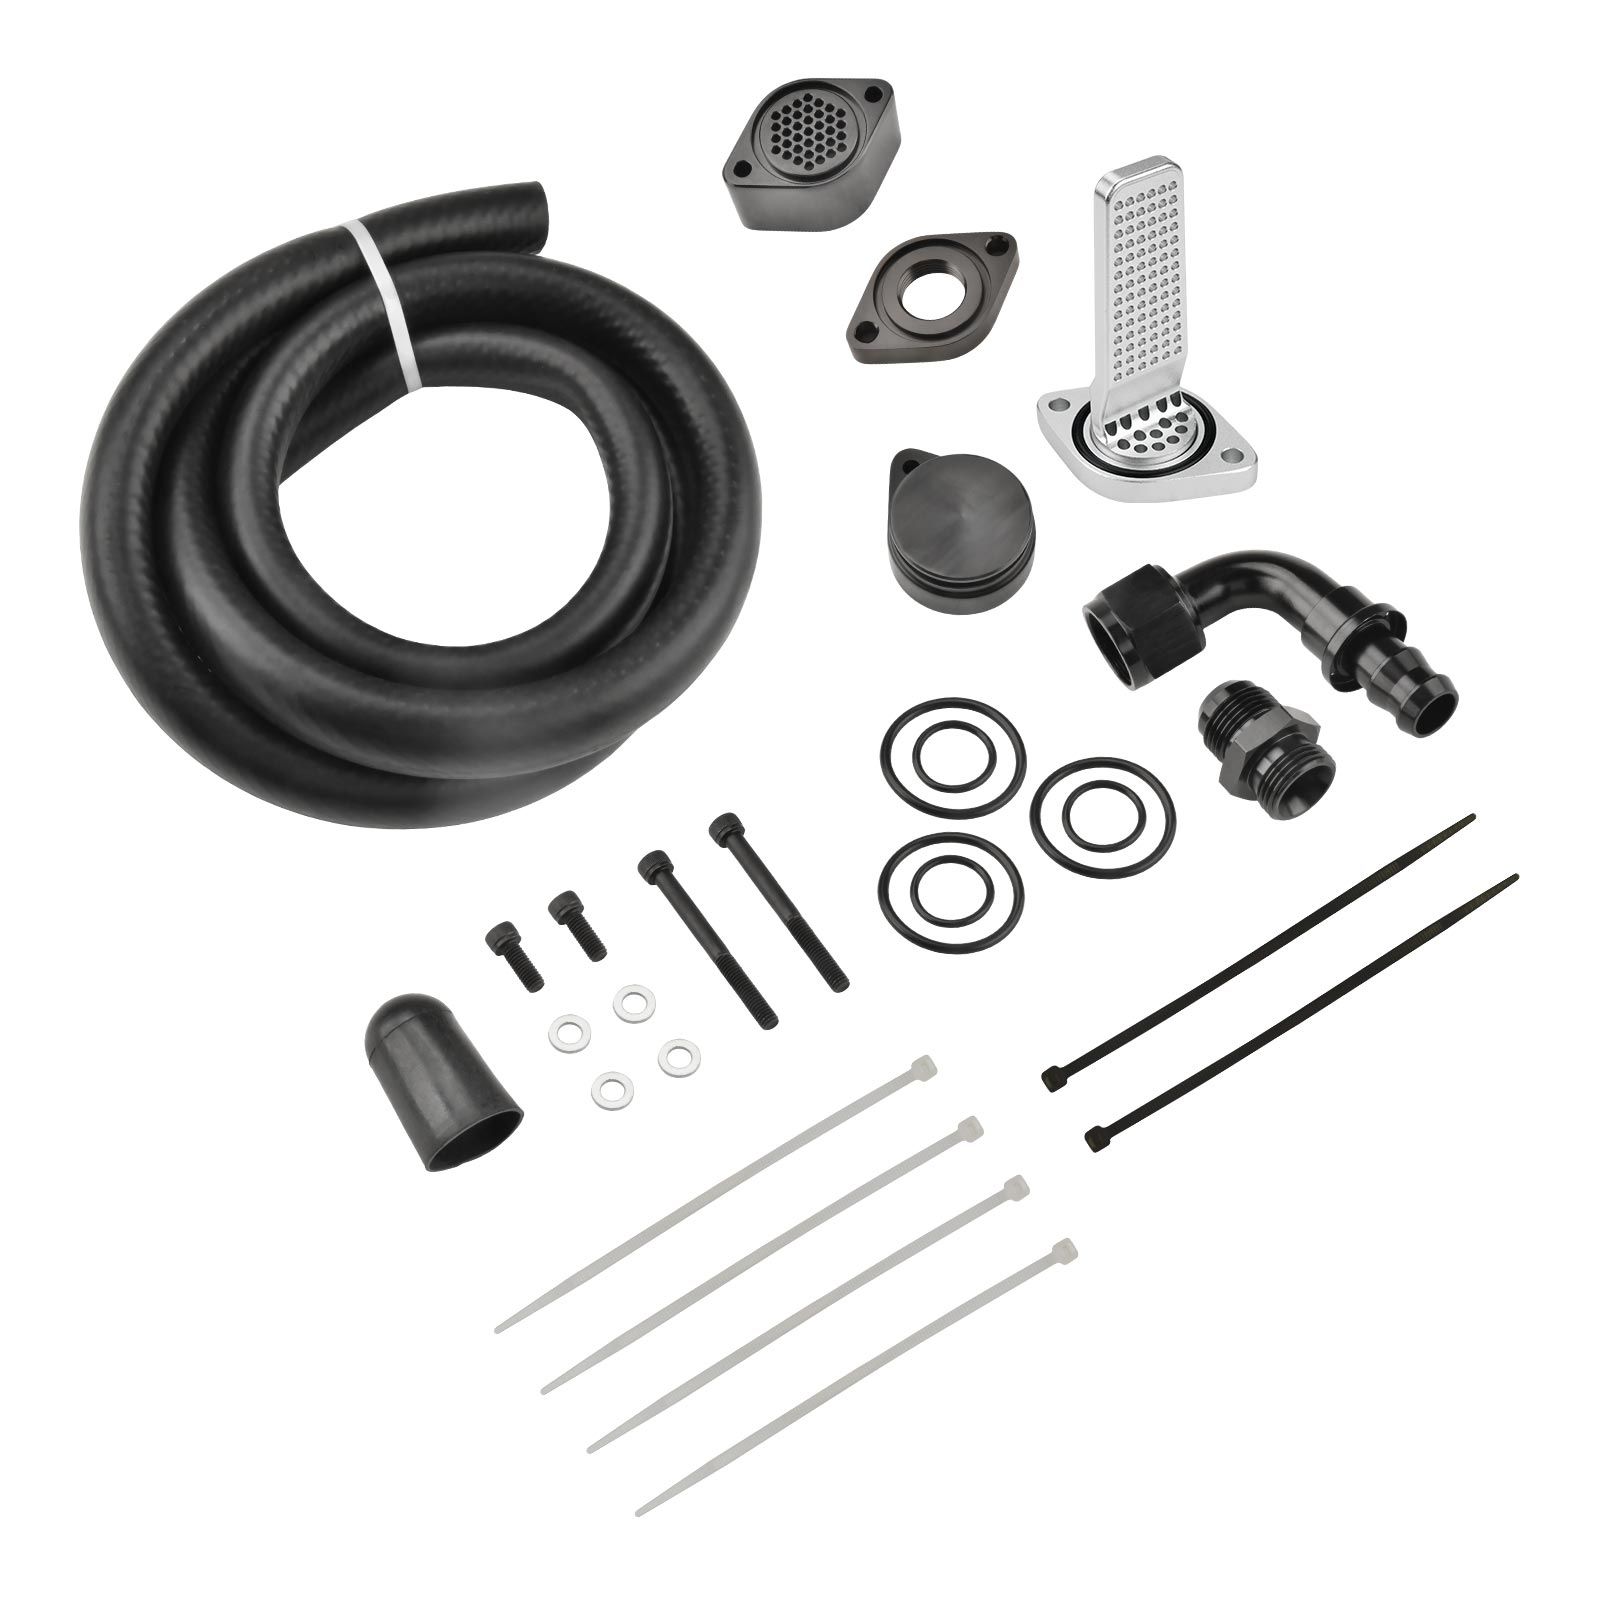
CCV PCV Reroute Kit
Exhaust Cutout Kits
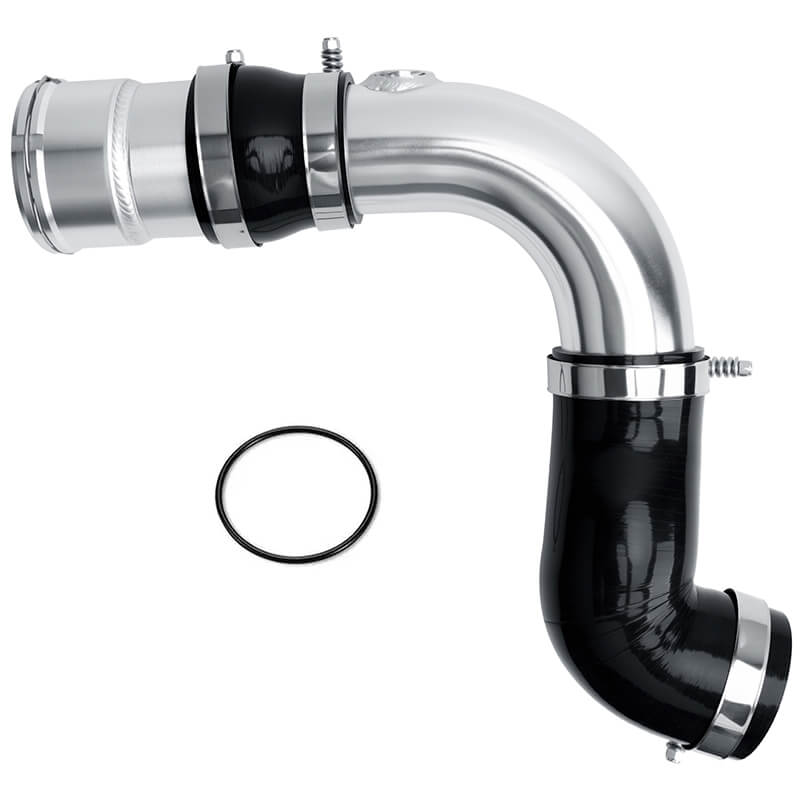
Intercooler Pipe Kit
Tuner


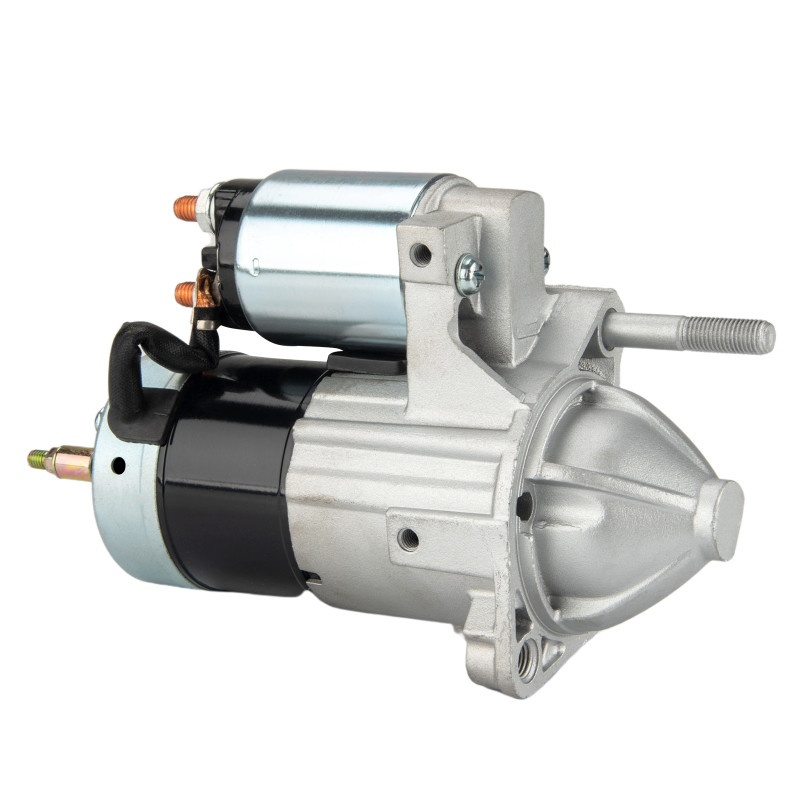
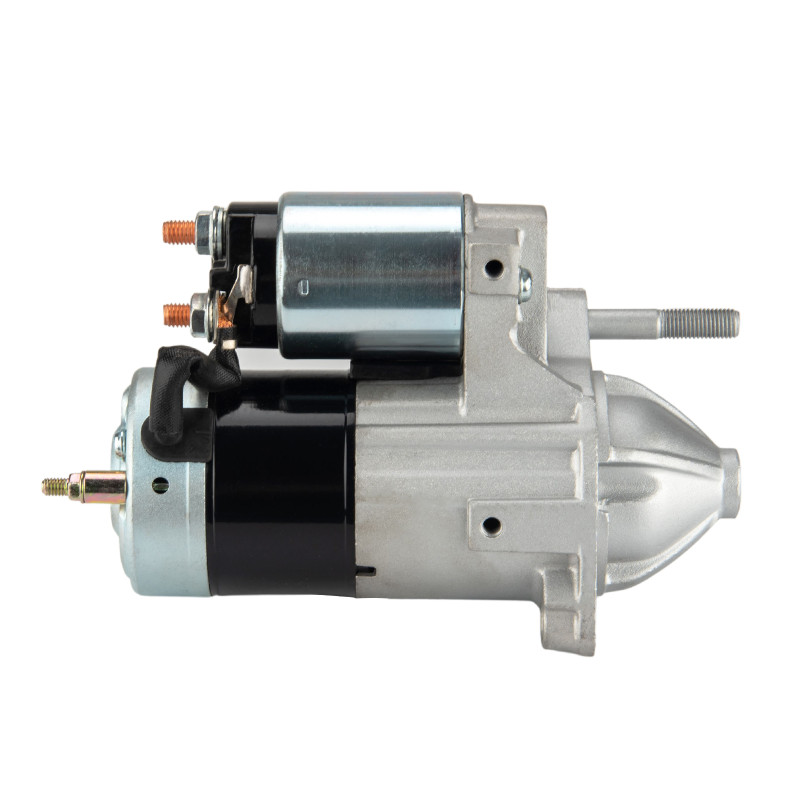
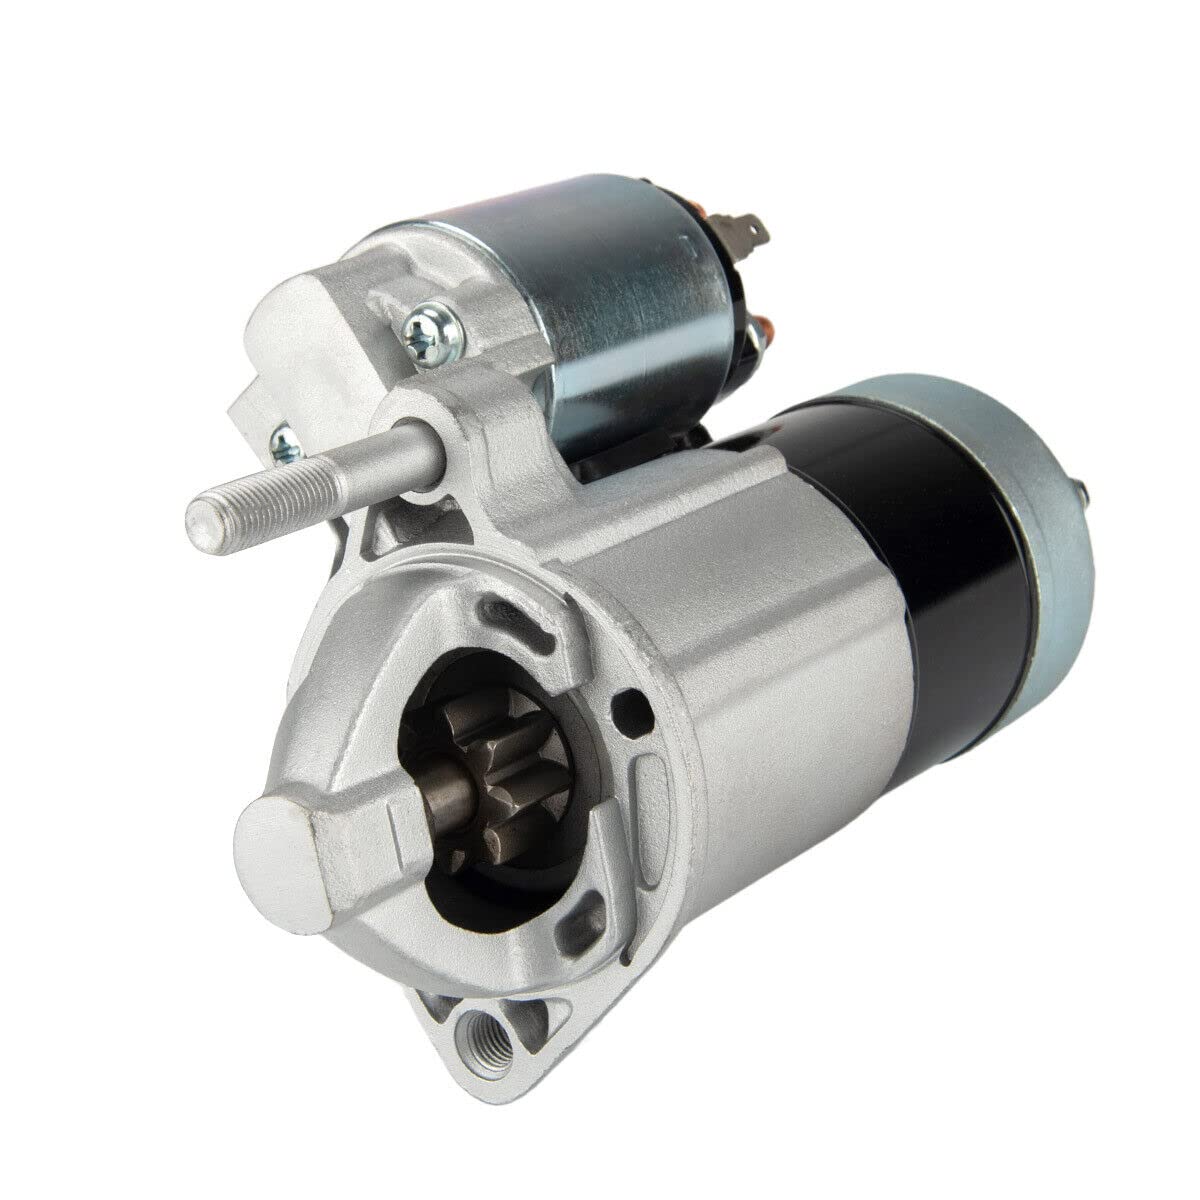
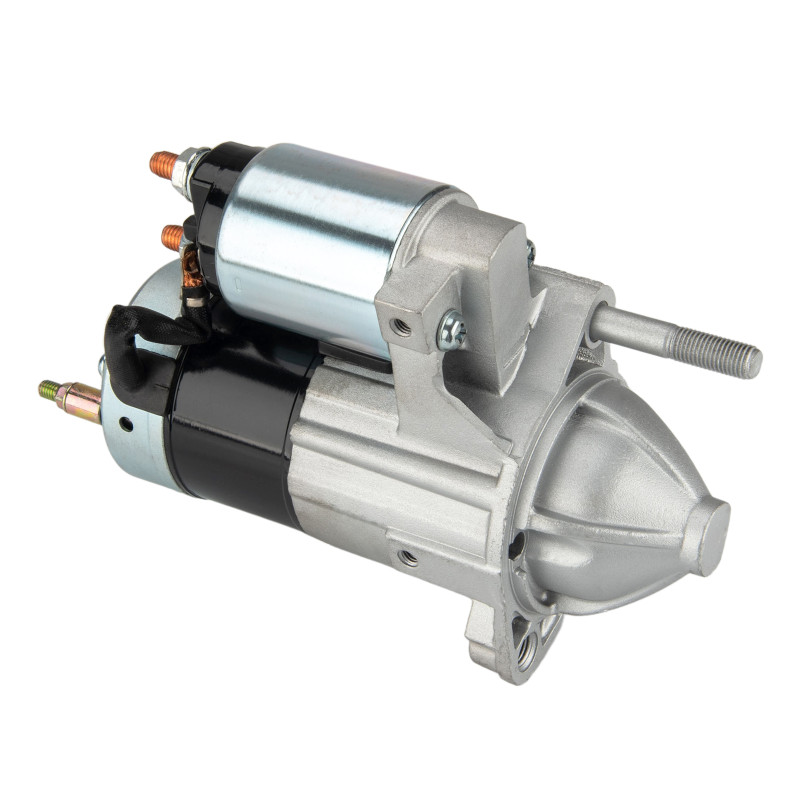
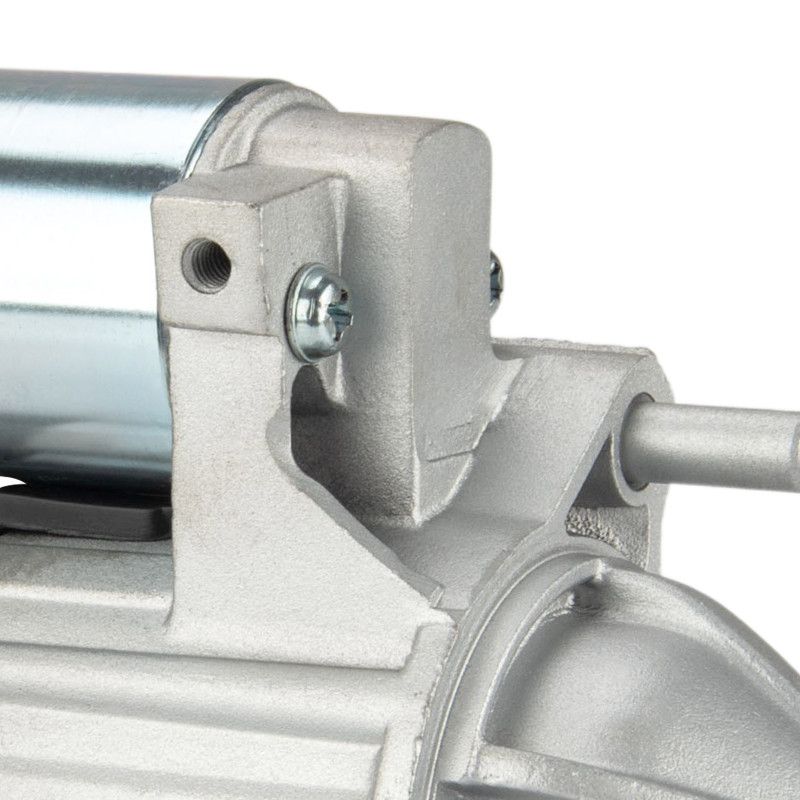
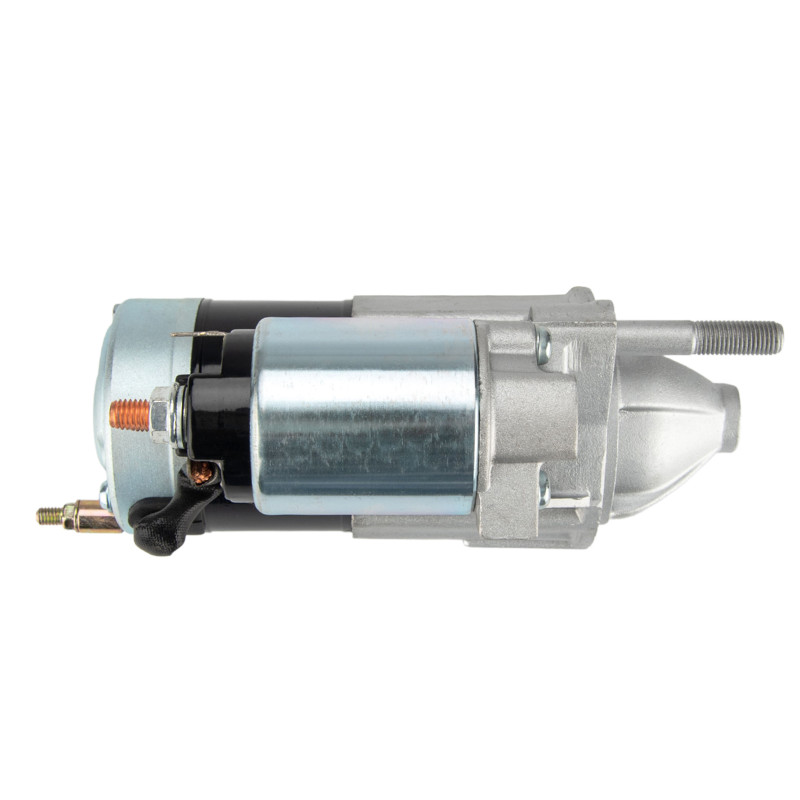
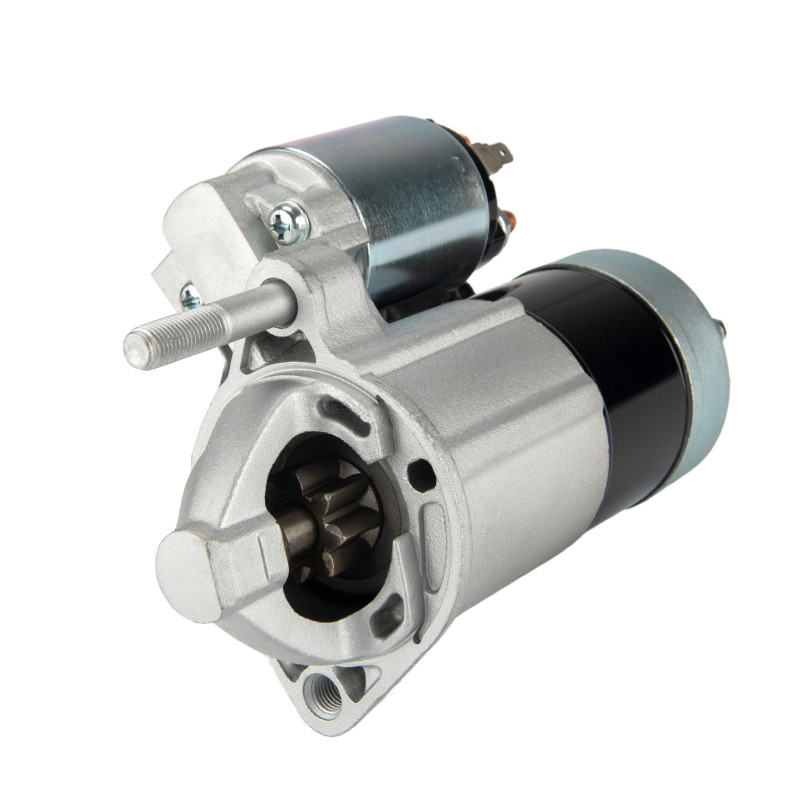
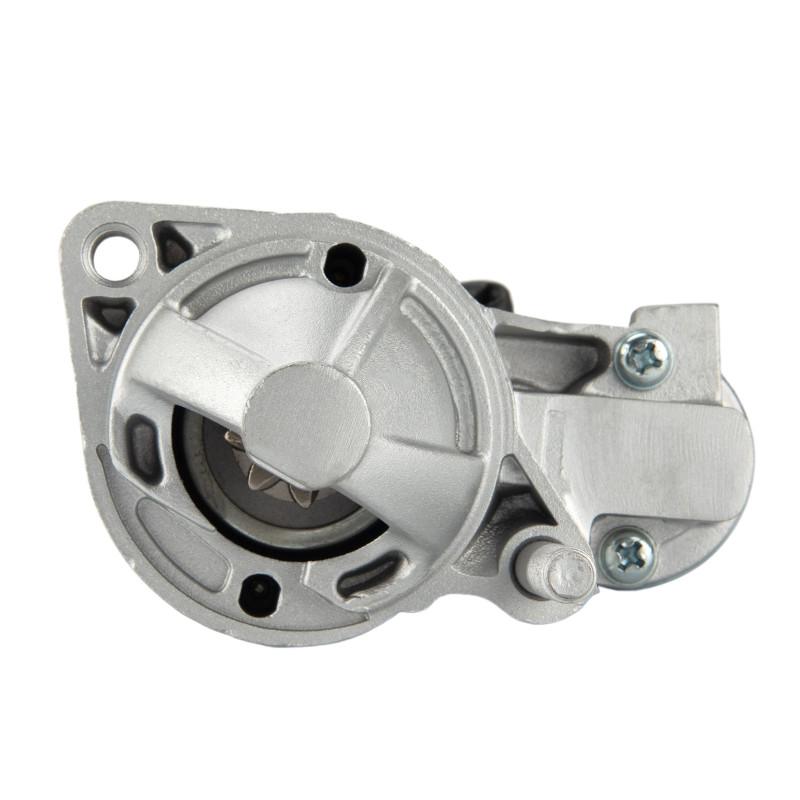


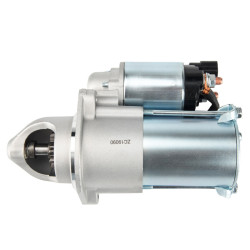
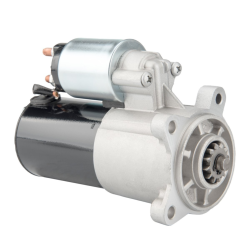
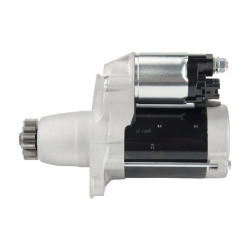
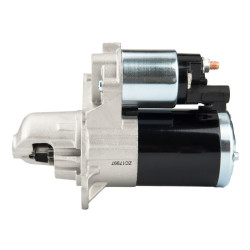
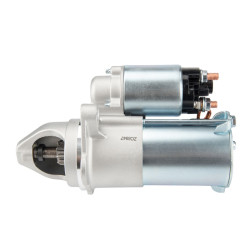
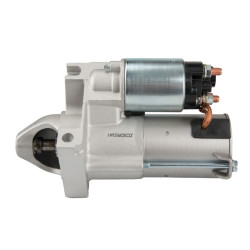
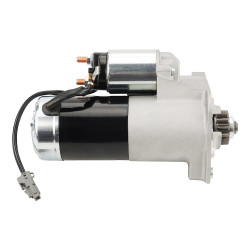
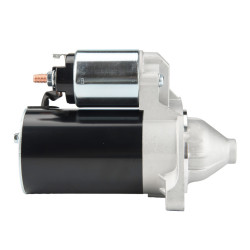
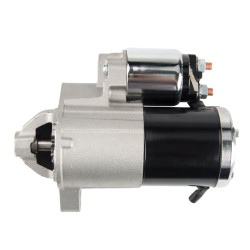
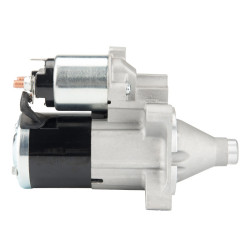
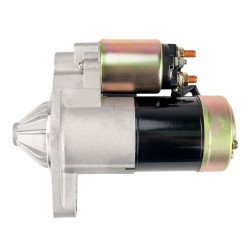
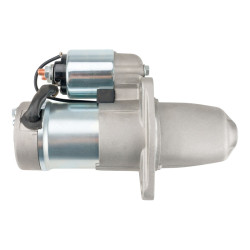
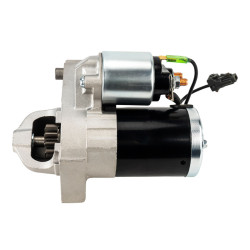
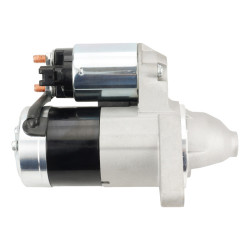
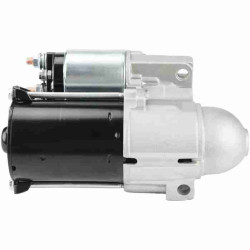
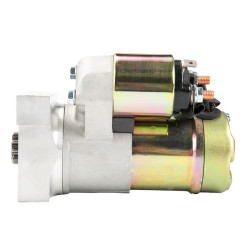
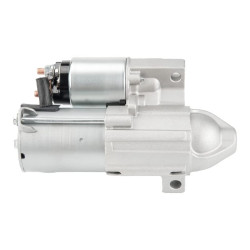
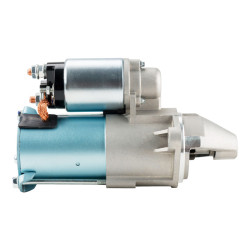
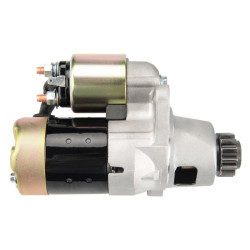
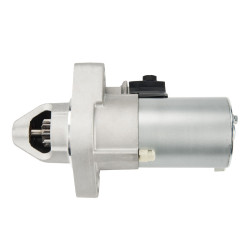
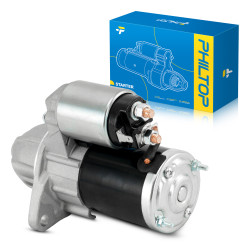
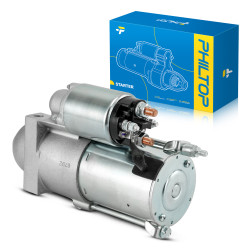
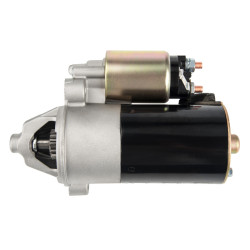
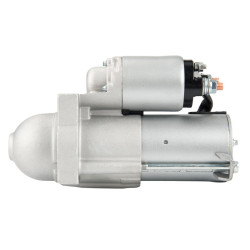
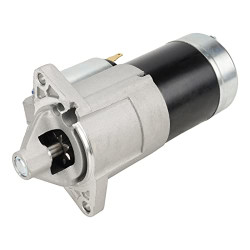
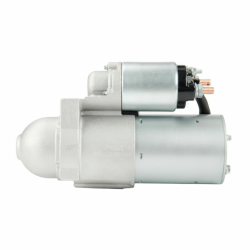
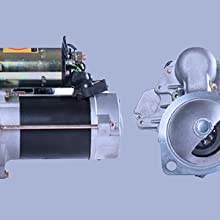
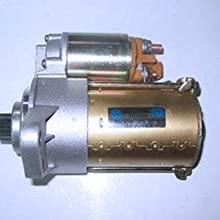
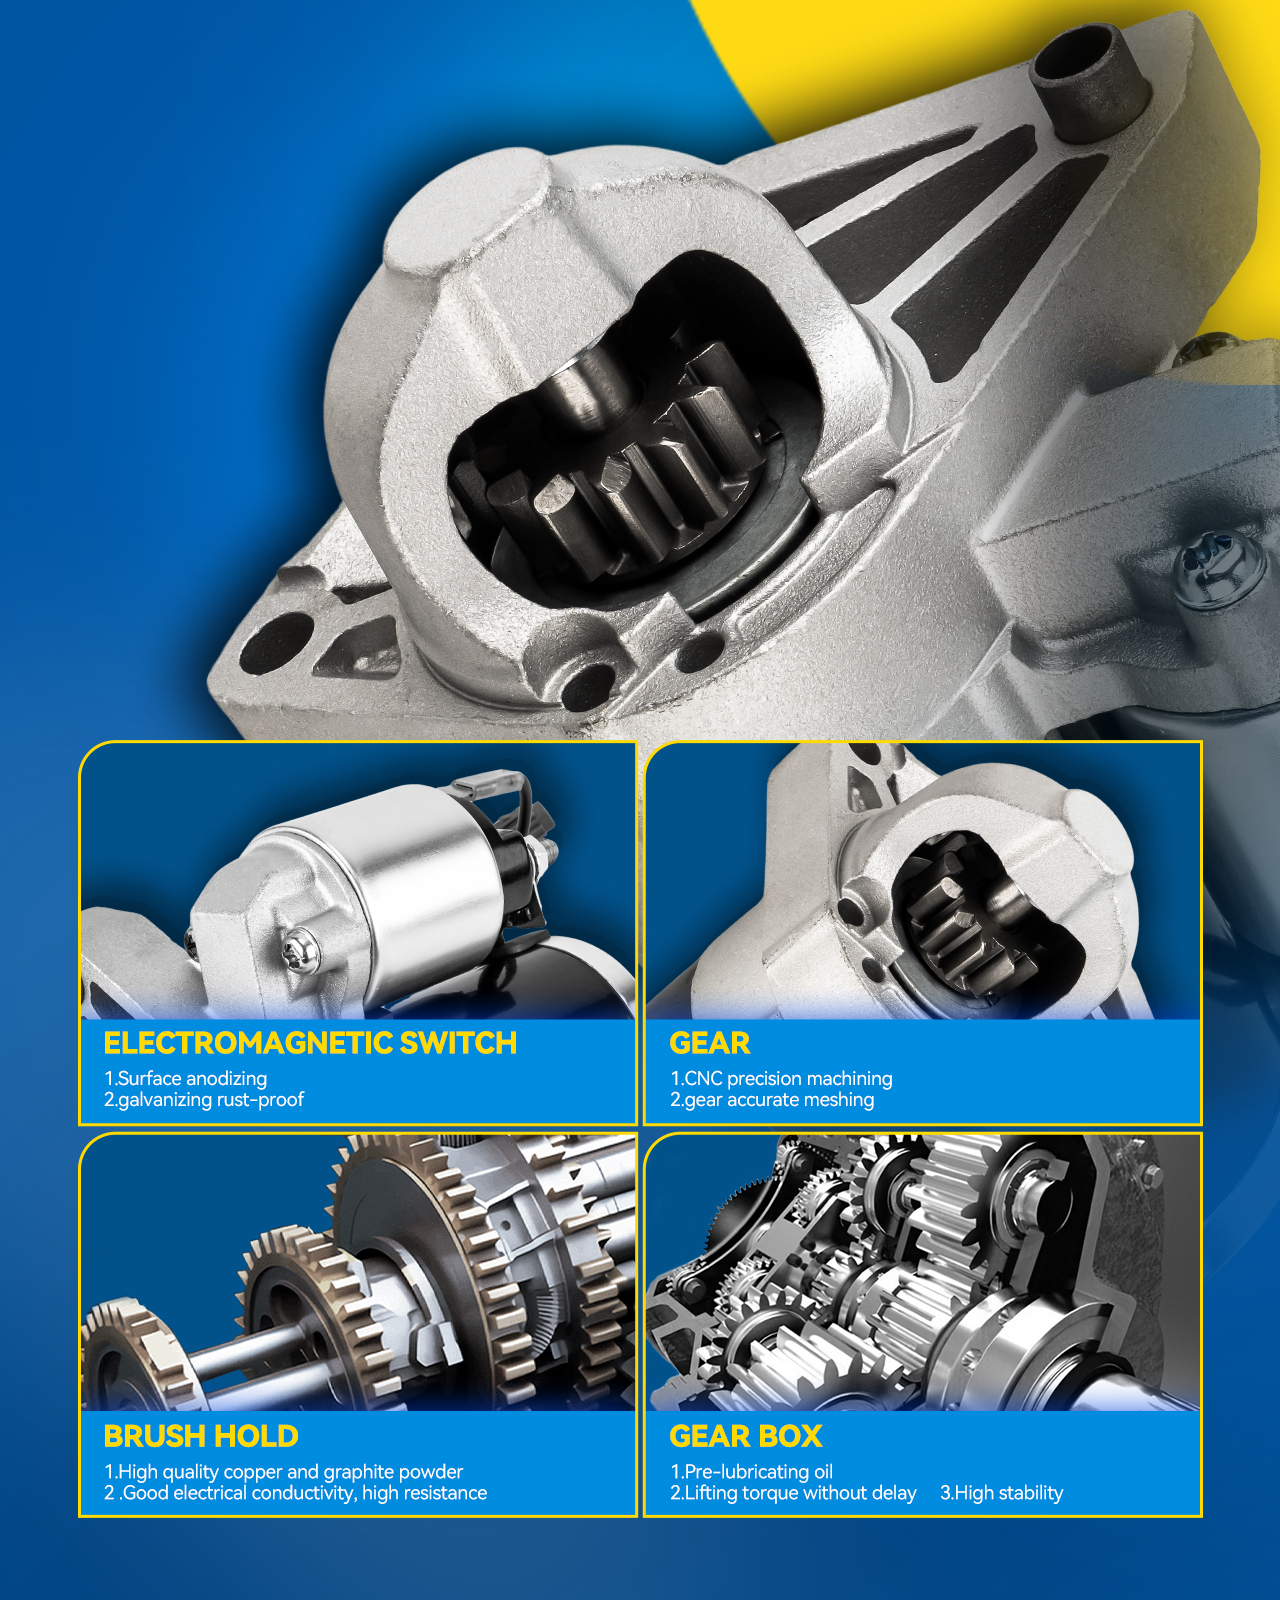
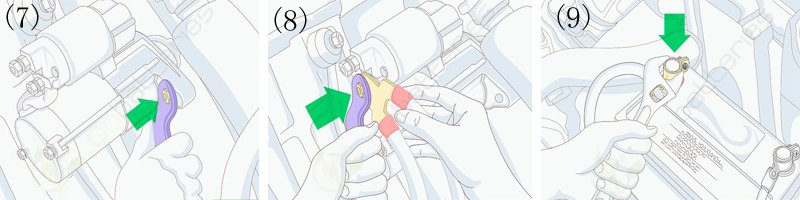
Remanufactured Excellence: These starters exceed OEM standards, ensuring easy installation, maximum cranking torque, and long-lasting durability.
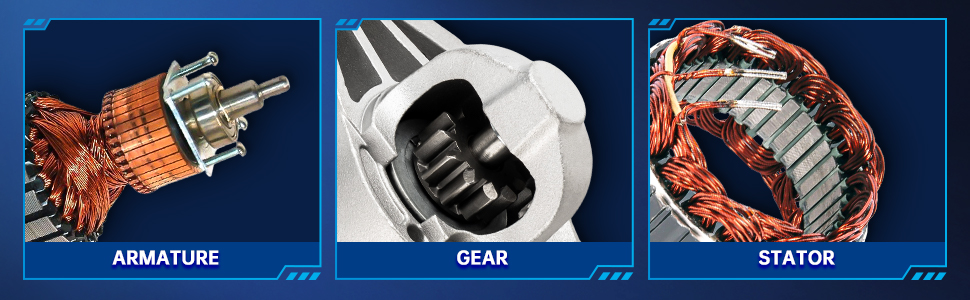
Proven Technology: Each engineer brings decades of experience in remanufacturing starters. Every unit undergoes a rigorous testing process and component replacement to guarantee reliability.
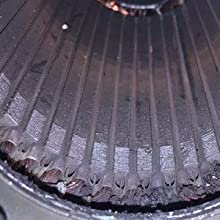
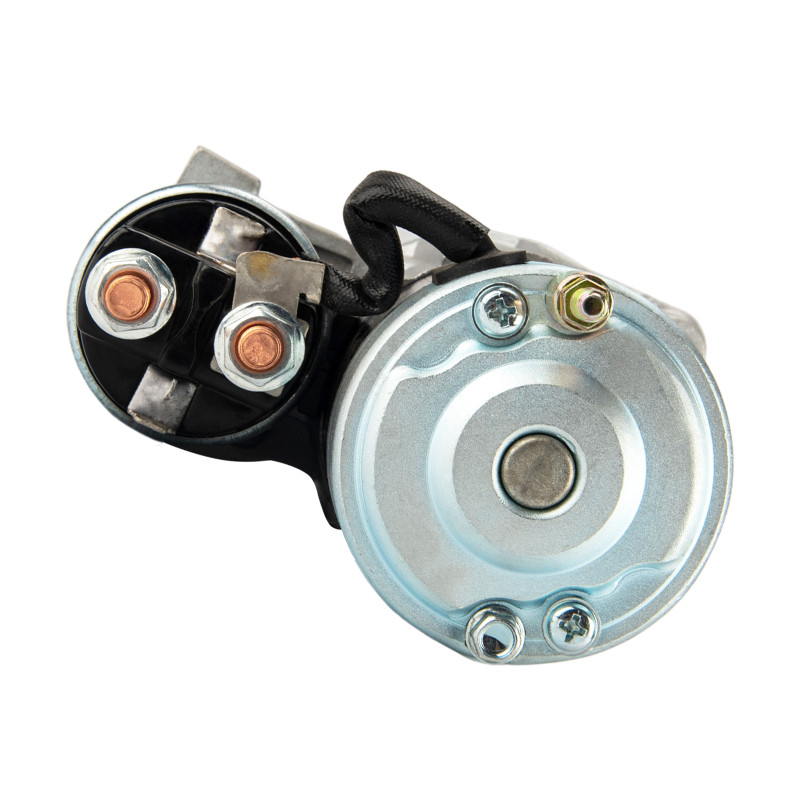
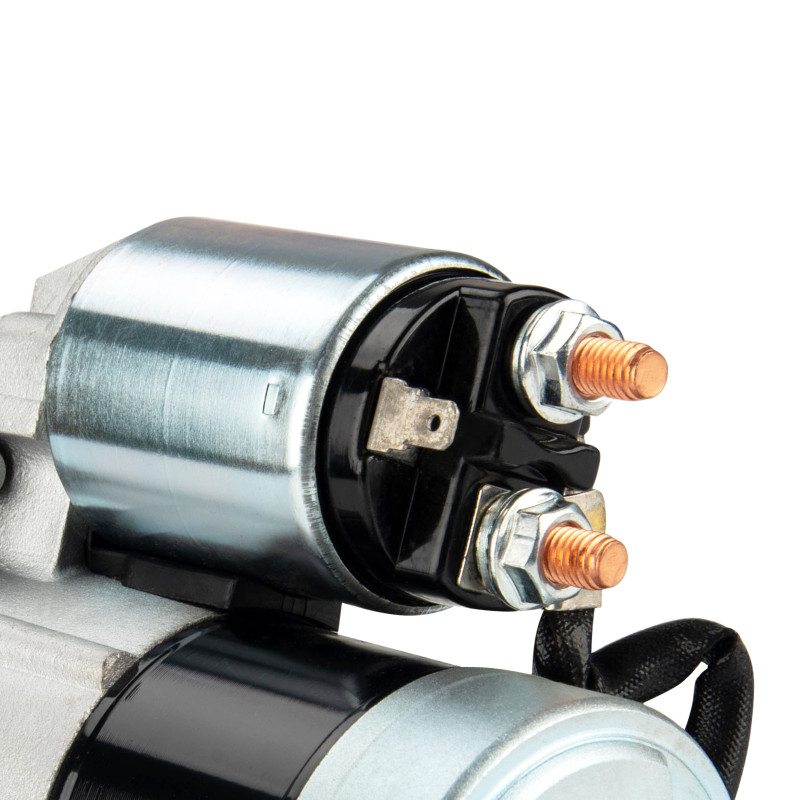
Comprehensive Testing: Armatures and field coils are high-voltage tested, commutators are refurbished and validated, and all terminals and fasteners are upgraded with premium copper for exceptional connectivity.
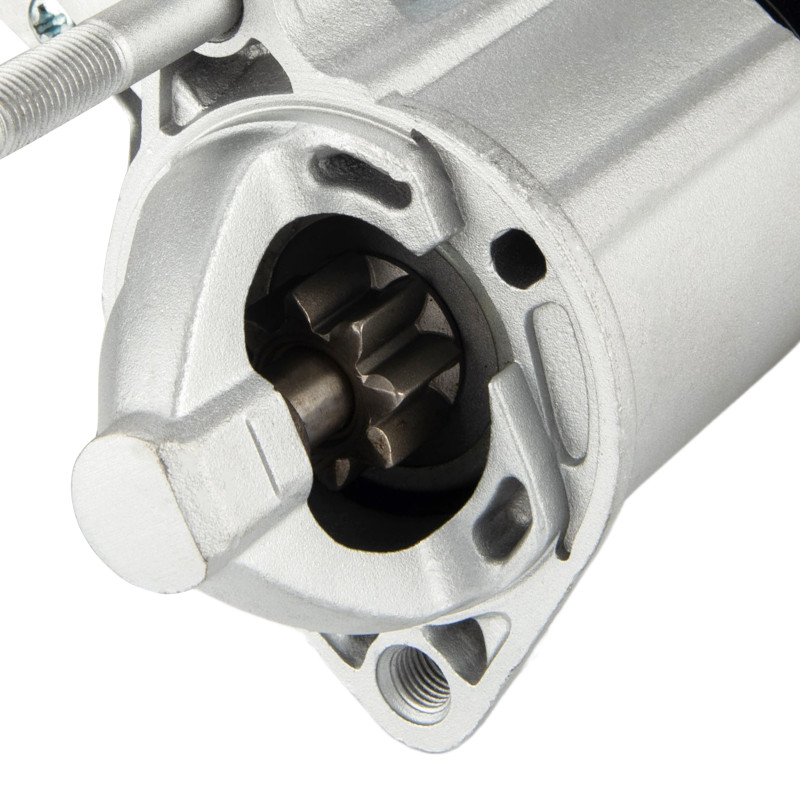
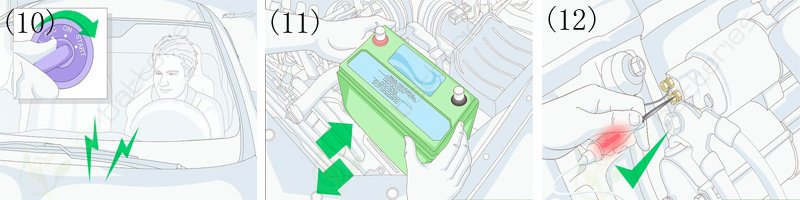
Performance Enhancement: Outfitted with new bearings, brushes, and seals, these starters deliver reliable performance even in extreme conditions.
Great Value: Remanufactured parts offer cost savings compared to new products while maintaining high quality and environmental benefits.
Reliable Warranty: Backed by comprehensive warranty support, ensuring lasting peace of mind and satisfaction.
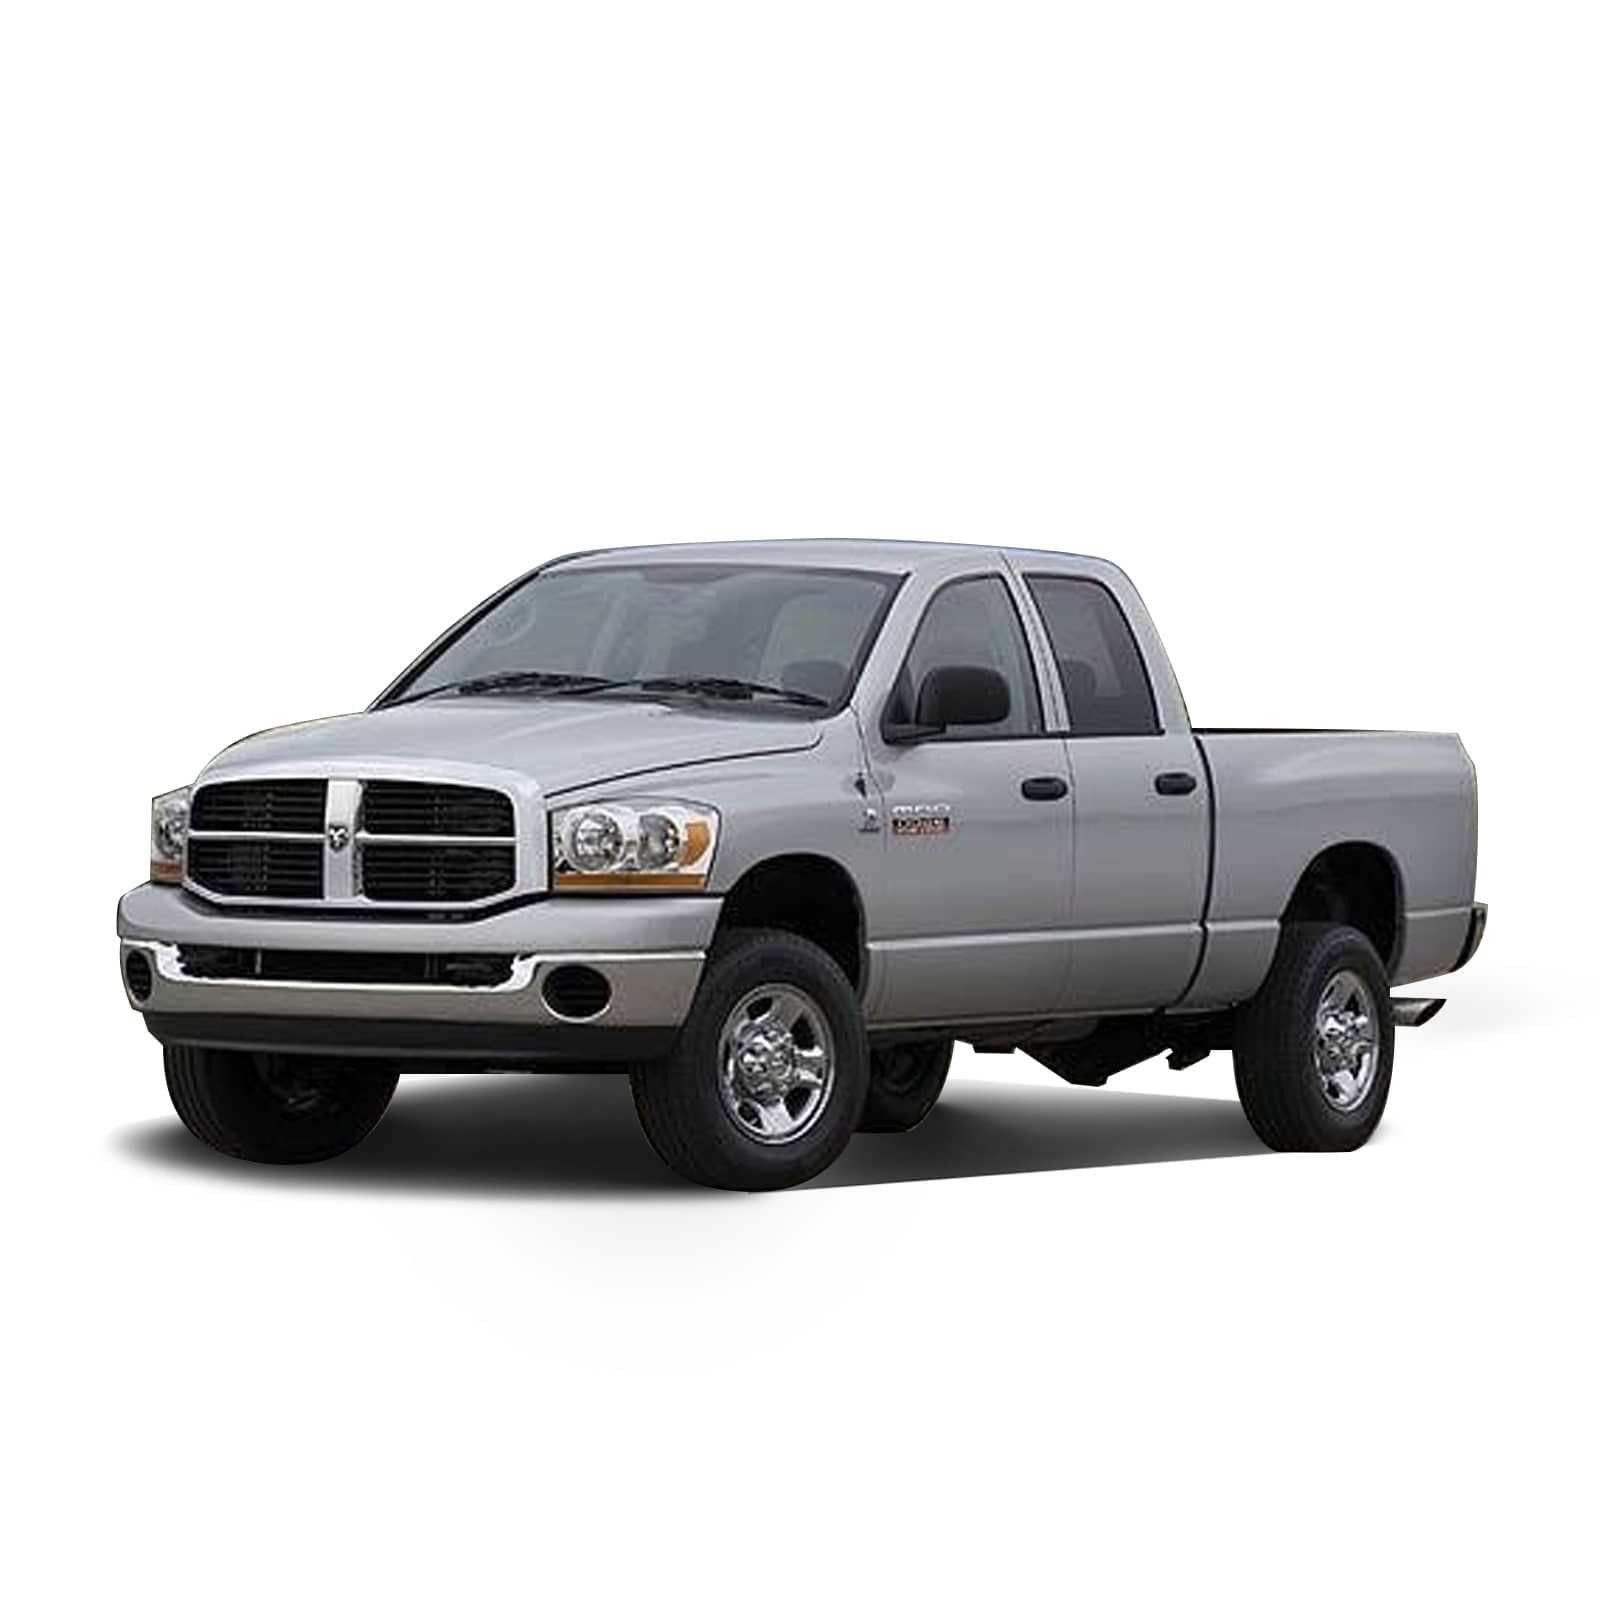
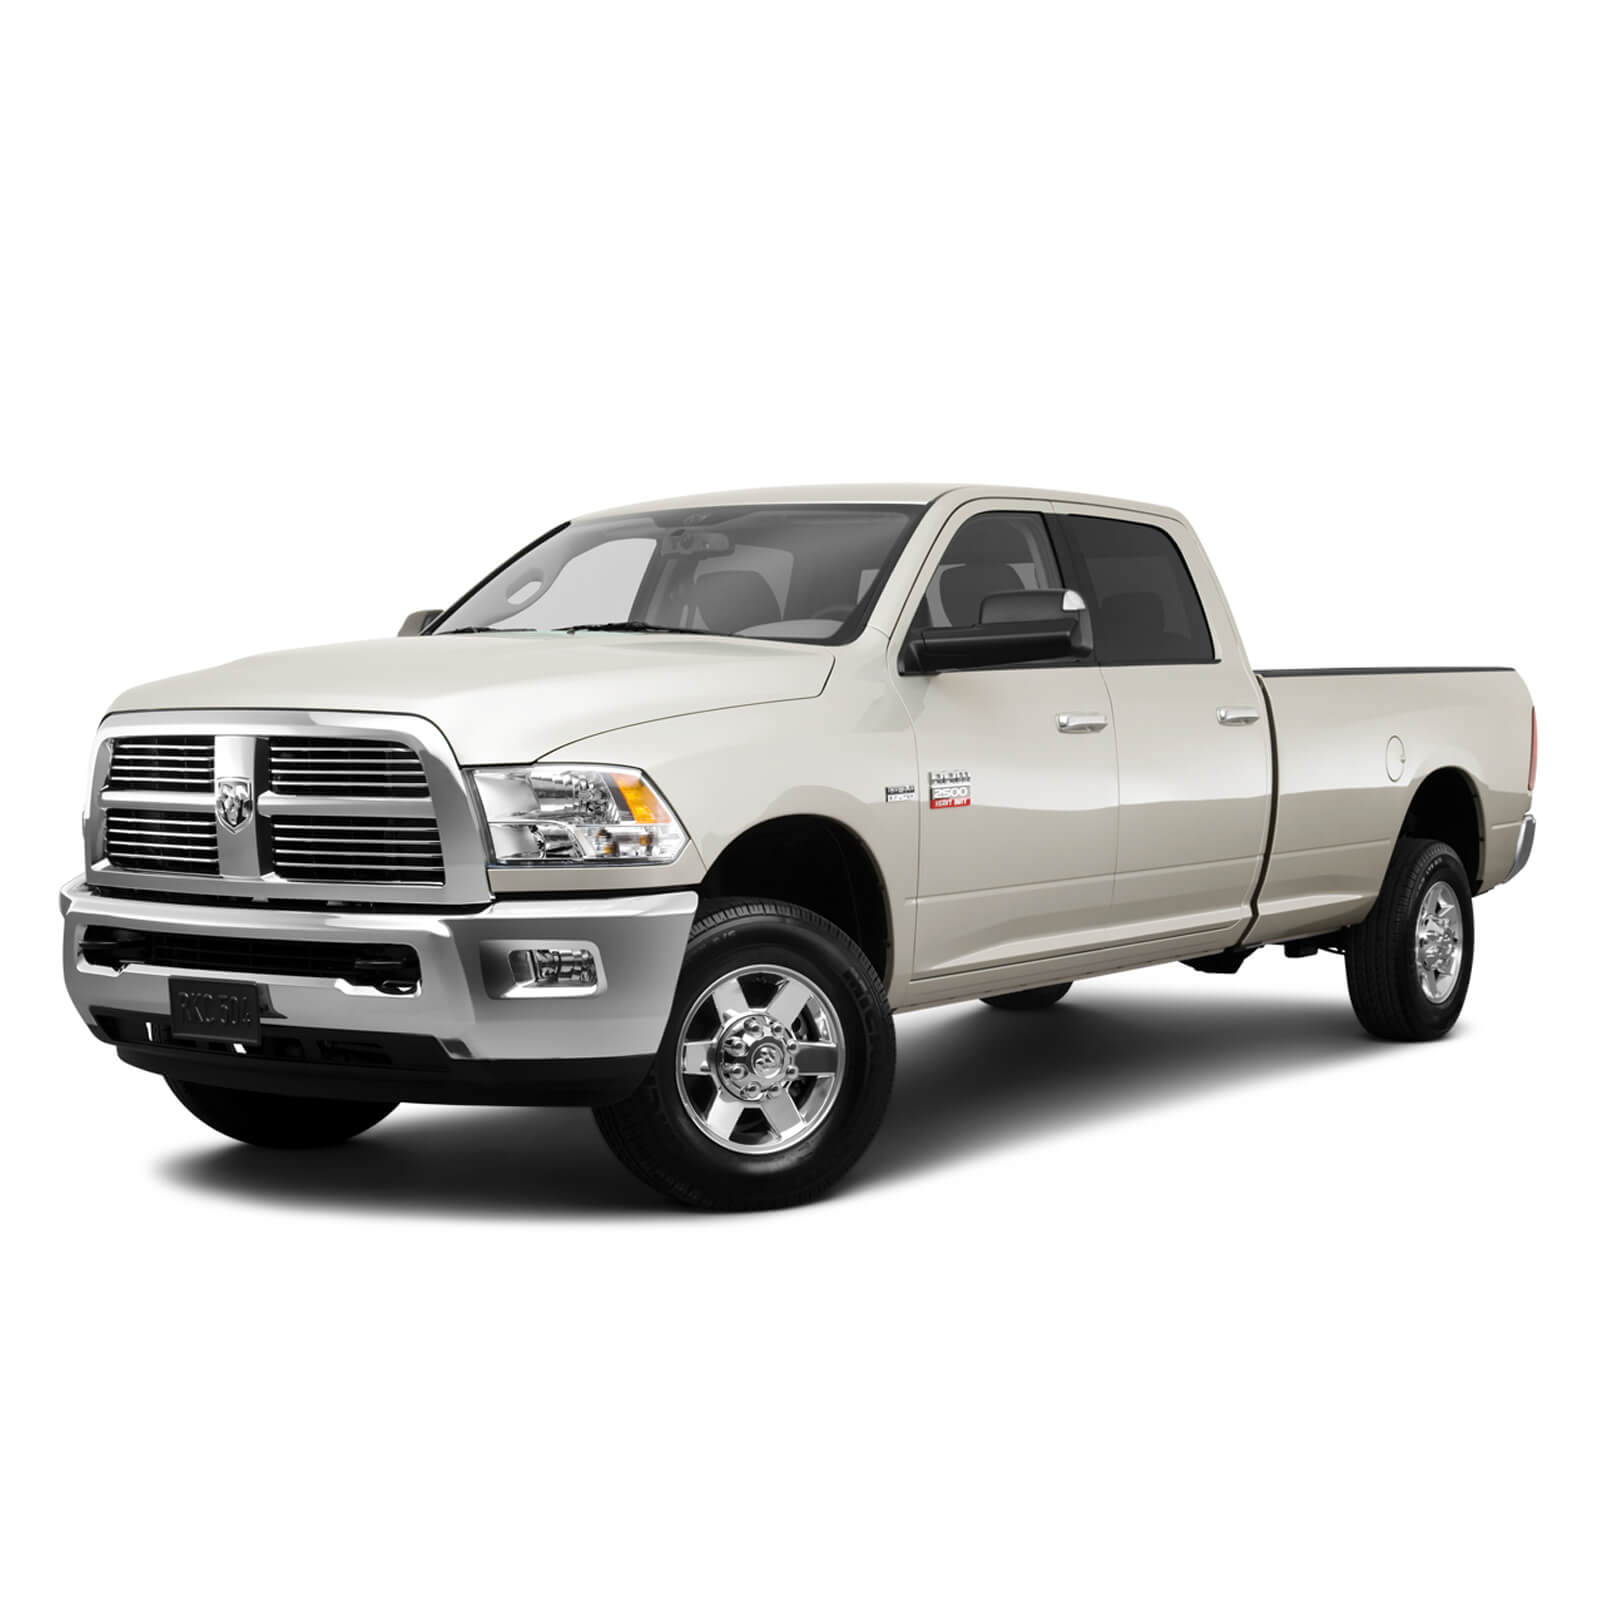
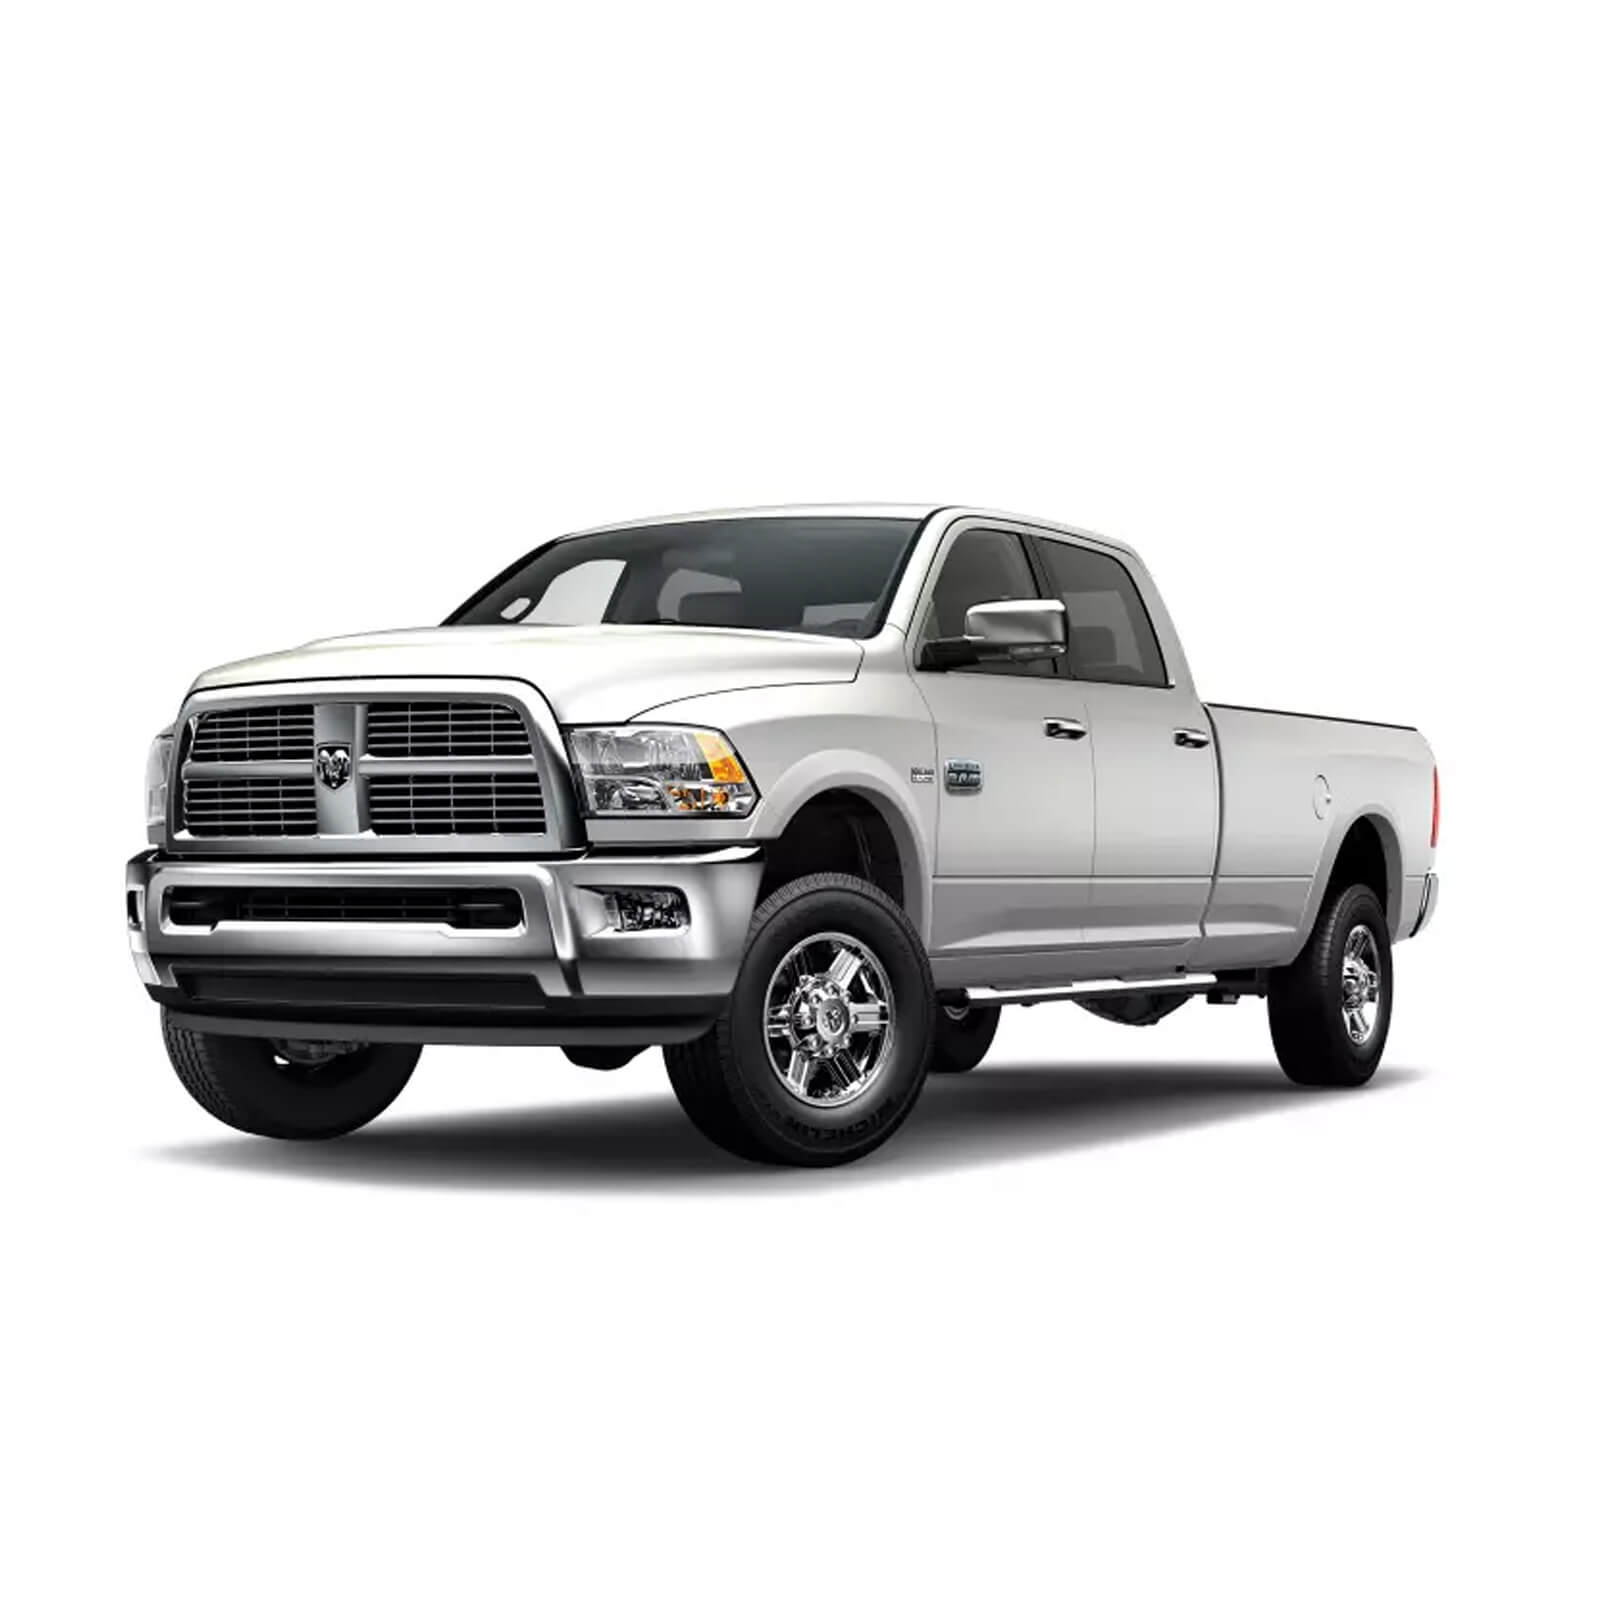
| Year | Make | Model | Submodel | Engine |
|---|---|---|---|---|
| - |

|
|
|
|
|---|---|---|---|
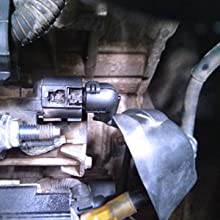
The starting motor is loose or falling off | The starter motor rotates slowly | The brush is worn or the brush surface is incorrect | Bad contact between brush and rectifier |

| 5 Star |
|
|
100% |
| 4 Star |
|
|
0% |
| 3 Star |
|
|
0% |
| 2 Star |
|
|
0% |
| 1 Star |
|
|
0% |