 Contents
Contents
- Quick Answer
- Symptoms of a Bad EGR Valve: When to Replace the EGR Valve
- Before You Replace the EGR Valve
- How to Replace an EGR Valve (Step-by-Step Guide)
- After Replacing the EGR Valve: What to Check
- Why Is My Check Engine Light Still On After Replacing the EGR Valve?
- EGR Valve Replacement Cost: What You Might Pay
- How Long Does It Take to Change an EGR Valve?
- EGR Valve Cleaning and Replacement Intervals
- Practical Tips for EGR Valve Maintenance
- EGR Delete: What Is It? Should You Do It?
- Conclusion
- FAQs
Did your check engine light (CEL) illuminate unexpectedly? Failed your emissions test despite regular oil changes? A faulty exhaust gas recirculation (EGR) valve is likely the culprit. Ignoring a faulty EGR valve can lead to costly engine damage. In this guide, we'll cover everything you need to know about EGR valve replacement : from identifying the signs of a faulty valve to a step-by-step replacement procedure, cost breakdowns, and vehicle maintenance tips.
Updated on Jul 2026 by SuncentAuto Staff with expanded EGR valve replacement time estimates, post-replacement checks, gasket tips, and troubleshooting notes for check engine lights after replacement.
Quick Answer
An EGR valve change usually takes about 1 to 2 hours on many gasoline vehicles, 2 to 3 hours on tighter minivans or trucks, and 3 to 5+ hours on diesel engines with EGR coolers, coolant lines, or hard-to-reach components. The total EGR valve replacement cost depends on the part price, gasket, labor time, vehicle layout, and whether the EGR passages need cleaning.
If the valve is easy to access, a DIY owner with basic tools may be able to replace it. If the valve is buried under intake parts, connected to a cooler, or tied into diesel emissions components, professional repair is usually safer.
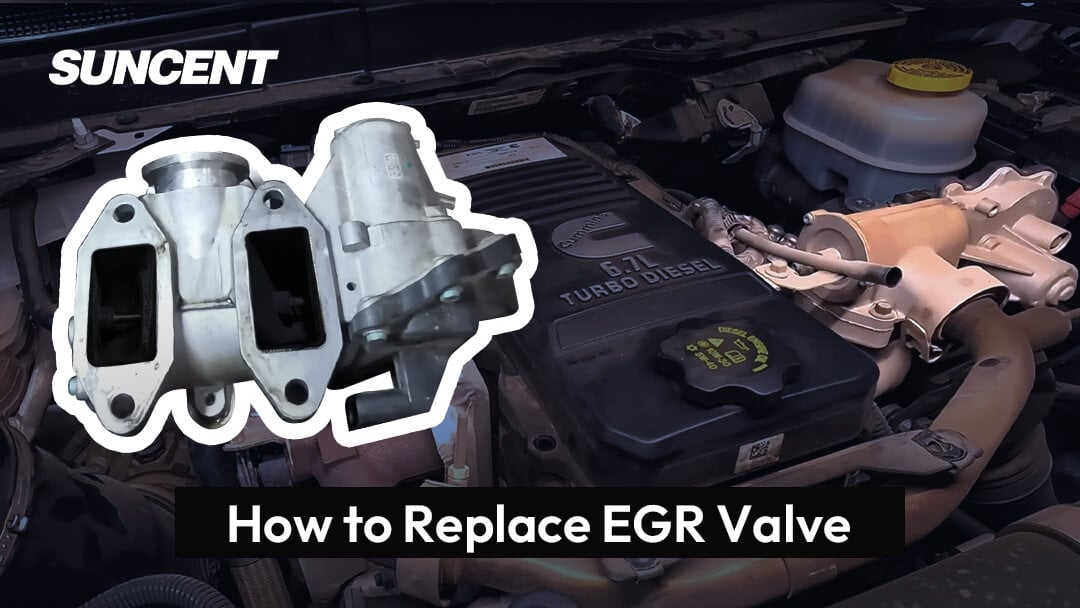
Symptoms of a Bad EGR Valve: When to Replace the EGR Valve
Identifying EGR valve problems early can prevent more extensive repairs later. Here are some of the most common symptoms of a malfunctioning EGR valve, indicating your EGR valve may need repair:
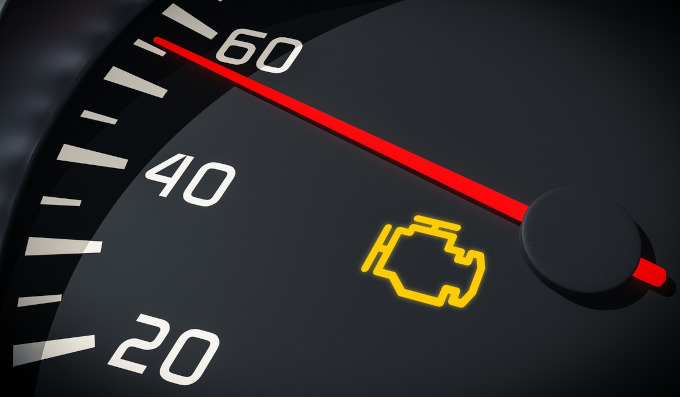
1. Check Engine Light (CEL)
The check engine light is the most reliable indicator. When your vehicle's ECU detects abnormal EGR flow, it may log a diagnostic trouble code, such as P0401 or P0404.
2. Poor Engine Performance
A faulty EGR valve disrupts the fuel-air mixture, causing uneven combustion and reduced performance. Common engine failures include hesitant acceleration, rough idling, and even stalling.
3. Increased Fuel Consumption
If you find yourself refueling more frequently, a stuck EGR valve may be the cause. When the EGR valve fails to close properly, the engine burns extra fuel to compensate for the diluted airflow.
4. Emissions Test Failure
Without proper exhaust gas recirculation, your vehicle will emit higher levels of NOx and may fail inspection.
5. Strange Noises or Odors
A stuck EGR valve can produce a knocking noise under load or cause exhaust gases to leak into the cabin, creating an unpleasant odor.
Before You Replace the EGR Valve
Before changing the EGR valve, make sure the valve is actually the problem. A check engine light, poor performance, or rough idle can also be caused by clogged EGR passages, vacuum leaks, wiring issues, intake restrictions, or related sensors.
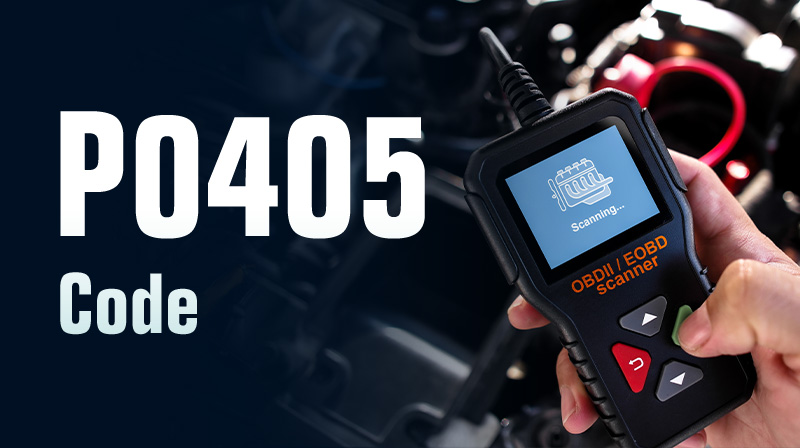
- Read the trouble codes with an OBD-II scanner.
- Confirm the EGR valve location in the service manual.
- Check the electrical connector, vacuum line, and surrounding hoses.
- Inspect for heavy carbon buildup around the valve and passage.
- Make sure you have a new gasket before reinstalling the valve.
If you are still diagnosing the problem, see our guide to bad EGR valve symptoms.
How to Replace an EGR Valve (Step-by-Step Guide)
Replacing an EGR valve isn't just for professionals. Using basic tools, replacing the EGR valve on most gasoline vehicles takes only 1-2 hours. Here are the step-by-step instructions:
Before you begin, please gather the following:
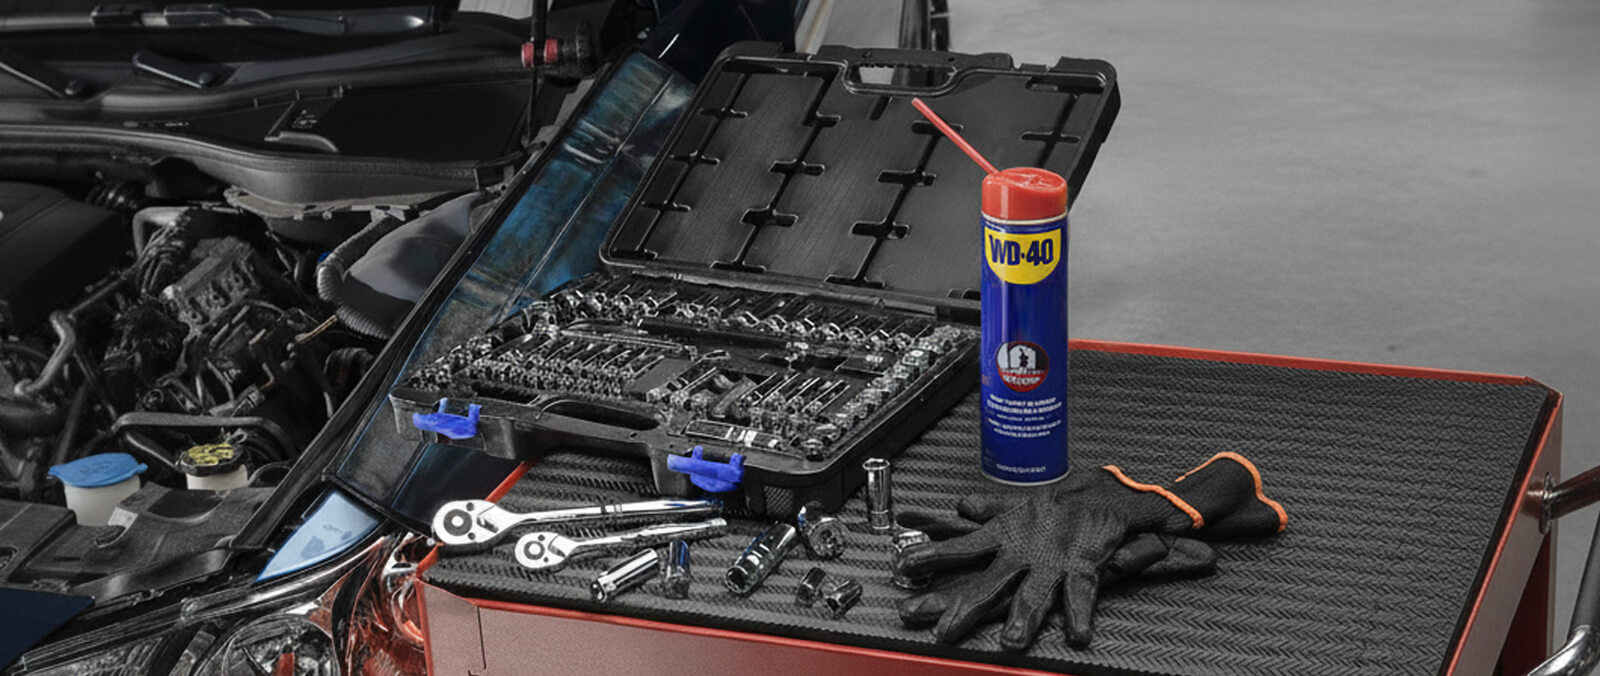
- Basic socket set
- Extension rod
- Torque wrench (to avoid overtightening the bolts)
- Pick or scraper (to remove the old gasket)
- Throttle body/air intake cleaner (to clean the EGR passages)
- Replacement EGR valve (OEM or high-quality aftermarket)
- New EGR valve gasket (critical; never reuse an old one!)
- Penetrating oil, if the bolts are rusty or tight
- OBD-II scanner, to clear codes and confirm the repair after installation
- Gloves and goggles (for protection from chemicals and debris)
Steps:
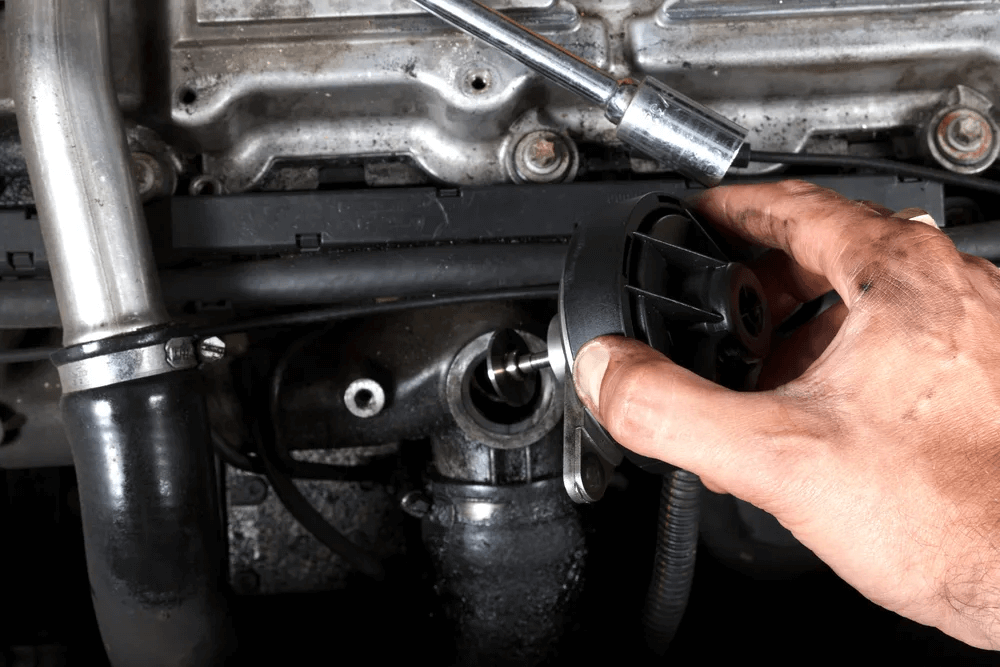
- Step 1 : Disconnect the negative battery terminal and allow the engine to cool completely.
- Step 2 : Locate and access the EGR valve (usually located near the intake or exhaust manifold).
- Step 3 : Label the electrical connector and vacuum line with tape to avoid confusion later, then gently disconnect them.
- Step 4 : Loosen the bolts evenly and remove the old EGR valve.
- Step 5 : Use a scraper to remove any remaining old gasket from the manifold and valve mounting surfaces. Afterwards, spray throttle body cleaner into the EGR passage and wipe away any carbon deposits with a clean rag.
- Step 6 : Install the new gasket onto the manifold and align the new EGR valve with it.
- Step 7 : Replace all removed components (engine cover, intake section) and reconnect the battery.
- Step 8 : Use a scanner to clear old error codes.
After Replacing the EGR Valve: What to Check
After the new EGR valve is installed, do not close the hood and call the job finished right away. Start the engine, let it idle for a few minutes, and listen for hissing, exhaust leaks, rough idle, or unusual vibration near the valve.
- Check that the electrical connector or vacuum line is fully seated.
- Look for exhaust leaks around the new gasket.
- Use a scanner to clear old EGR-related codes.
- Take a short test drive and watch for hesitation, stalling, or a returning check engine light.
- Recheck the area after the engine cools down, especially if the vehicle had rusted bolts or heavy carbon buildup.
Why Is My Check Engine Light Still On After Replacing the EGR Valve?
If the check engine light is still on after replacing the EGR valve, the old code may not have been cleared yet. Use an OBD-II scanner to clear stored codes and then drive the vehicle to see whether the code returns.
If the code comes back, the EGR valve may not be the only issue. A clogged EGR passage, damaged gasket, loose connector, vacuum leak, faulty sensor, carbon-filled intake port, or incorrect installation can trigger the same fault again.
If you are dealing with P0401, P0402, P0403, or P0404 after replacement, inspect the full EGR system before replacing another valve.
EGR Valve Replacement Cost: What You Might Pay
The cost of replacing an EGR valve depends on your vehicle type (gasoline or diesel) and whether you do it yourself or hire a professional. The costs are as follows:
Parts Cost
- Gasoline Engines: $70 to $350
- Diesel/Heavy-Duty: $250-$600+
Labor Cost
Mechanics typically charge $80 to $150 per hour to replace an EGR valve:
- Gasoline Vehicles: 0.7–2.0 hours of labor costs are estimated at $56–$300.
- Diesel Vehicles: 2.5–5.0+ hours (due to the EGR cooler and tighter engine compartment) are estimated at $200–$750.
Total Cost
The average cost of an EGR valve replacement is between $250 and $1100.
If you're on a budget, replacing the EGR valve yourself can save you 50% or more. However, be sure to have the correct tools and follow safe procedures.
For a deeper breakdown by parts, labor, vehicle type, and DIY vs mechanic repair, read our full EGR valve replacement cost guide.
How Long Does It Take to Change an EGR Valve?
- Most gas engines: 1-2 hours
- Minivans/trucks: 2-3 hours
- Diesel engines with coolers/lines: 3-5+ hours
The exact time it takes to replace an EGR valve depends on your vehicle and your experience level. Other factors that can increase the time required include rusted bolts and carbon deposits. If you're new to auto repair, please allow more time.
EGR Valve Replacement Time by Vehicle Type
| Vehicle Type | Estimated Time | Why It Takes That Long |
|---|---|---|
| Most gasoline cars | 1-2 hours | The EGR valve is often easier to reach near the intake manifold. |
| Minivans and light trucks | 2-3 hours | Access may be tighter and extra intake parts may need to be removed. |
| Diesel trucks with EGR cooler lines | 3-5+ hours | EGR coolers, coolant lines, rusted bolts, and carbon buildup can add time. |
The time can increase if bolts are rusted, the gasket is stuck to the mounting surface, the EGR passage is packed with carbon, or the valve is located under intake components. If this is your first EGR valve change, plan extra time for cleaning, inspection, and clearing old trouble codes.
EGR Valve Cleaning and Replacement Intervals
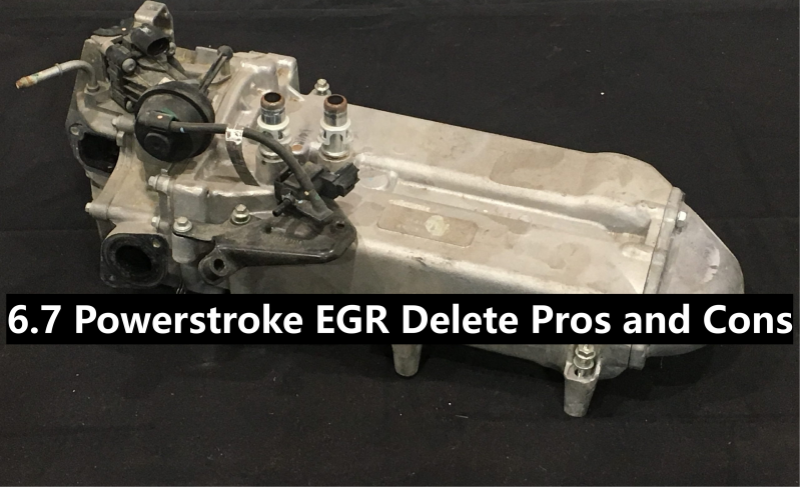
Diesel engines (such as Powerstroke, Cummins, and Duramax) are more susceptible to EGR valve problems due to high levels of carbon deposits. The following maintenance intervals are recommended to prevent premature failure:
| Engine Model | Clean EGR Valve Interval | Replace EGR Cooler / Valve Interval | Notes |
|---|---|---|---|
| Ford Powerstroke (6.0L, 6.4L, 6.7L) | Every 30,000–40,000 miles (48,000–64,000 km) | Replace EGR cooler every 80,000–100,000 miles (128,000–160,000 km) or if fault code P0401 appears | 6.0L & 6.4L models have high carbon deposits — shorten interval by 10,000 miles |
| Dodge Ram Cummins (5.9L, 6.7L) | Replace EGR cooler every 100,000 miles (160,000 km) or if performance degrades | Every 35,000–45,000 miles (56,000–72,000 km) | For 6.7L Cummins: always check the cooler line — blockage can cause new valve failure |
| GMC/Chevrolet Duramax (LBZ, LML, L5P) | Every 40,000–50,000 miles (64,000–80,000 km) | Replace valve every 100,000–120,000 miles (160,000–192,000 km) | LML & older models need extra care — more prone to sensor failure and valve problems |
Practical Tips for EGR Valve Maintenance
You can extend the life of your EGR valve and avoid frequent replacements by performing simple maintenance:
Use High-quality Fuel and Engine Oil
Poor-quality fuel will deposit more carbon, while cheap oil can clog the valve passages. Follow the manufacturer's recommended fuel octane and oil viscosity.
Avoid Short Trips
Short trips (less than 10 minutes) prevent the engine from reaching operating temperature, leading to moisture and carbon deposits in the EGR system. Combine trips to minimize short trips.
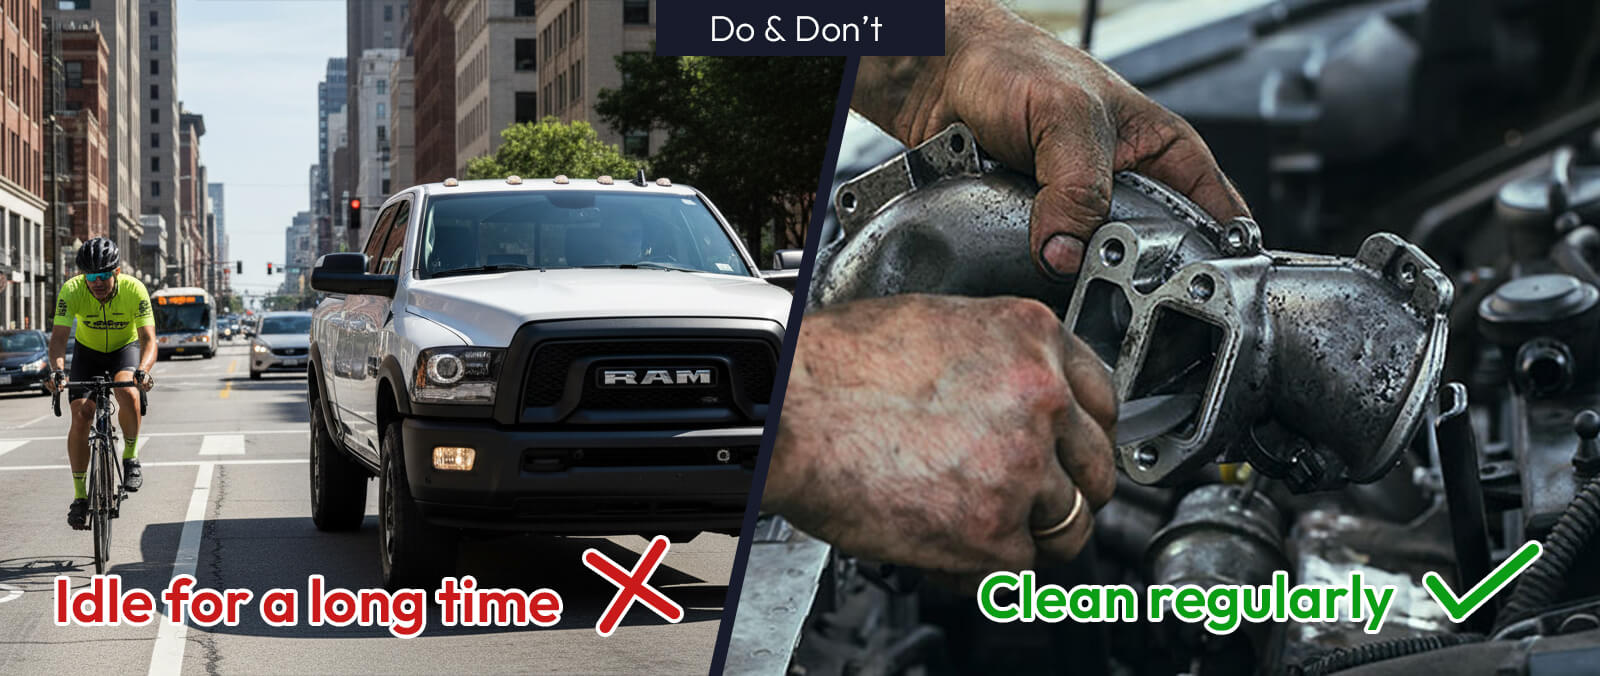
Clean the EGR System Regularly
Continuous maintenance, as recommended by industry authorities such as NAPA Auto Parts, can reduce carbon deposits and extend the life of the EGR system. Perform a "no-tear" cleaning with an EGR cleaner every 30,000 to 50,000 kilometers.
Inspect the Air Intake System
A dirty air filter can allow dust and debris to enter the EGR valve. Replace the air filter every 15,000-30,000 miles to keep the system clean.
EGR Delete: What Is It? Should You Do It?
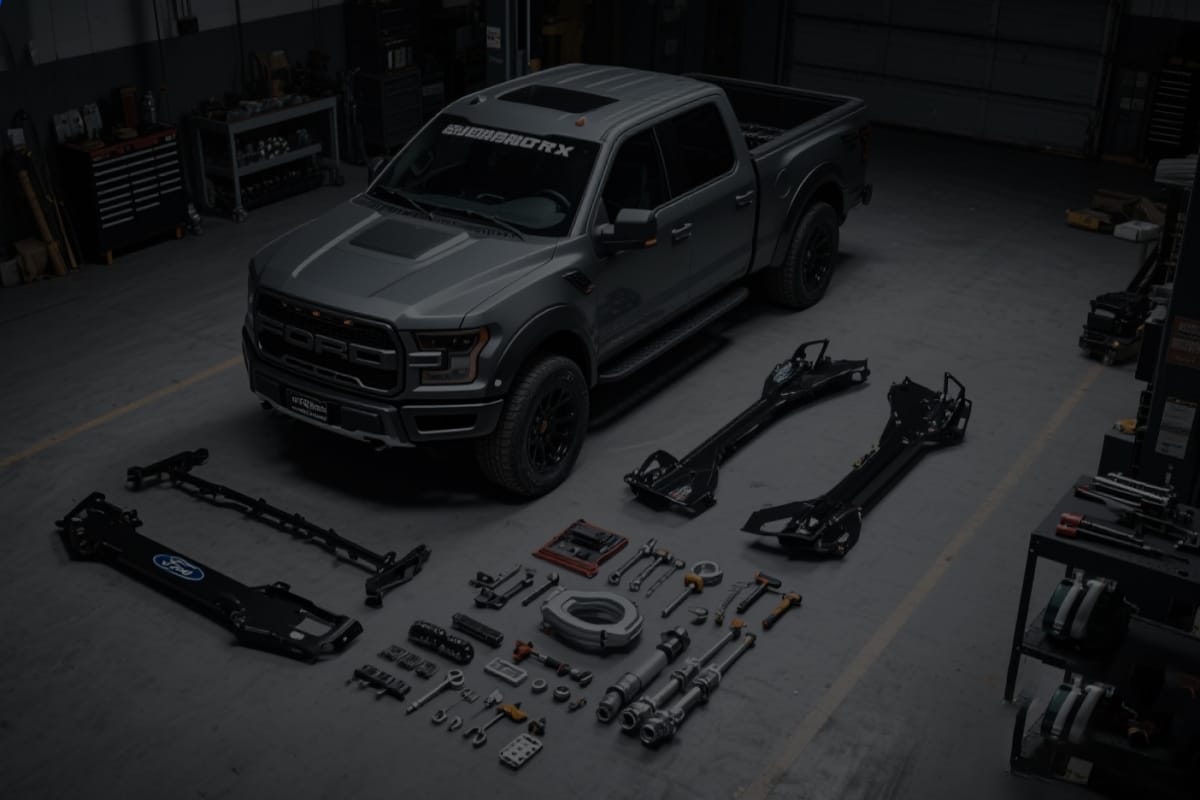
You may have heard of EGR Delete—a modification that requires installing an EGR Delete kit to bypass or disable the EGR valve. The EGR Delete kit replaces the EGR valve and cooler with a bypass tube, preventing exhaust gas recirculation into the intake system.
Pros of EGR Delete
- Reduces carbon deposits in the intake manifold and turbocharger.
- Potentially improves power and fuel efficiency (by 5-10% in some cases).
- Reduces maintenance costs (no more need to replace the EGR valve or cooler).
Cons of EGR Delete
- Illegal in most areas.
- Modifying the EGR system will void most vehicle warranties. May fail annual inspection/emissions testing.
Conclusion
A faulty EGR valve isn't just annoying; it can also put your engine's health and your finances at risk. By recognizing the symptoms of a faulty EGR valve, you can replace it sooner rather than later, avoiding costly repairs. Be sure to choose high-quality replacement parts and follow your engine's recommended maintenance intervals.