


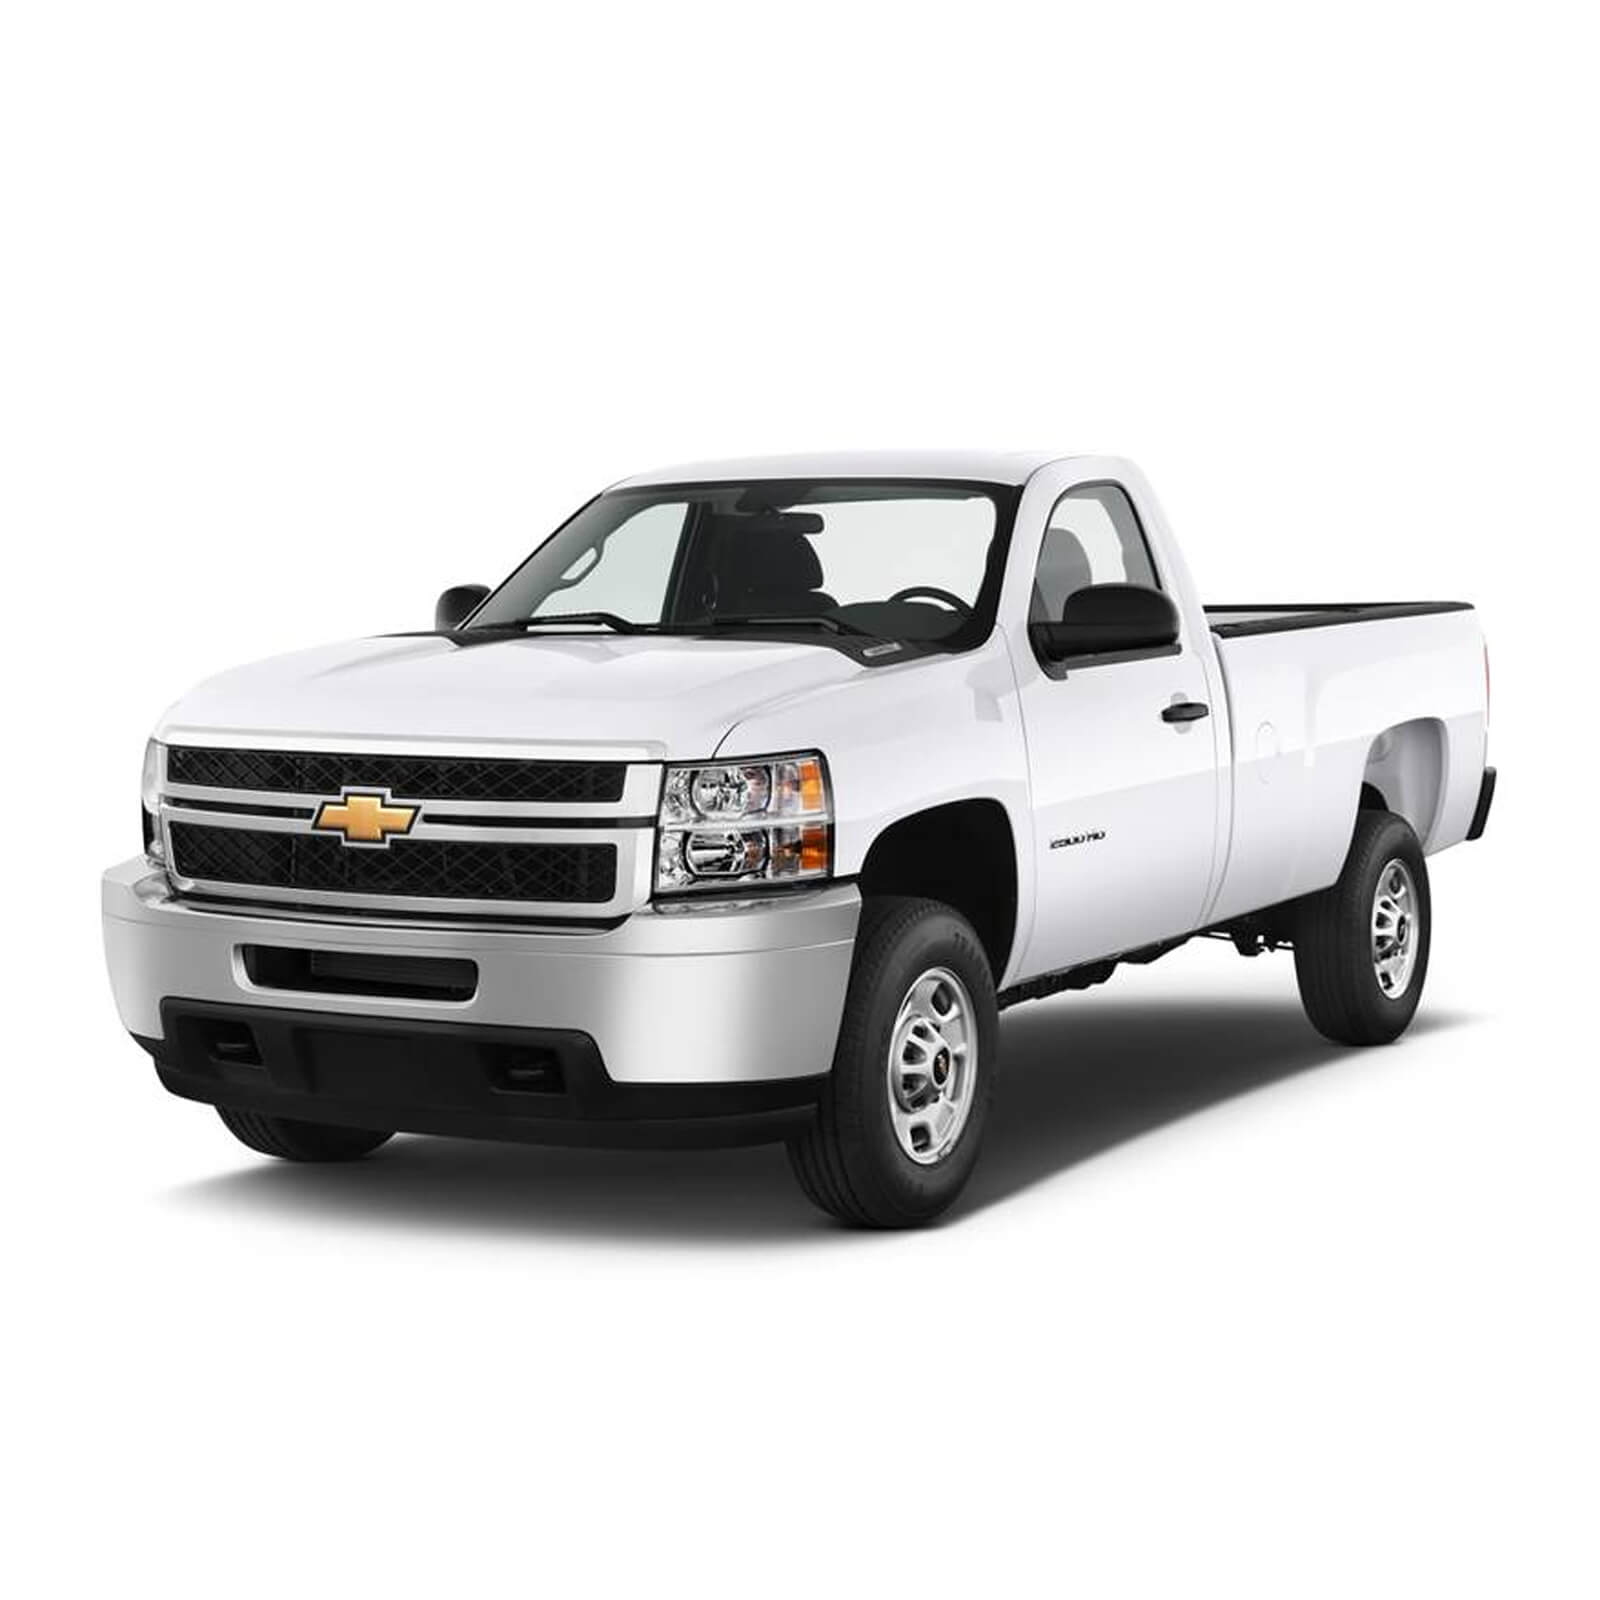


Backup light bulbs are an important safety feature on any vehicle. They help the driver see when backing up, and they also help other drivers see the vehicle from behind. If a backup light bulb burns out, it's important to replace it as soon as possible. This article will explain how to replace a backup light bulb in detailed.
Remove the Old Backup Light Bulb
To begin with, open the tailgate or trunk of your car
You may access the rear of your tail light assembly by pulling the handle on your tailgate. Or by pushing the trunk release button on the driver's side of the car. The trunk of some vehicles will open by pressing a button on the lid. When you pull on the handle to lower it, you might also need to pull up on the tailgate.
Remove the panel or cloth liner attached to the backup light's back
Look inside your car for a robust fabric liner or a plastic panel. You can see the covering at the back of your backup light while your trunk is open. Locate the edge where the fabric or panel meets the plastic border of your car.
Draw back the fabric or take off the panel with your hands. Please do not remove the cloth so you can later reposition it beneath the edge. Some plastic panels may need total removal. But they will have tiny brackets that make it simple to reinstall them.
Pull out the light assembly if you cannot reach the backside
Your car may need a cloth liner or panel that lets you access the back of the tail light. In this case, look for nuts or screws on the side of the lens covering the tail light. Slide out the entire light assembly after removing the nuts and screws.
This avoids cutting the wires attached to the back of the light assembly. Pack the fasteners away in a plastic bag so that you can replace them later.
Pull out the light socket by gripping the back and rotating it to the left
You can see the back of the light socket and the wires attached to it on the back of the tail light assembly. Find the burned-out bulb's socket and grasp the back of it. Pull the socket out of the back of the light by rotating it to the left. Take care not to pull or stretch the wires attached to the sockets.
Press and slide the bulb out of the socket
To release the bulb, press it into the socket while holding it by the metal part of the plug. Slide it out of the lamp socket after that. To remove some bulbs from the socket, you may need to unscrew them.
Install the New Backup Light Bulb
Wear nitrile gloves to protect the bulb from damage
To prevent the natural oils on your hands from touching the bulb, put on a pair of nitrile gloves.
The oils can harm the bulb and cause it to burn out too soon as it heats up from usage.
Gently insert a replacement bulb of the same kind into the socket.
The new bulb should be the same size and wattage as the previous one. Please make sure the terminals on the ends of the bulbs are compatible by checking them.
Put the new bulb into the socket until it clicks into place. Line up the terminal at the end of the bulb with the plug in the socket. To ensure that the new bulb you receive matches the old one, bring the old one along for comparison.
To secure the bulb, replace the socket and turn it to the right
Put the socket back into the tail light assembly from the back with the new bulb in it. Turn it to the right until it snaps into place once it is in position to ensure it is secure.
Reposition Everything and Test the New Bulb
Reposition the panel or cloth liner to cover the lens's back
Cover the rear of the backlight assembly with the fabric liner you pulled back. Or replace the plastic panel you removed. If your panel fits with brackets to keep it in place, align them with their connections on your car. Push the panel until you hear the brackets snap into place. To keep the cloth liner in place, tuck it back under your car's frame may be necessary.
Reinstall the assembly
If you remove the light assembly cover, fasten them. If you had to remove the complete body, slide it back into its original position. To ensure that your tail light is attached, put the screws or bolts back in place and tighten them up.
Make sure to reinstall all the fasteners and tighten them completely. This will prevent getting harmed by vehicle movement.
Test the new bulb
Make sure the bulb doesn't rattle or fall out by closing your trunk or raising your tailgate. Ask a friend to start your car and use the brakes so you can test the light to see if it's functioning.
Ask them to put the car in reverse while keeping their foot on the brake. If the backlight bulb change was correct but isn't working, you might have a blown fuse or an electrical issue. These issues need qualified mechanic attention.
Upgrade to LED Backup Lights
Backup lights are one of a car's most important parts, responsible for the security of your ride and others on the road. Don't put your or other people's lives in danger with faulty and outdated backup light bulbs. SuncentAuto has an array of high-efficiency LED backup light bulbs that feature high illumination, exceptional durability, and broad compatibility. Get yours today!